Using Custom Domain for Emails
Guide on how to configure your own custom domain to use it in emails.
Avoiding the Spam Folder: Best Practices
Our platform offers you the flexibility to send emails using your own domain via Mailgun, providing enhanced branding and control. However, it's essential to understand the responsibilities that come with this choice to ensure your emails reach your recipients' inboxes.
Understanding Email Deliverability
When you choose to send emails through your own domain, you assume responsibility for your email deliverability. This means ensuring that your emails are not marked as spam and successfully reach your recipients.
Our Commitment with oneavant.com
If you prefer not to manage the complexities of email deliverability, you can opt to send emails through our internal domain, oneavant.com. In this setup:
- Managed Deliverability: We handle all aspects of email deliverability, working to ensure optimal inbox placement.
- Reduced Complexity: There's no need for you to configure DNS records or monitor sender reputation.
Getting Started with Your Custom Domain
If you decide to use your own domain, please follow our step-by-step guides to configure and validate your domain:
- Navigate to Emails Configuration and Add a New Domain
- Validate and Activate Your Domain
These guides will assist you in setting up your domain correctly to ensure successful email delivery.
Best Practices to Avoid the Spam Folder
To maximize your email deliverability when using your own domain, consider the following best practices:
- Authenticate Your Domain: Implement SPF, DKIM, and DMARC records to verify your domain's legitimacy.
- Warm Up Your Domain: Gradually increase your email sending volume to build a positive sender reputation.
- Maintain Clean Email Lists: Regularly update your email lists to remove inactive or unengaged recipients.
- Monitor Engagement Metrics: Track open rates, click-through rates, and spam complaints to assess and improve your email campaigns.
- Avoid Spam Triggers: Craft clear and relevant subject lines and content, steering clear of language commonly associated with spam.
By adhering to these best practices, you can enhance your email deliverability and ensure effective communication with your audience.
Navigate to emails configuration and add a new domain
-
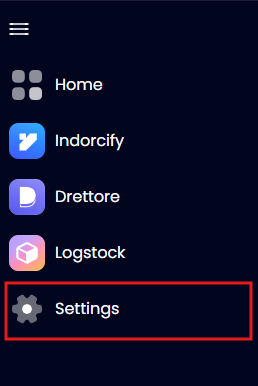
Navigate to Settings from the sidebar or using the account menu in the top right corner.
-
Go to the General tab.

-
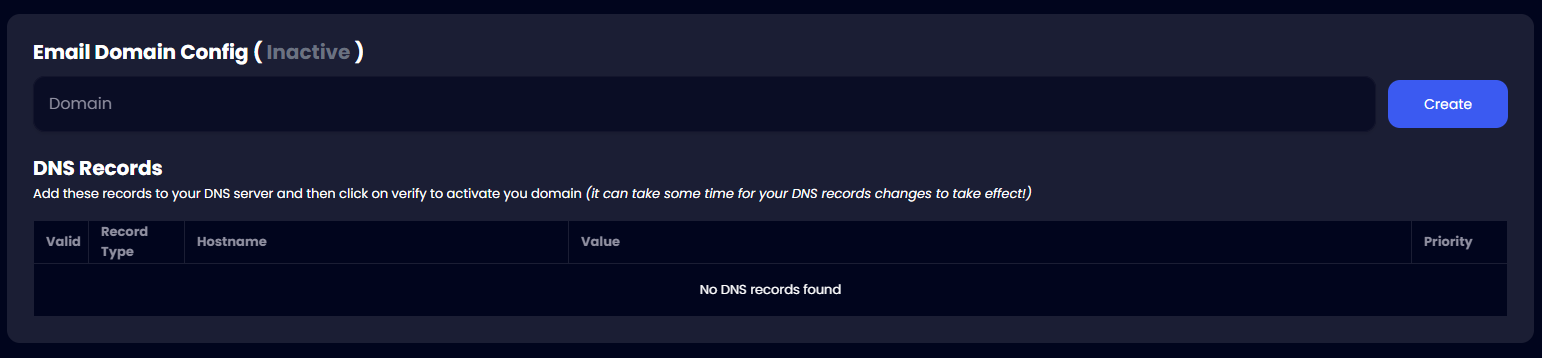
From the General tab, scroll down and you'll find email domain configuration.
-
Add your custom domain in the Domain textfield (e.g.,
my-custom-domain.com) and hit the create button next to it.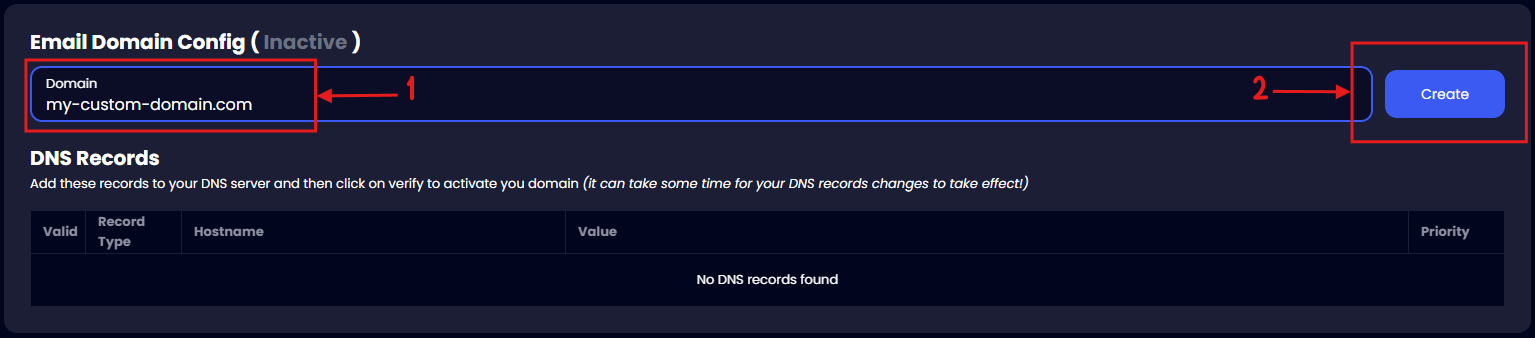
-
After clicking the create button, you should be prompted with a dialog. This dialog will contain your SMTP password. Copy it and store it somewhere safe.
warningWe don't store this password and it will not show up again, so make sure you store the password somewhere safe!

You have now added your domain to the system! Check the next section to see how you can activate your domain.
Validate & Activate your Domain
After adding the domain, you need to validate it so that it gets activated and the system can start using it to send emails.
Prerequisites:
Here are the steps:
-
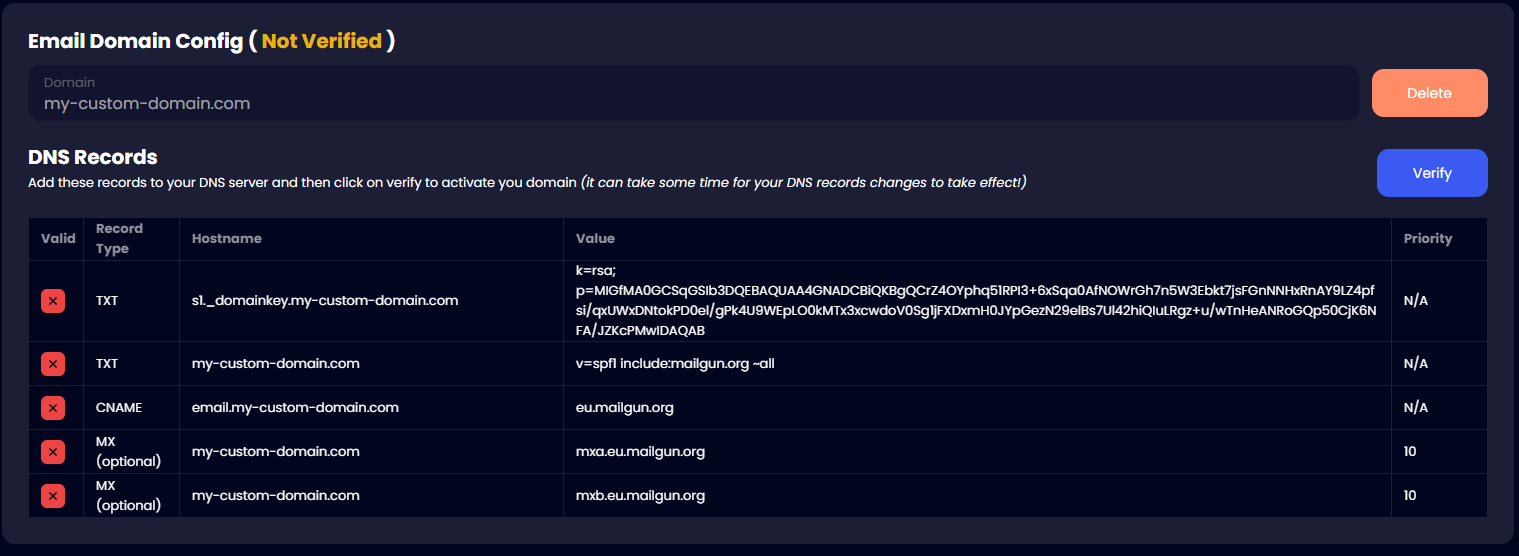
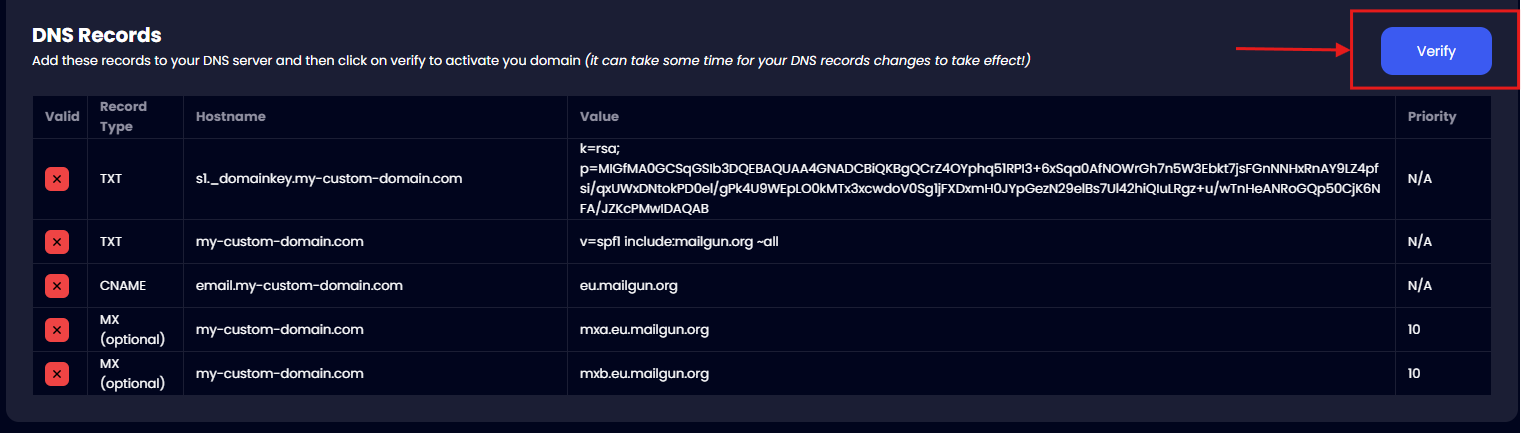
After adding the domain, you should see a screen like this:
-
Now you need to go to your domain hosting service to add the DNS records listed in the table. Here are the documentations from the most popular services:
-
After you successfully add the DNS records, click on Verify.
-
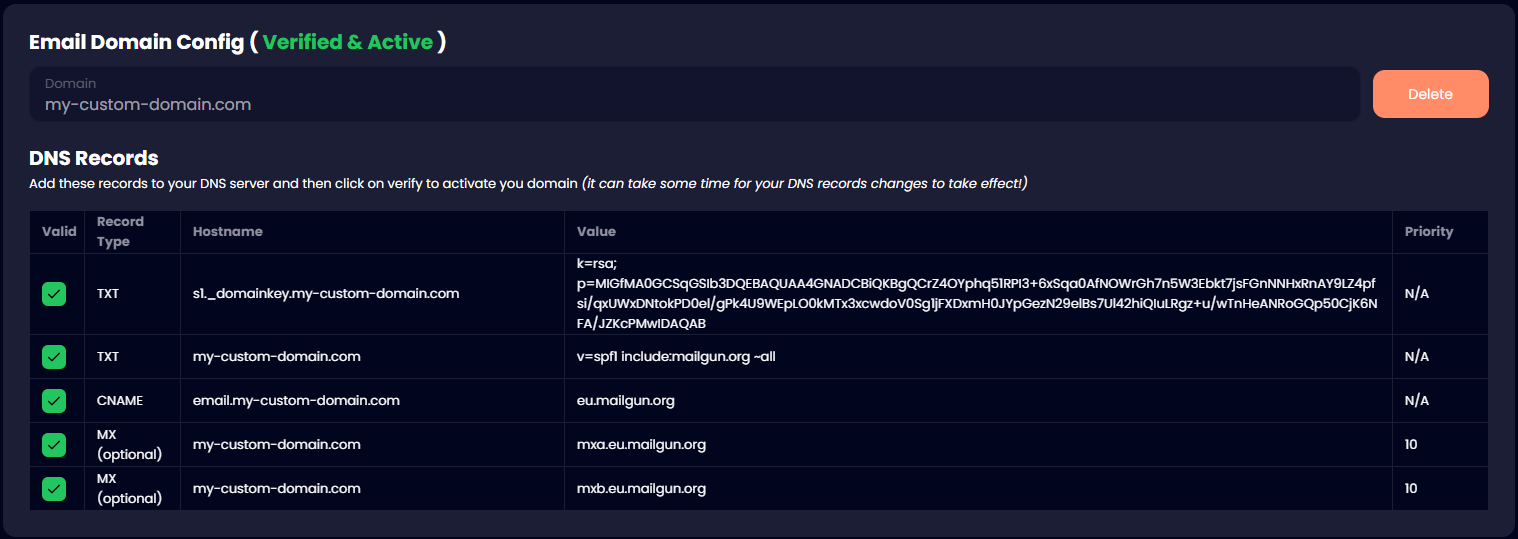
If the DNS records are added correctly, all the records in the table will turn green and the domain will be validated & activated.
warningDepending on the DNS service you use, it might take up to 48 hours for your changes to take effect, but usually it will just take a few minutes!
Now your domain is verified & active and the system will use your domain to send emails.