Users
👥 Users in the IoT Server Dashboard let administrators manage management accounts that can access IoT operations pages. Use this guide to create, update, activate, and remove dashboard users.
📍 Accessing Users
info
This section requires an account with the Admin management role.
- Log in to the IoT Server Dashboard with your management credentials.
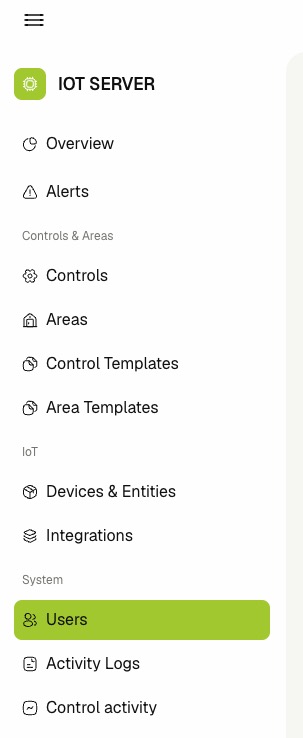
- Open System from the left sidebar.
- Click Users to open the users list.
📋 Viewing, Searching, and Pagination
The Users list is the main page for viewing existing management accounts.
The table includes:
- Name — The full display name for the account.
- Username — The login username used for dashboard sign-in.
- Role — The assigned management role.
- Created At — The account creation timestamp.
- Updated At — The last account update timestamp.
- Enter text in Search by Name or Username to find a specific account.
- Open column settings to show or hide table columns.
- Use pagination controls to move between pages.
- Review the status toggle on each row to see whether the user is active.

➕ Creating a User
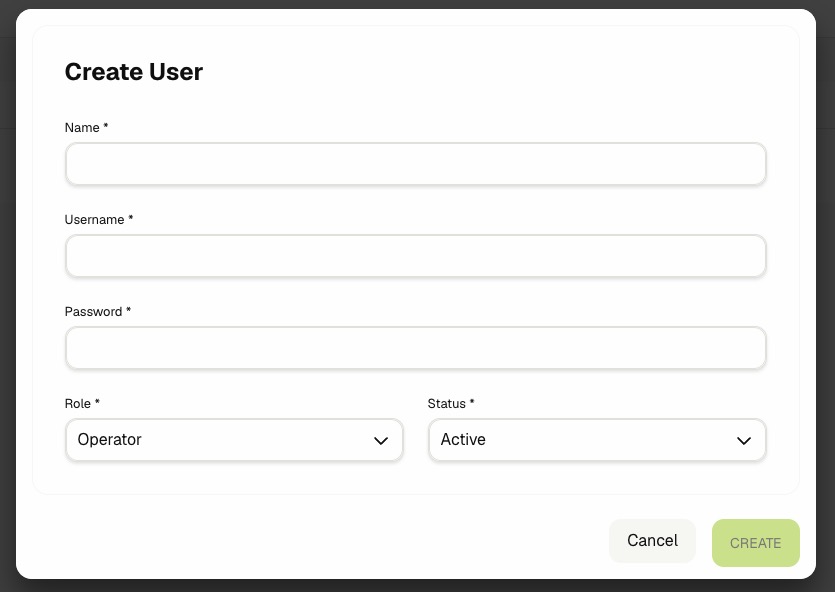
- Click Create User.
- Fill in the required fields:
- Name — Enter the user's display name.
- Username — Enter a unique username using letters, numbers, or underscores only.
- Password — Enter a password with at least 6 characters.
- Role — Select one of Admin, Engineer, or Operator.
- Status — Select Active or Inactive.
- Click Create.
- Confirm that the new user appears in the list.
⚙️ Managing User Status
- Locate the user row in the Users table.
- Use the status toggle to set the user to Active or Inactive.
- Confirm that the row reflects the new status.
info
You cannot deactivate your own currently logged-in user account.
✏️ Editing an Existing User
- Click Edit on the user row you want to update.
- Update any needed fields in the Update User form.
- Leave Password field empty if you don't want to change the password.
- Click Save.
- Confirm that the updated values appear in the users list.
🗑️ Deleting a User
warning
Deleting a user removes that account from dashboard access. Confirm the account is no longer needed before proceeding.
- Click Delete on the user row.
- Review the confirmation message.
- Click Delete in the confirmation dialog.
- Confirm that the user is removed from the list.
info
You cannot delete your own currently logged-in user account.
Related Docs
- Integrations — Connect and manage external IoT platforms.
- Activity Logs — Audit dashboard management actions, including user changes.
- Control Activity — Review runtime control command history.