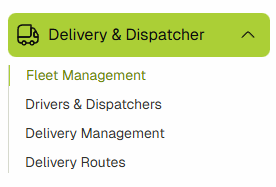
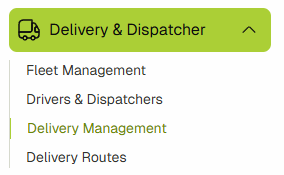
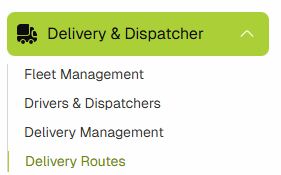
Delivery & Dispatcher
The delivery management feature in the system enables users to oversee and coordinate all aspects of deliveries, drivers, vehicles, and routes. It provides functionalities for assigning deliveries to drivers, scheduling routes, and tracking vehicles in real time. Users can manage delivery statuses, optimize routes for efficiency, and ensure timely completion of tasks. This feature ensures seamless communication between drivers and coordinators, reducing delays and improving overall logistics operations. By centralizing delivery, driver, vehicle, and route management, the system streamlines operations and enhances customer satisfaction through reliable and efficient service.
Fleet Management
This guide will show you how to use the Fleet Management feature in the Delivery & Dispatcher System.
-
Navigate to Fleet Management by clicking on the Delivery & Dispatcher link in the sidebar.

-
Once the submenu is open, click on Fleet Management.
-
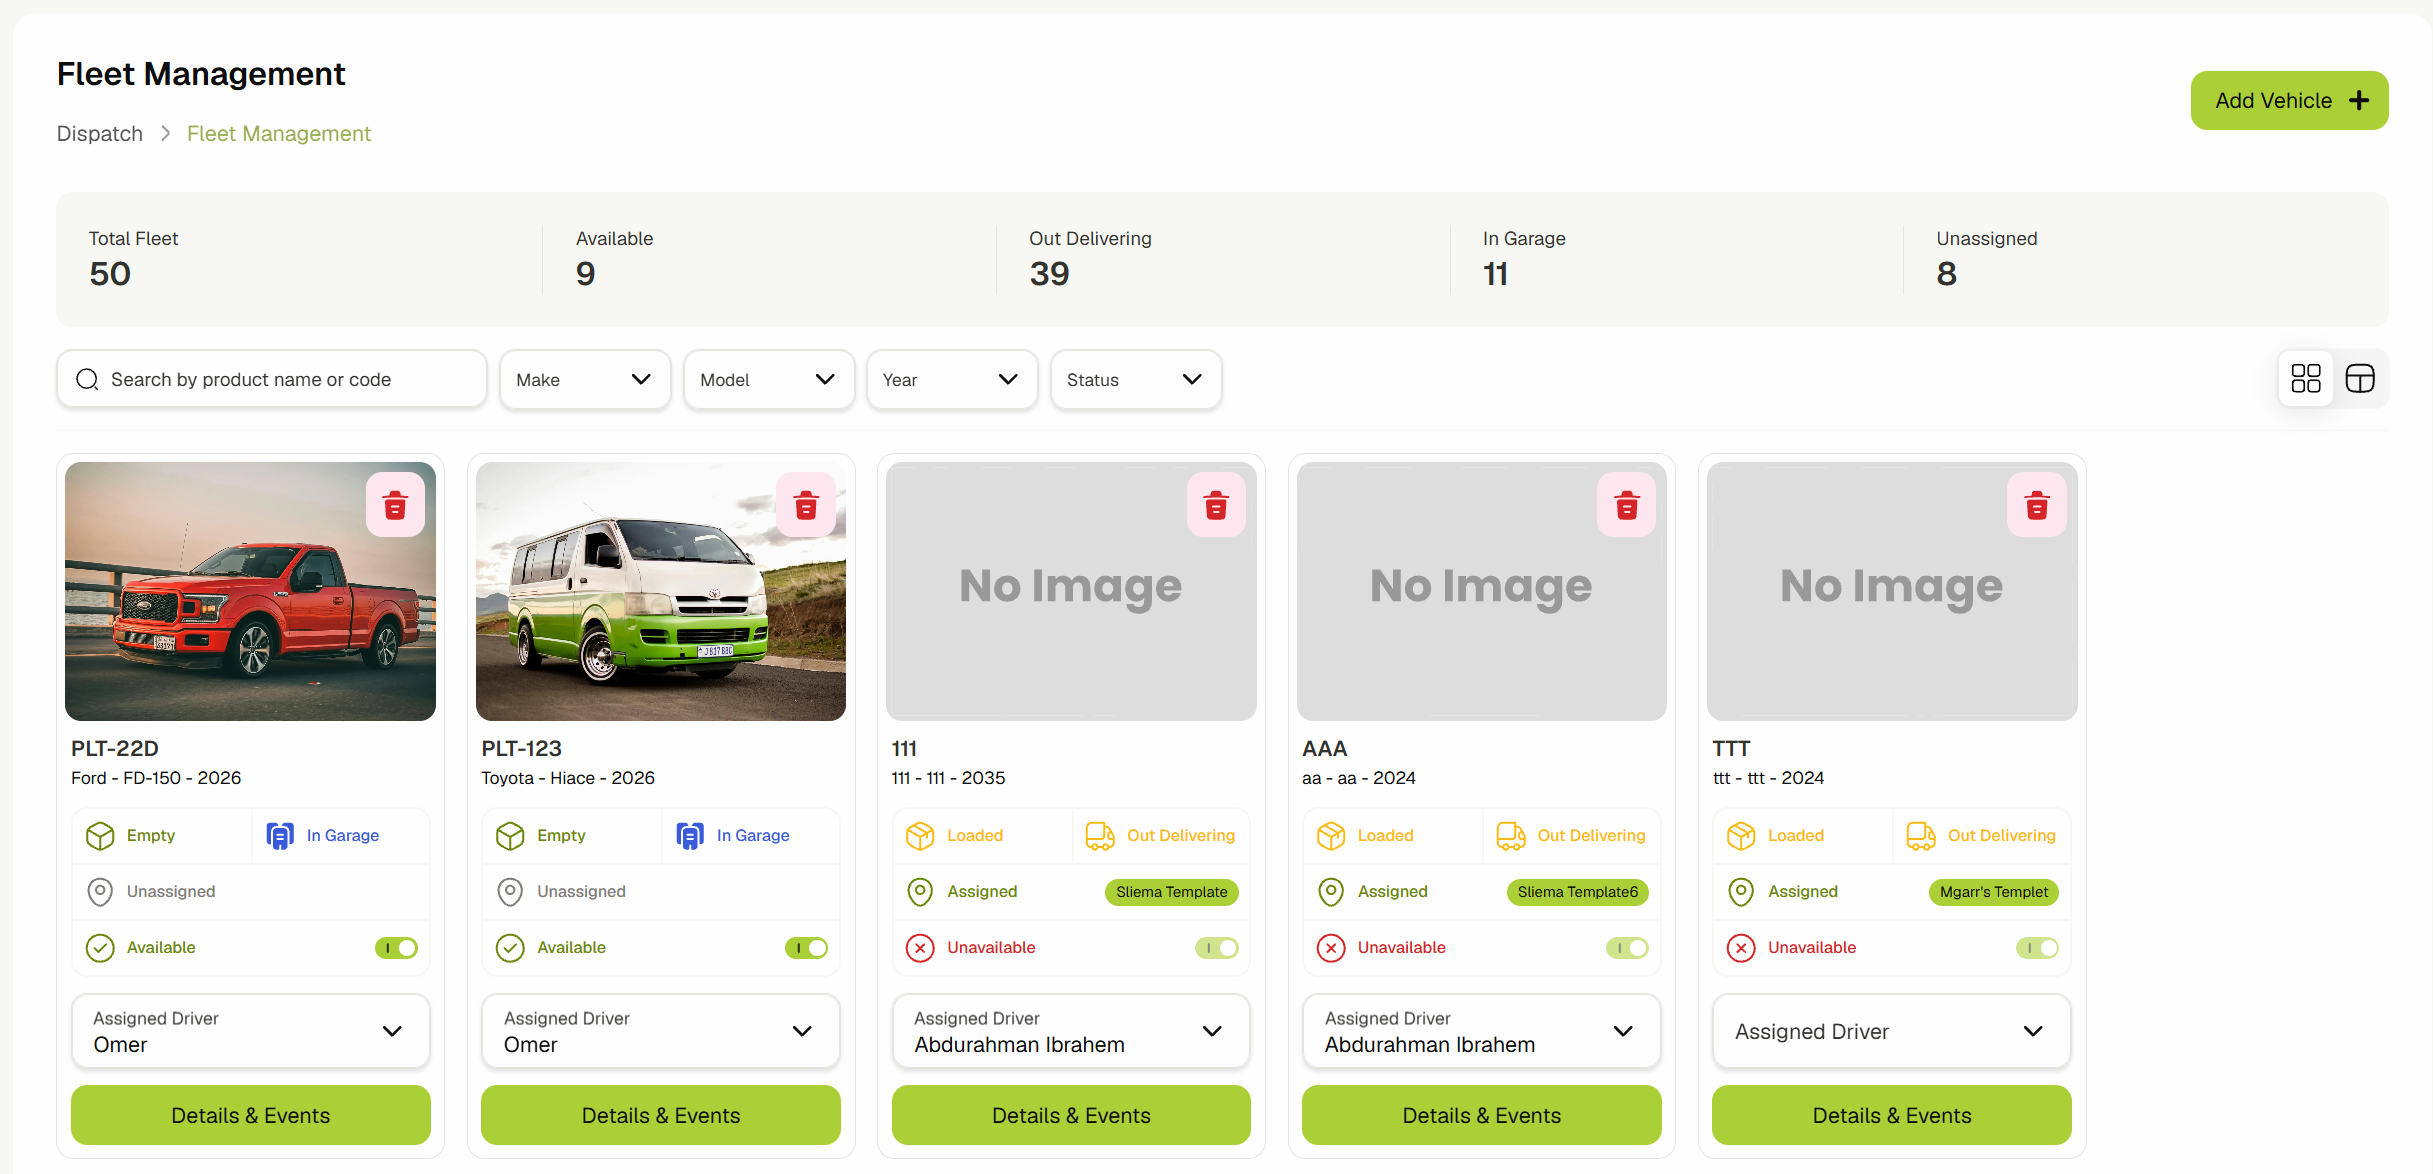
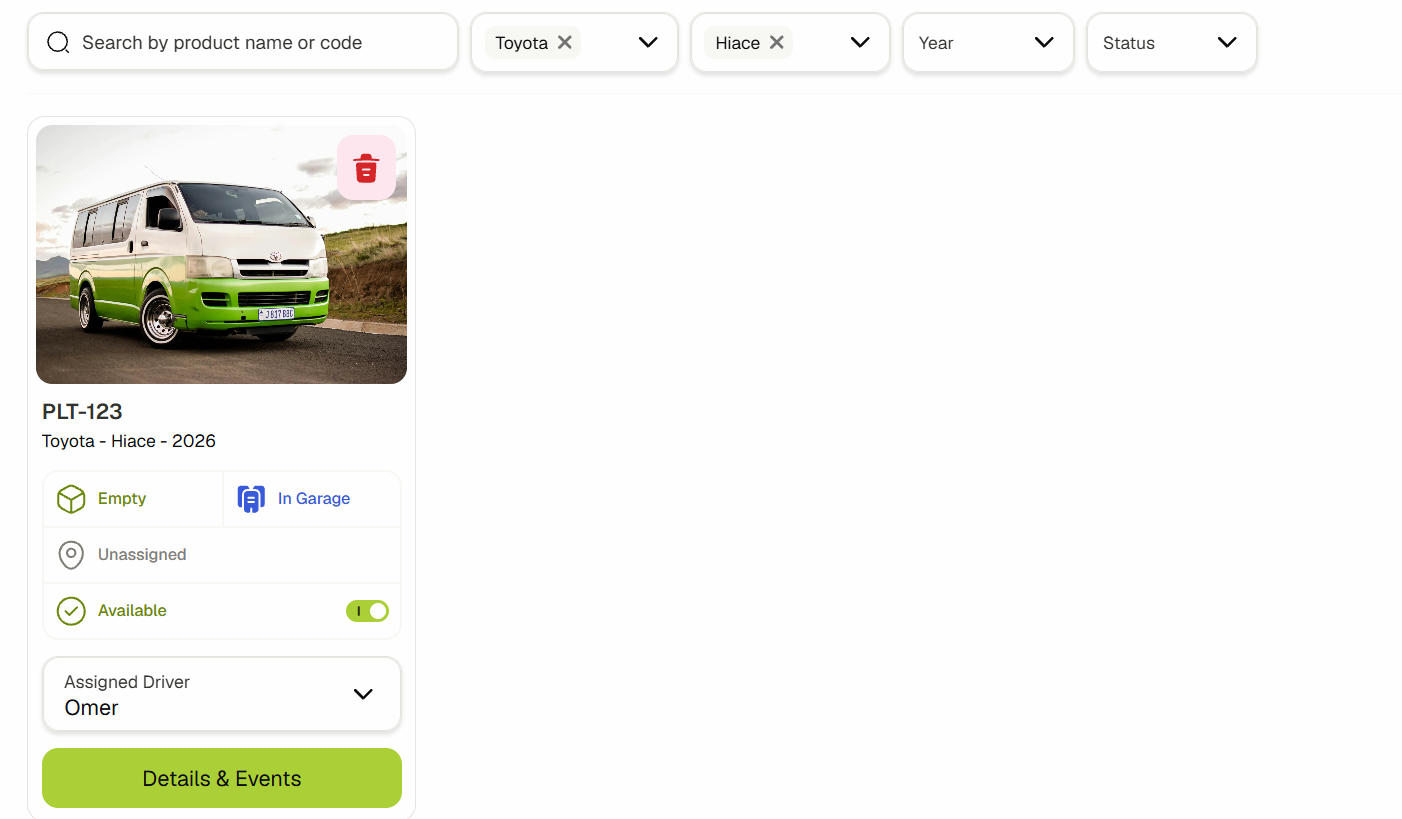
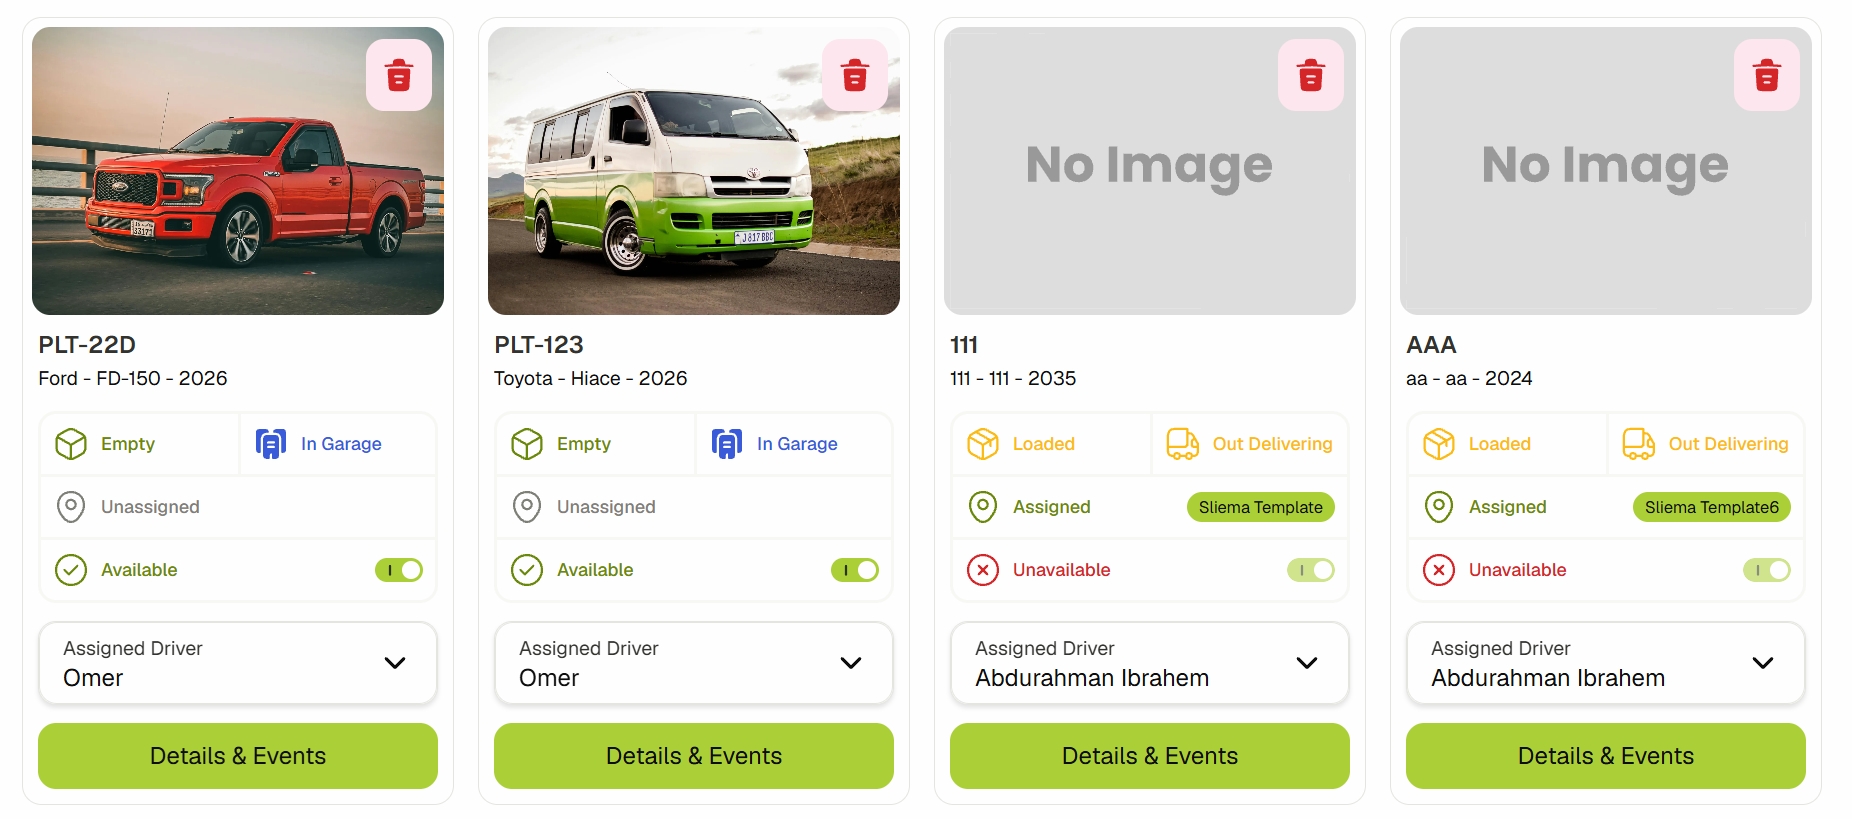
You are now in the Fleet Management/Vehicles View. You can see all your vehicles here. The page also shows an overview of key statistics, including total vehicles, available vehicles, unassigned vehicles, delivering vehicles and vehicles in the garage.
-
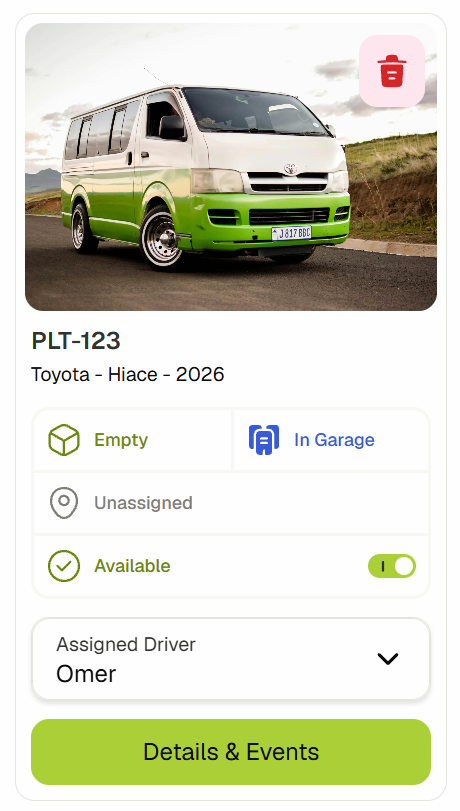
You can also switch to List view to see the vehicles in a table format. Each card or table row includes details about the individual vehicle, such as whether it is loaded or empty, in the garage or currently delivering, assigned or unassigned to a route (along with route details), and its availability or unavailability.

-
You can look for specific vehicles using the search and filter features here.
-
You can disable/enable vehicles using the toggle button in the vehicle card if the vehicle is currently not delivering.
-
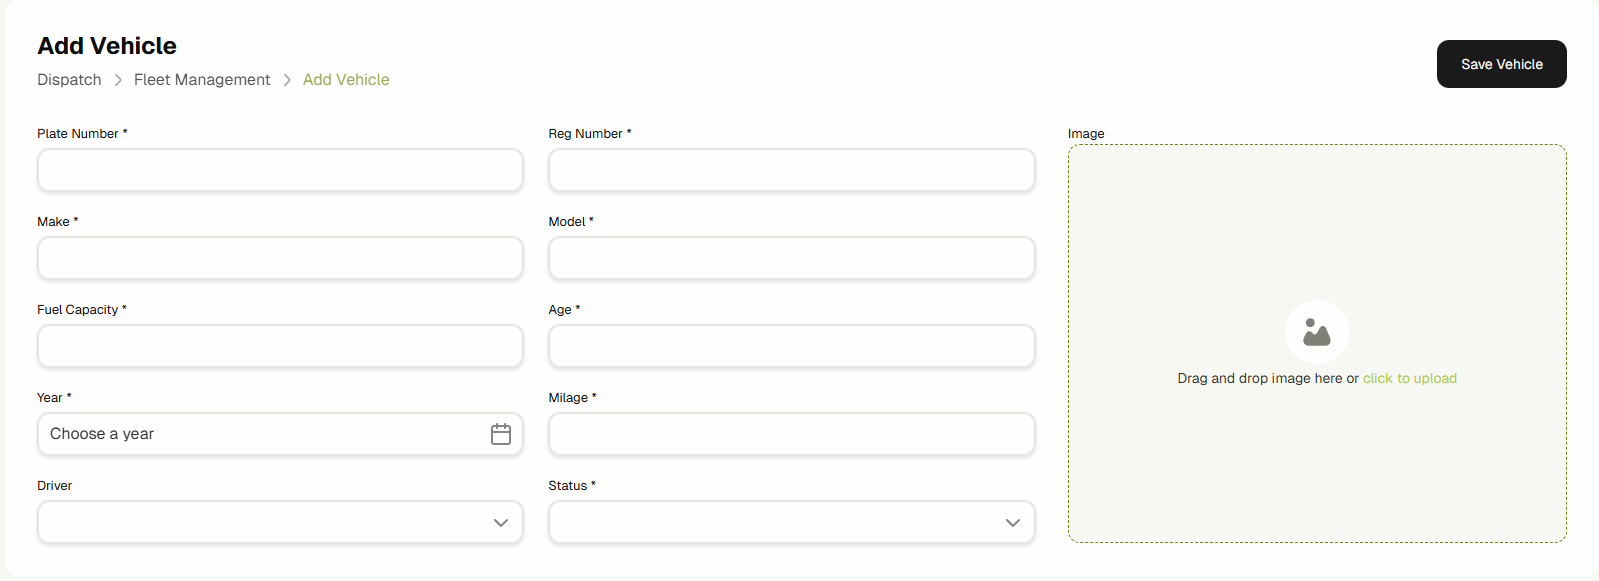
Click the Add Vehicle button to create a new vehicle. You will be navigated to the vehicle creation form.

-
Fill the inputs and click Save Vehicle.
-
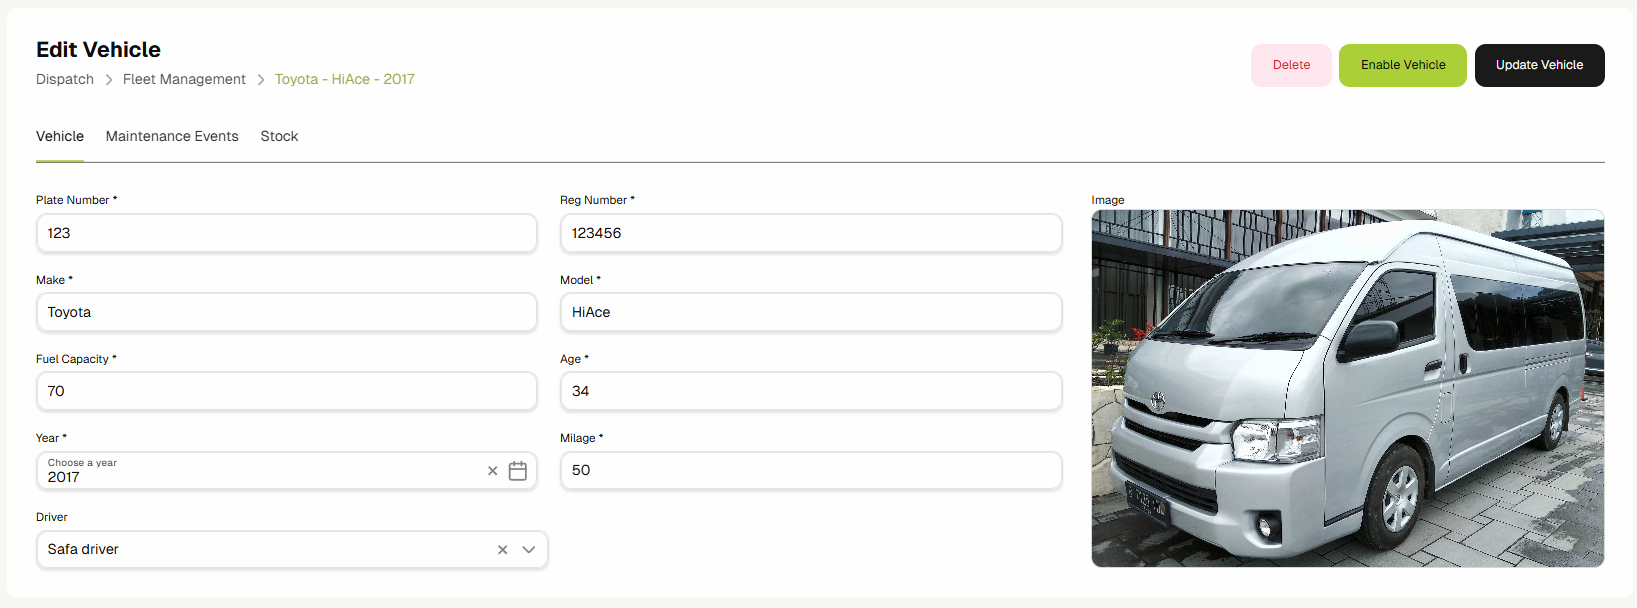
You will view the vehicle edit form view. You can only navigate to this view by clicking on the Details & Events button.
-
Once you are in the edit view on the Vehicle tab, you can make your edits and click Update Vehicle to save your changes.
-
You can disable/enable the vehicle using the buttons above the image.


-
You can delete the vehicle by clicking the Delete button.

-
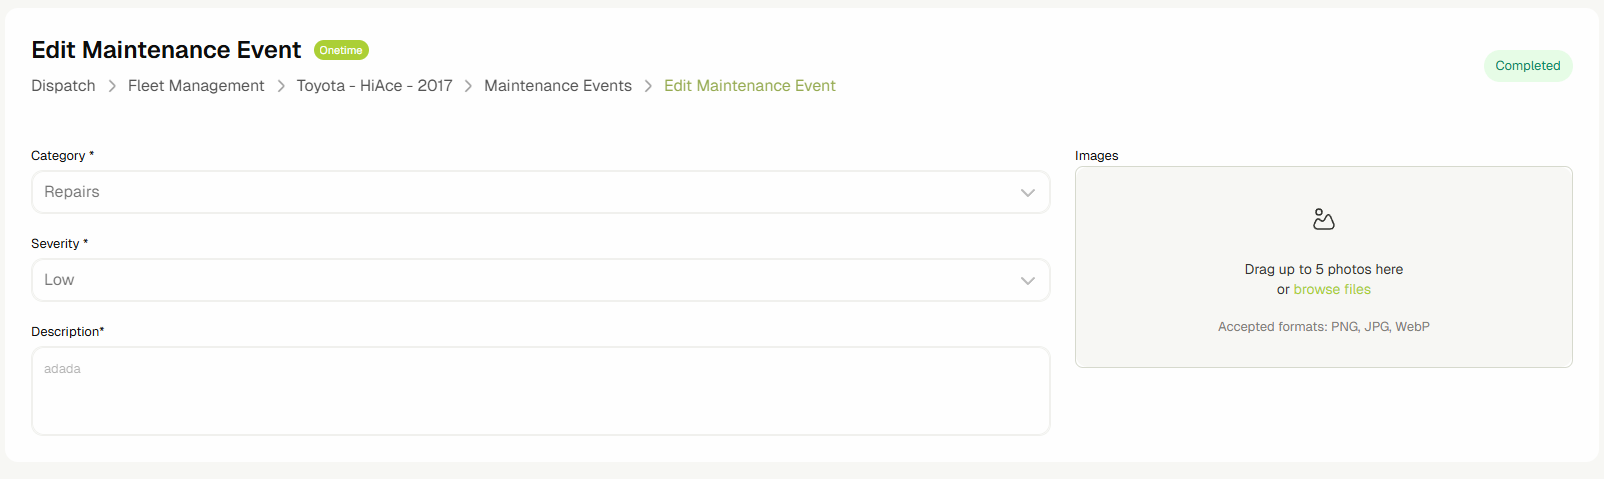
You can view the vehicle's maintenance events by clicking on the Maintenance Events tab.

-
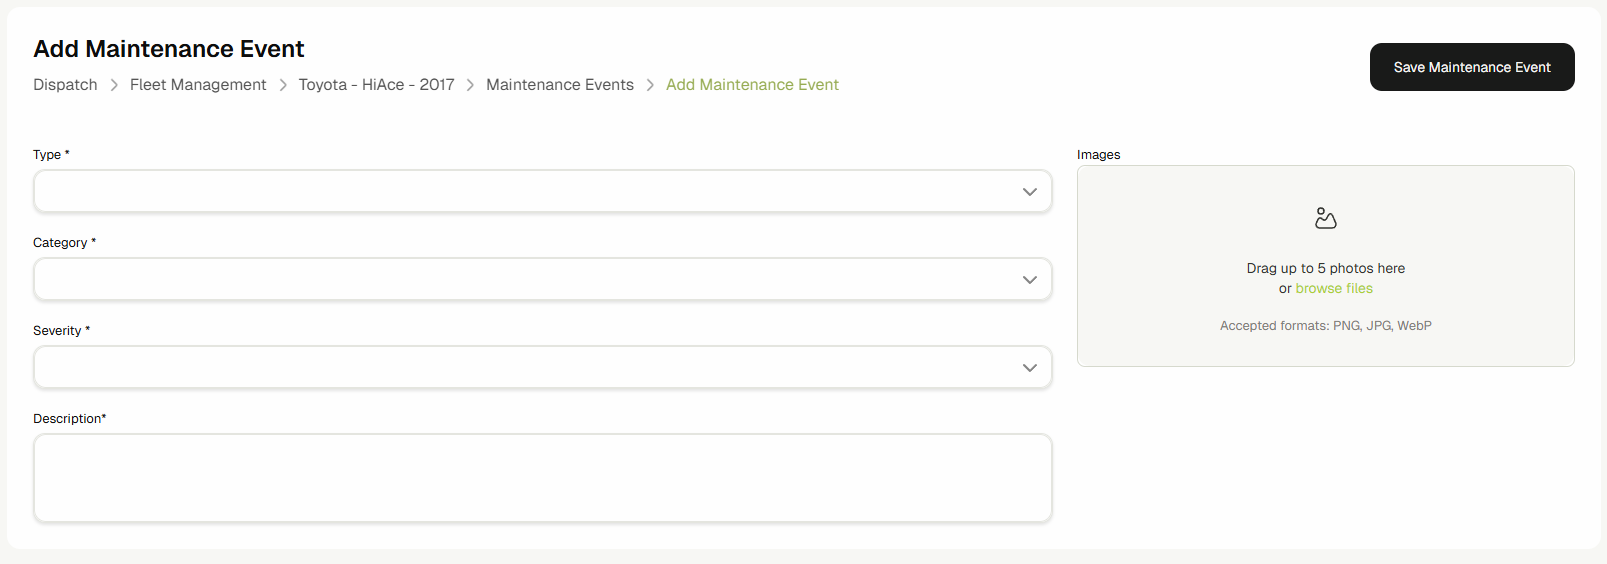
Click Add Maintenance Event to add a new event.

-
Fill the inputs and click Save Maintenance Event.
-
If the event type is One Time, it will automatically be completed and cannot be edited.
-
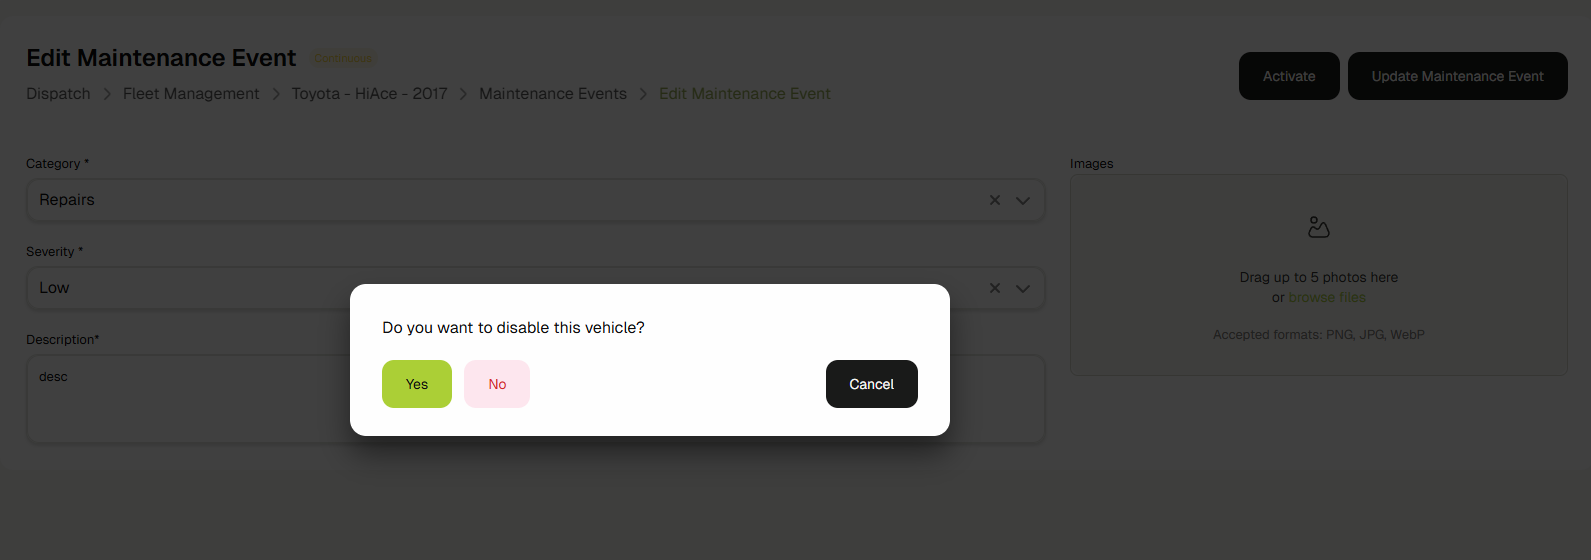
If the event type is Continuous, you can activate it by clicking the Activate button. A popup will appear where you can choose whether to disable the vehicle for this event.
-
You can complete this event by clicking on the Complete button.

-
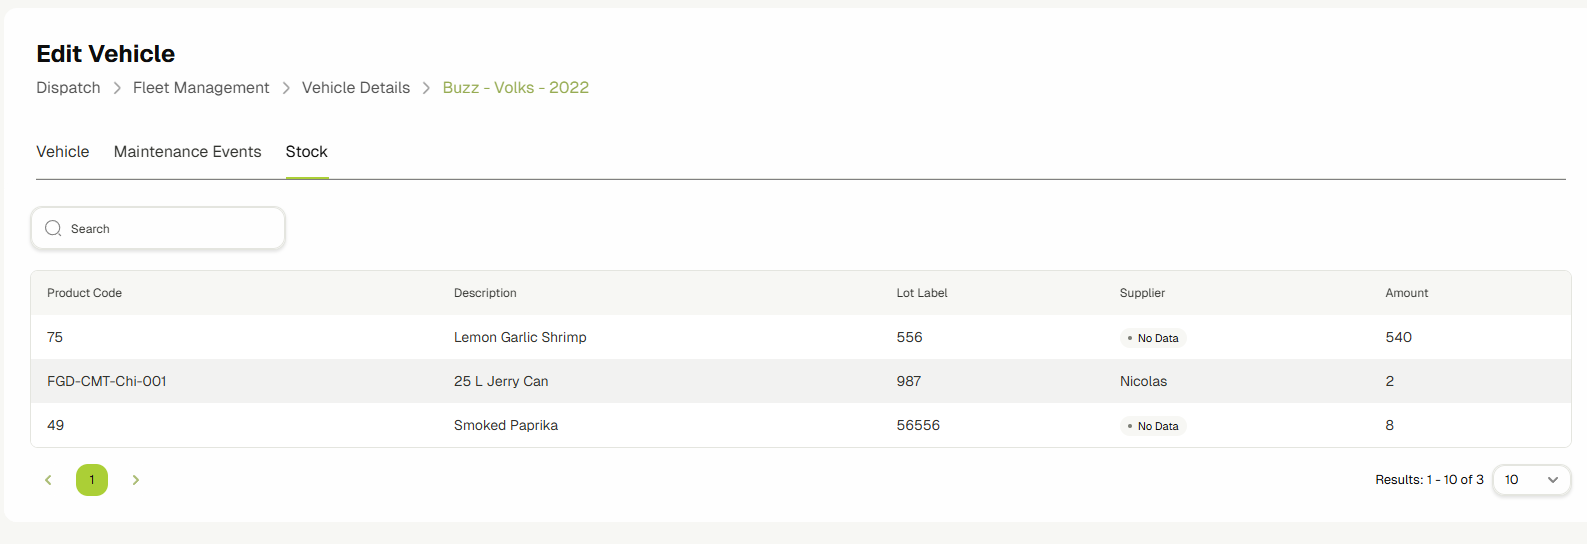
You can view the stock that is currently loaded in the vehicle by clicking on the Stock tab.
Drivers & Dispatchers
This guide provides a comprehensive overview of the Drivers & Dispatchers feature and demonstrates how to effectively assign users within the Delivery & Dispatcher System.
- Dispatchers: Users with the Dispatcher role can manage drivers and oversee routes, ensuring efficient coordination and smooth operations.
- Drivers: Users with the Driver role can be assigned to vehicles and routes. They also gain access to the ERP Companion App, enabling them to track the progress of deliveries in real-time.
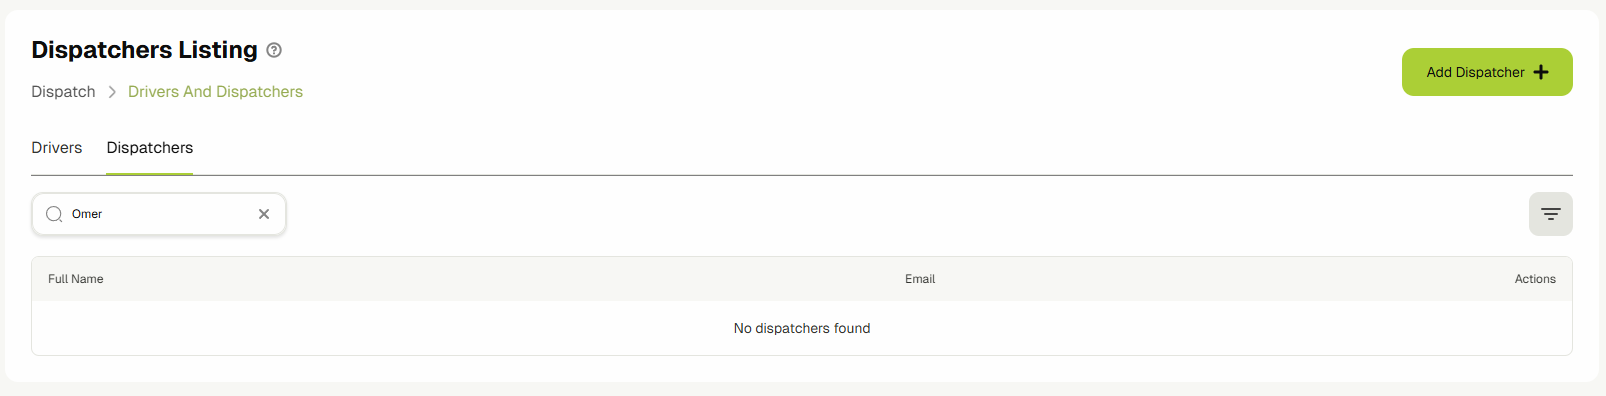
- Navigate to Delivery & Dispatcher in the sidebar and click on Drivers & Dispatchers.

- You are now in the Drivers and Dispatchers View. You can switch between the two using the tabs.
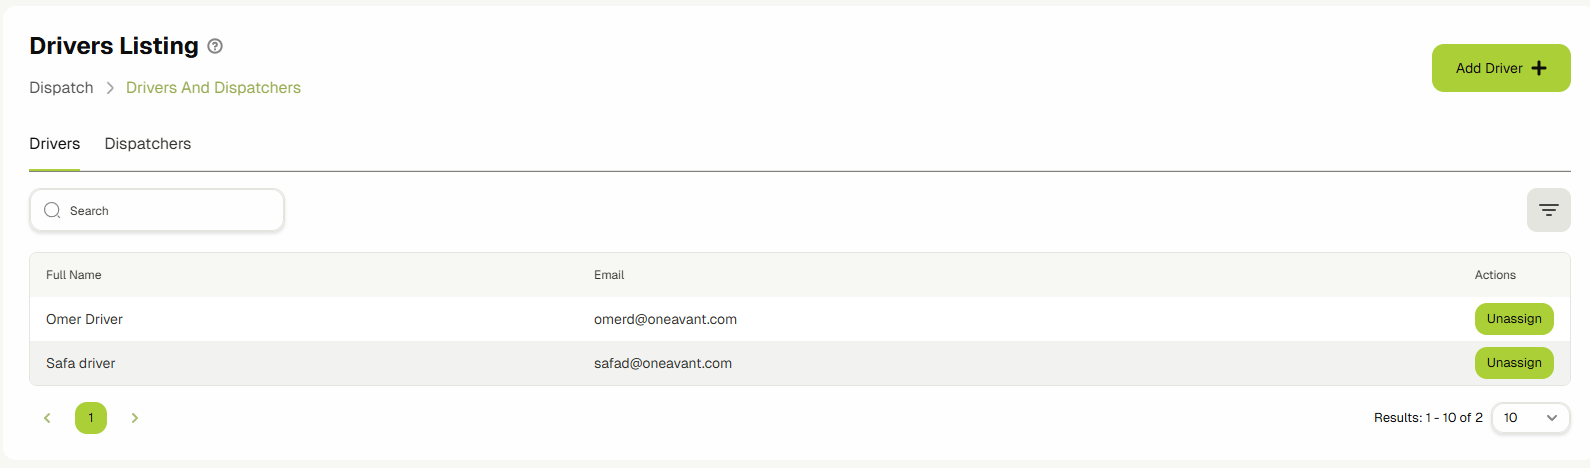
- You can find users by typing in the search bar.

- Remove a role from a user by clicking the Unassign button.

- Assign new drivers or dispatchers by selecting the desired tab and clicking the Add button.
- In the management view, you can assign roles using the Add icon or remove them using the Remove icon.

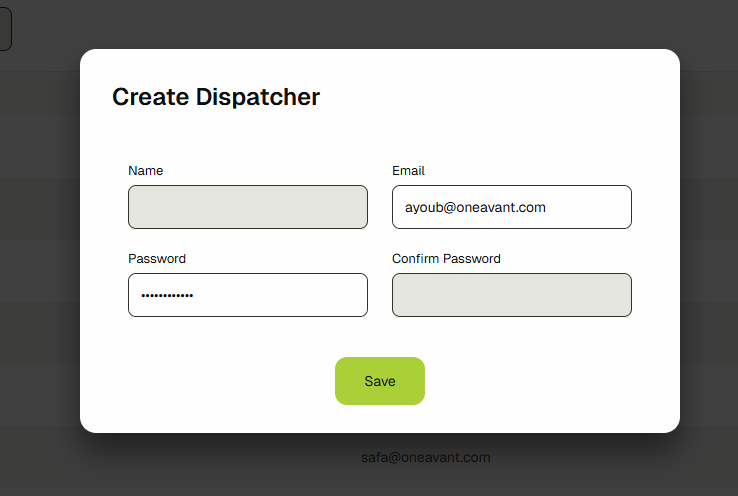
- You can also create a new user and assign them a role using the Create Driver/Dispatcher buttons.
Delivery Management
This guide explains how to effectively utilize the Delivery Management feature to oversee and control your delivery operations.
- Navigate to Delivery & Dispatcher > Delivery Management.
- You will be navigated to the Delivery Management View.
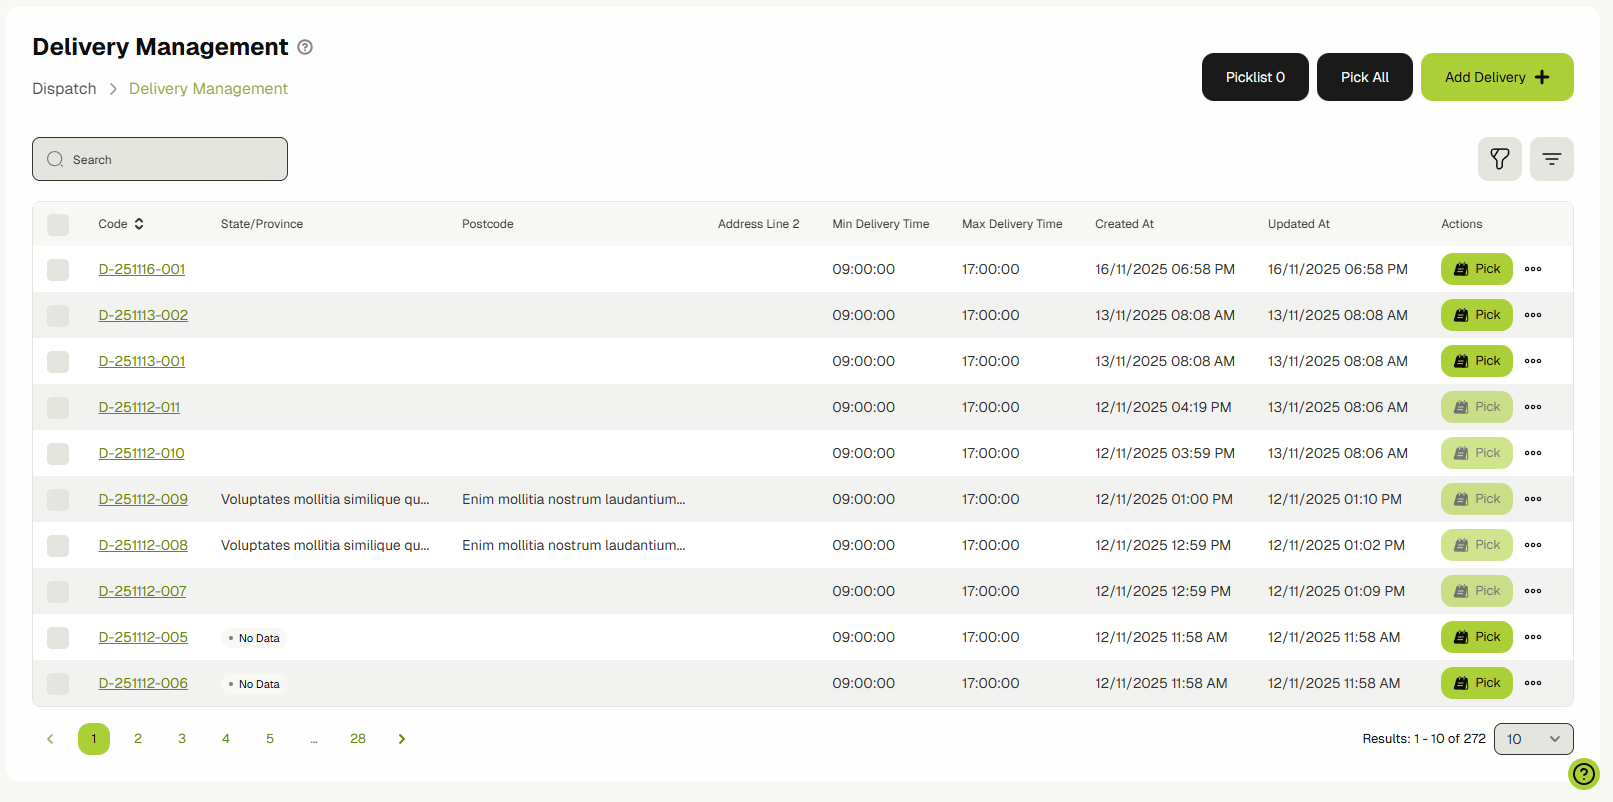
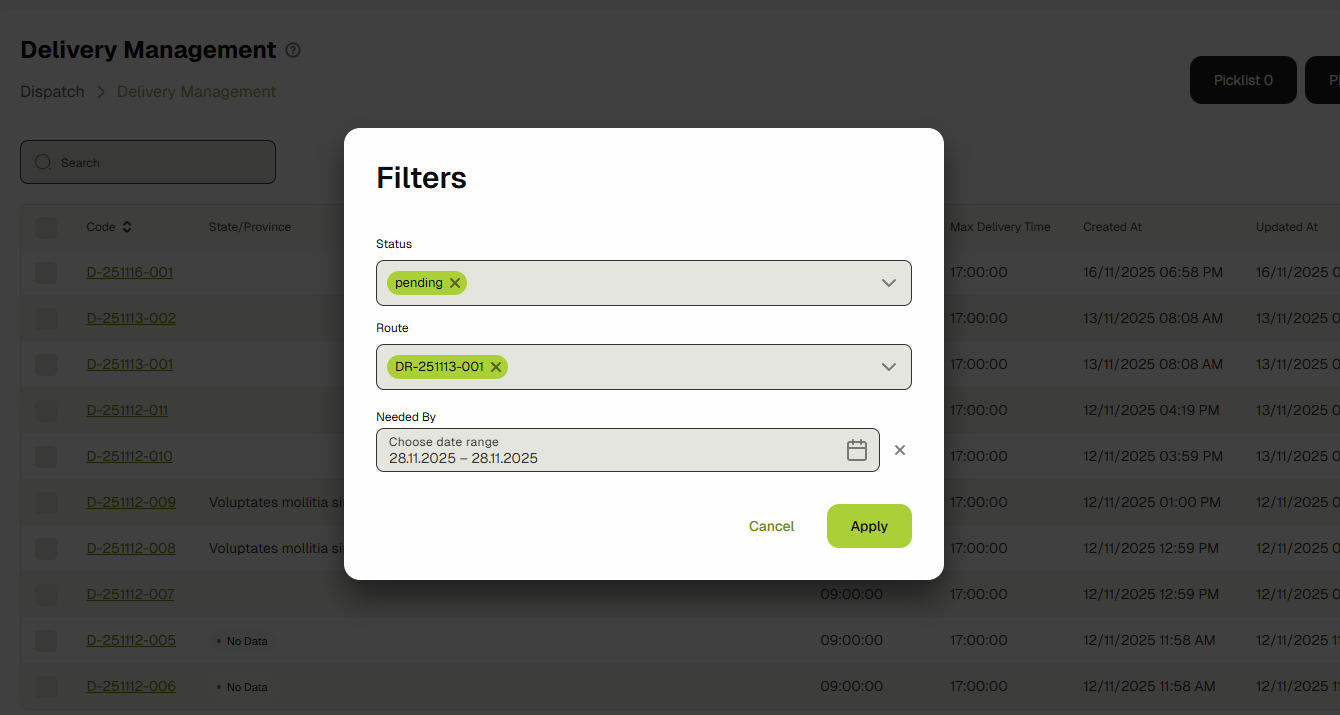
- Find specific deliveries using the search bar or filters.
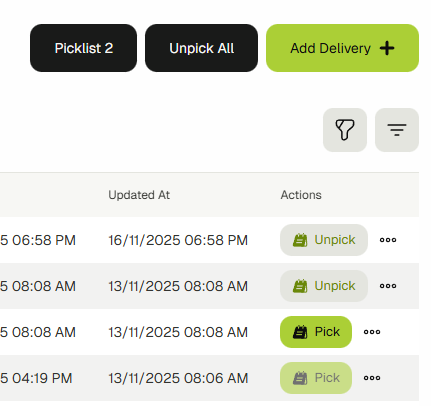
- Pick and unpick deliveries using the buttons at the top.
- Click the Add Delivery button to create a new delivery.

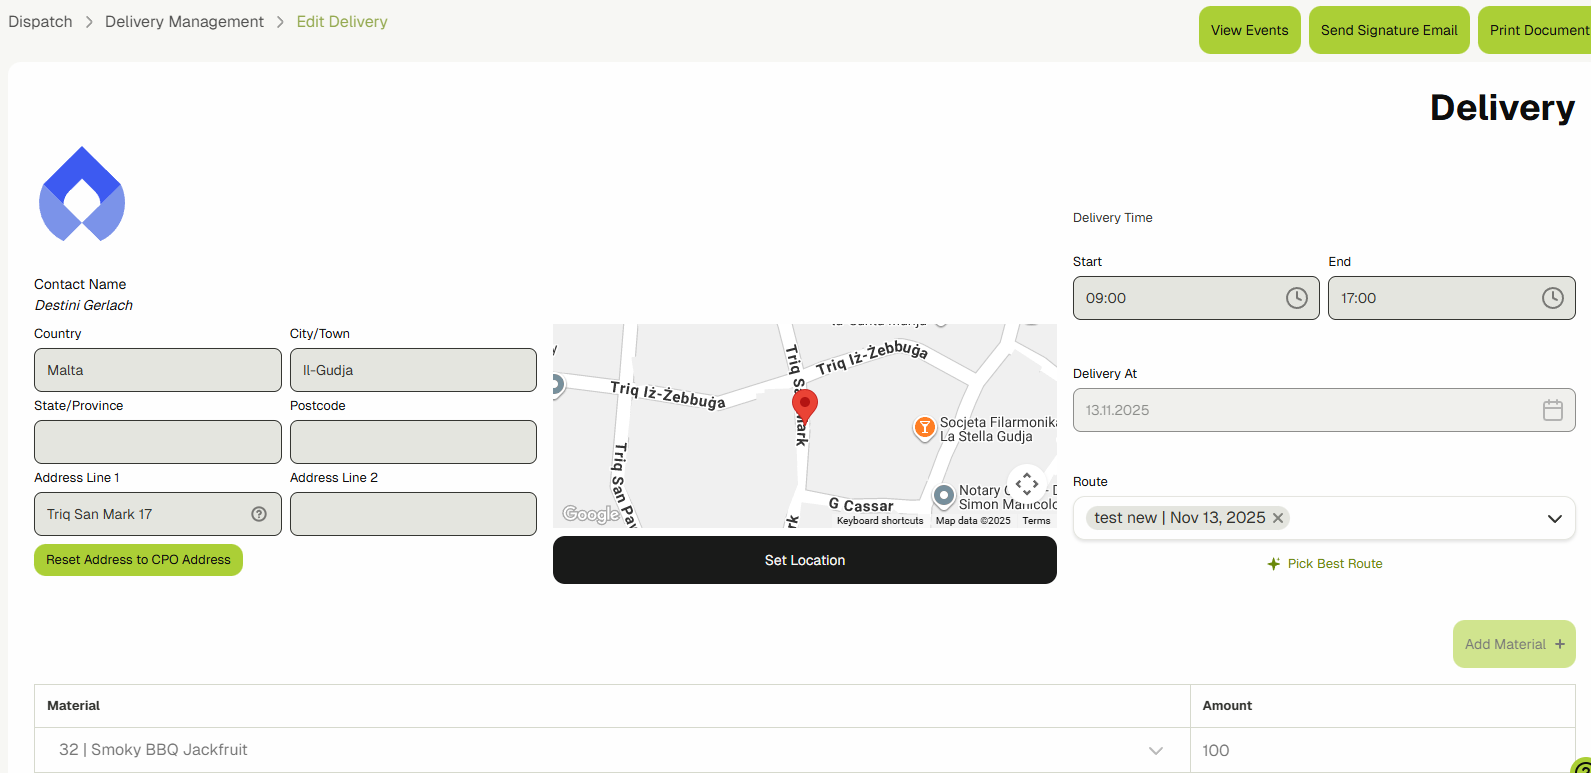
- Fill in the form, select the location, and add products. You can also attach a delivery route using a template or by creating a new one.
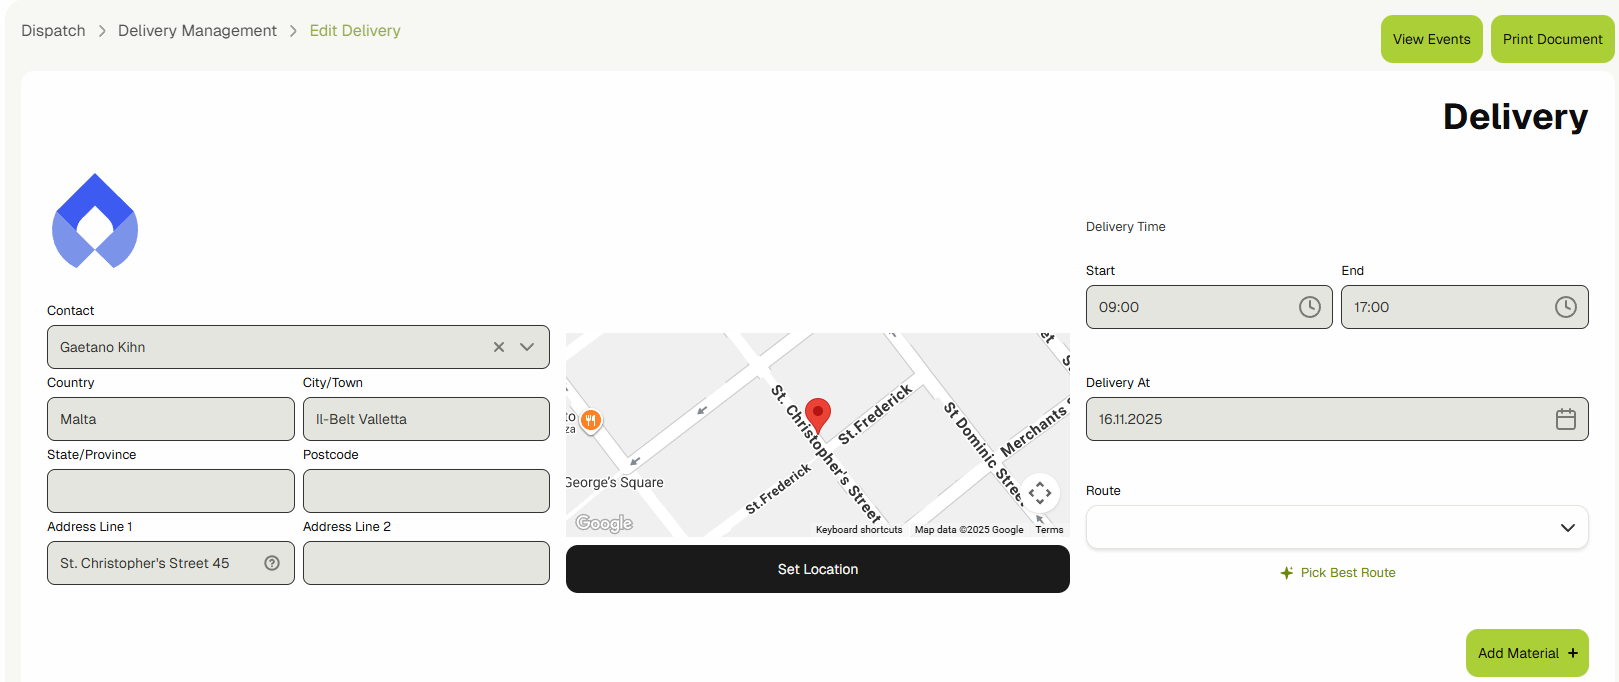
- Once a delivery is saved, you can edit details, view events, print documents, manage the picklist, or delete it.
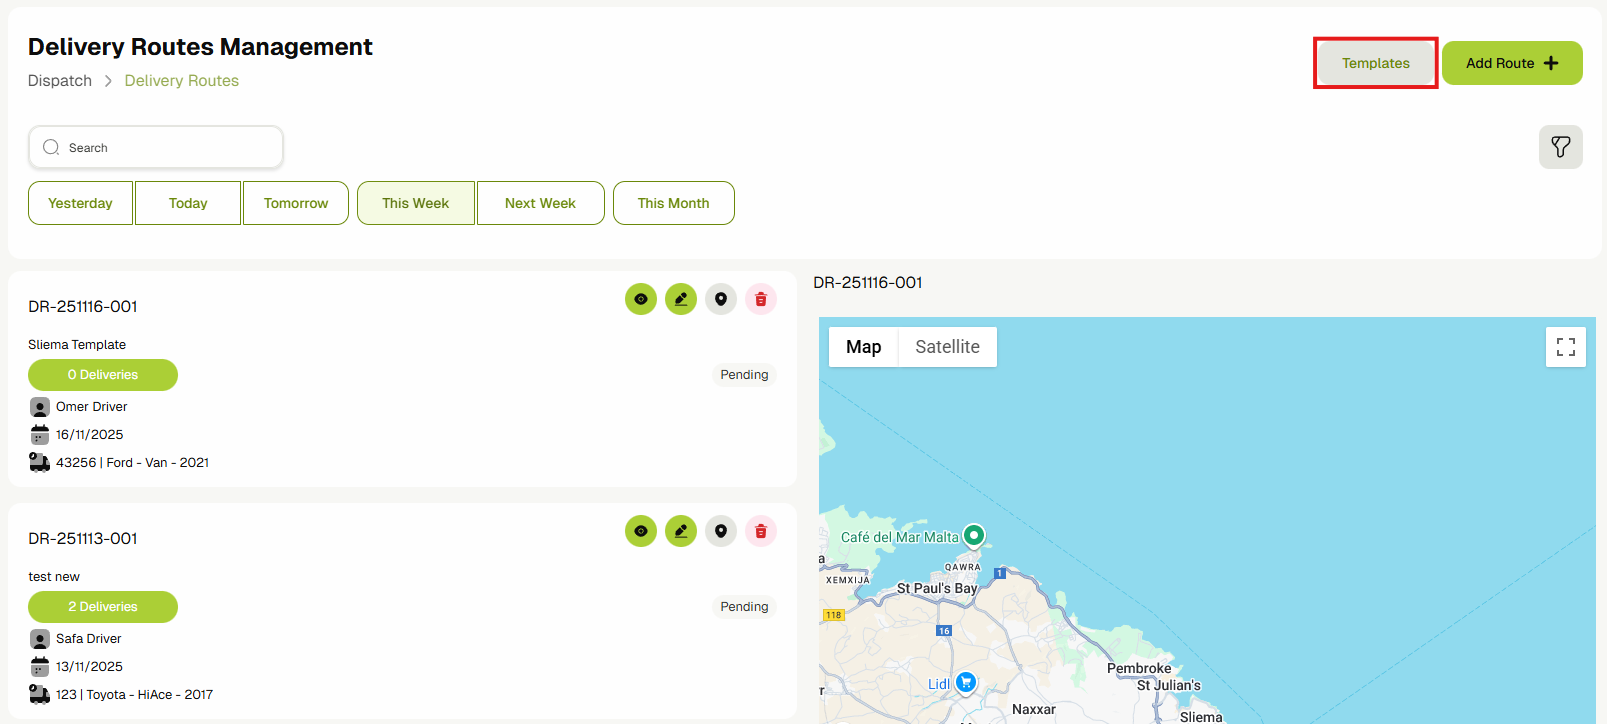
Delivery Routes
The Delivery Routes feature provides a comprehensive solution for managing delivery operations with efficiency and precision.
- Navigate to Delivery & Dispatcher > Delivery Routes.
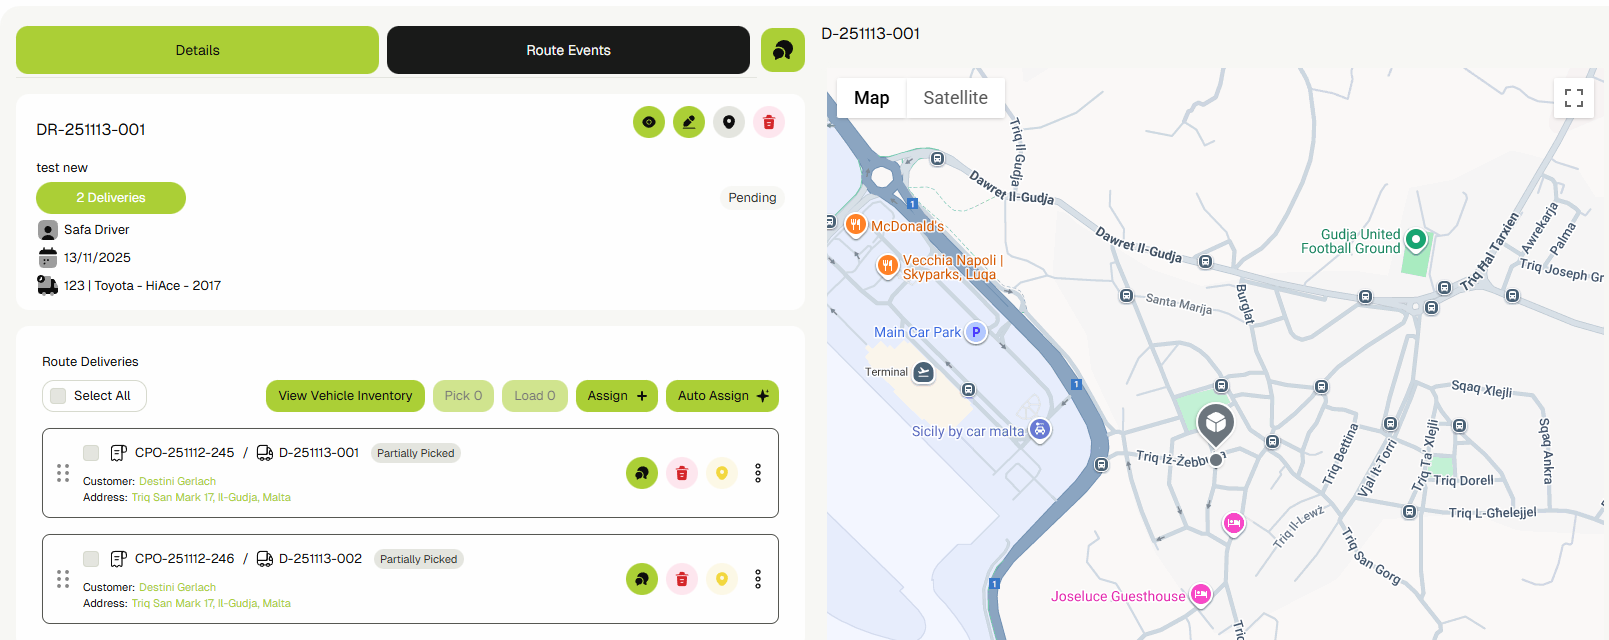
- You will be navigated to the Delivery Routes View.

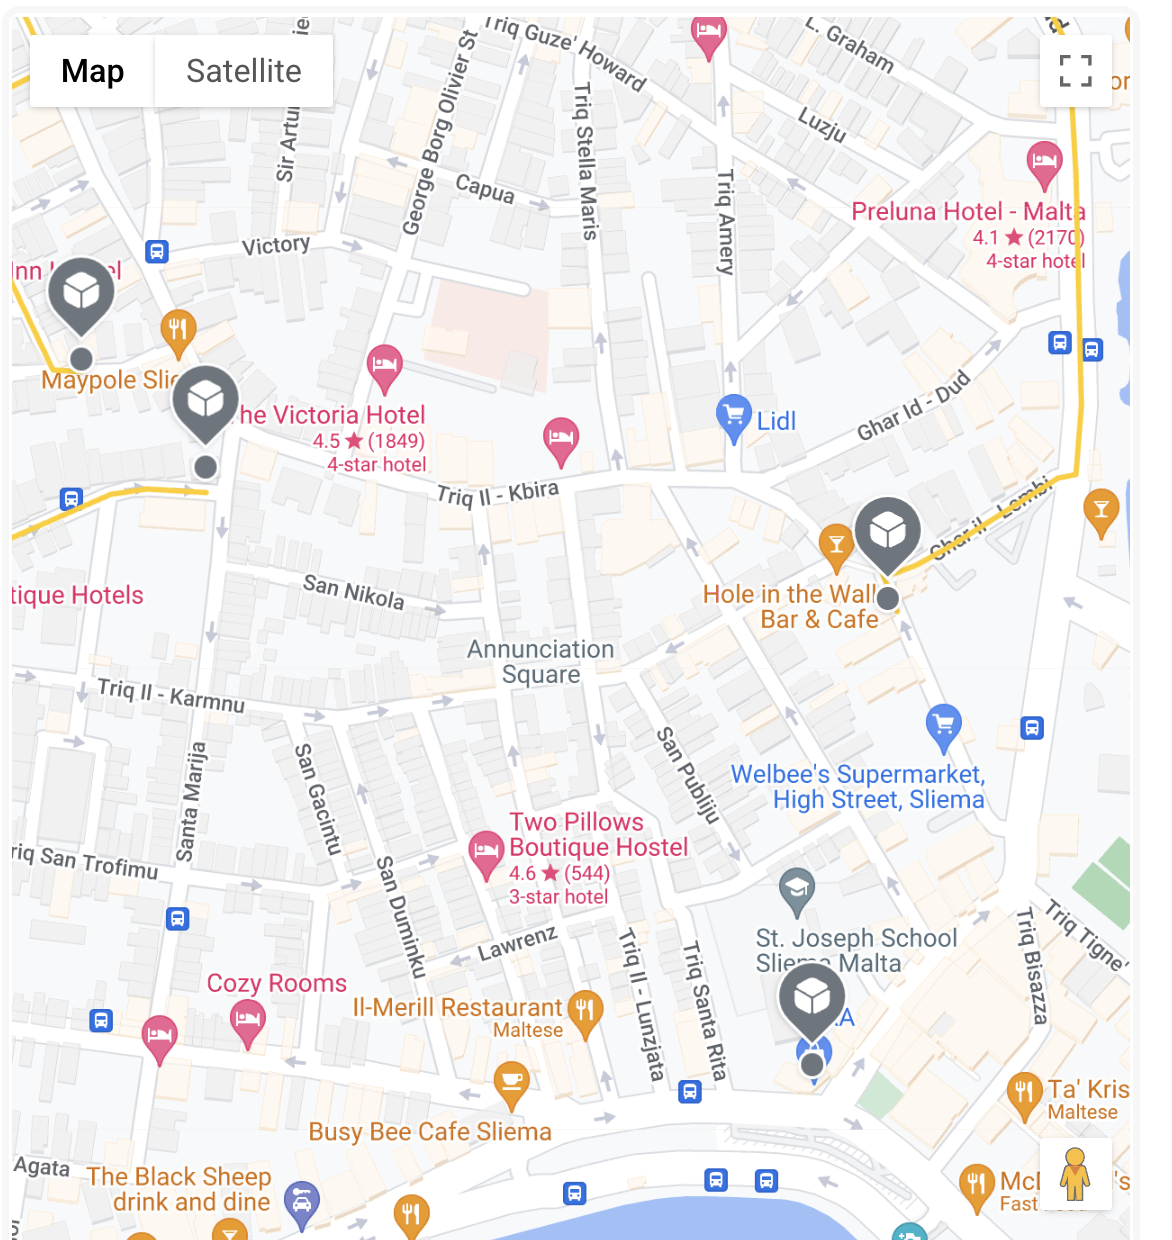
- You can filter routes by status and view deliveries on the map.
- Click the Add Route button to create a new route, either manually or from a template.

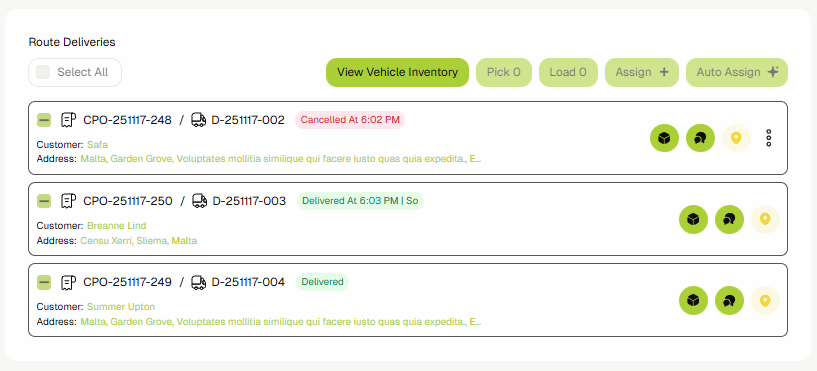
- In the route view, you can manage deliveries, view stock, assign new deliveries, and reorder them using drag and drop.
- You can track delivery progress on the map and send messages to drivers.
Delivery Route Templates
You can quickly create Delivery Routes by using templates.
- Navigate to Delivery & Dispatcher > Delivery Routes and click the Templates button.
- Click Add Template to open the template form.

- Fill out the form and click Save Template.
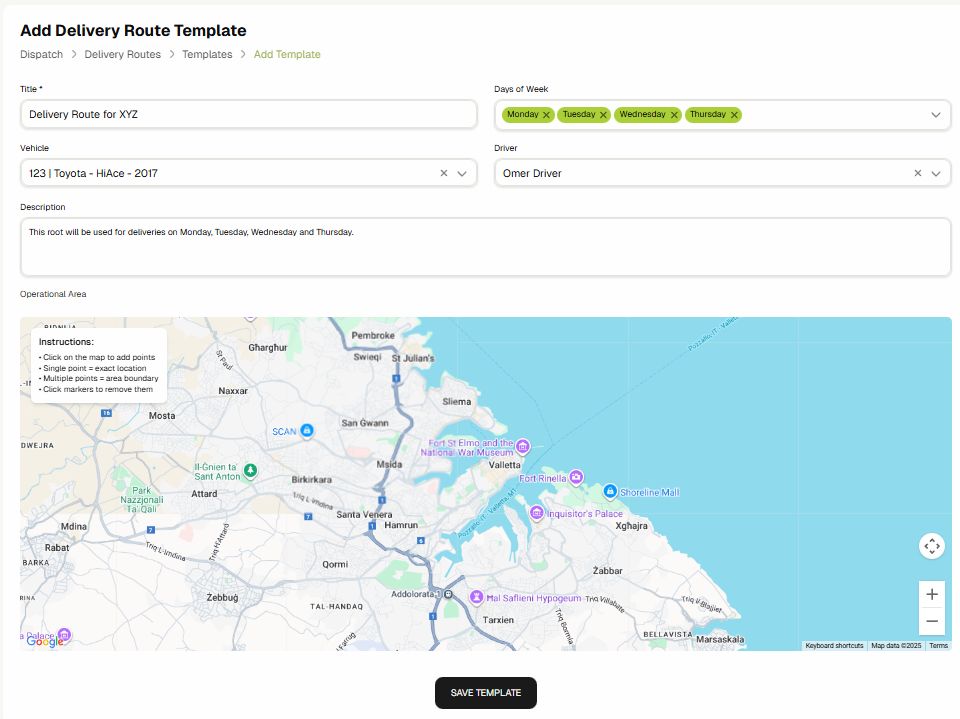
- Once saved, the template will be available for selection when creating new routes.
