Ecommerce
Ecommerce Settings
Ecommerce is a submodule within ERP, a marketplace platform that allows users to browse products and place orders directly through the web application.
To make the most of the Ecommerce module and get started smoothly, there are five key settings you should configure:
- Enable Ecommerce – Activate the module to start using its features.
- Sign-In Requirement – Decide whether users must be signed in to place orders.
- Enable Sign-Up – Allow new users to register through the platform.
- SEO Configuration – Set up and optimize SEO settings to improve visibility and search performance.
- Making Price Available - Configure a specific price to be visible on the Ecommerce website.
Note: Each of these settings will be covered in detail in this guide, providing step-by-step instructions and best practices.
Enable Ecommerce
Managing Ecommerce Website Availability
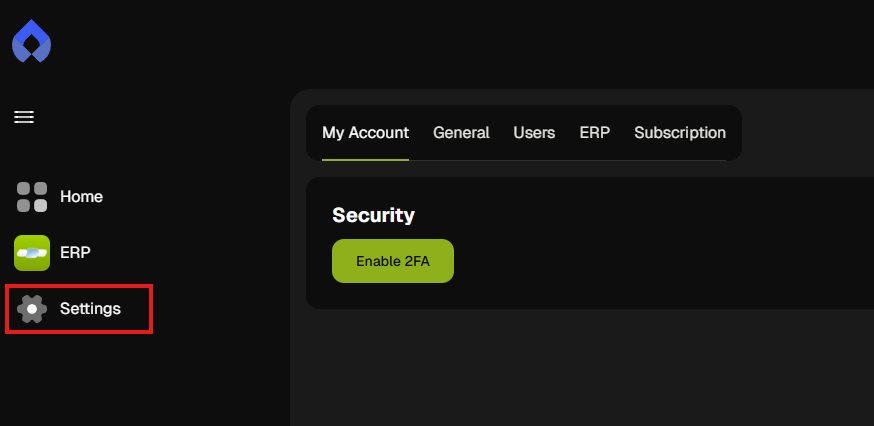
- From the dashboard sidebar, click on Settings.
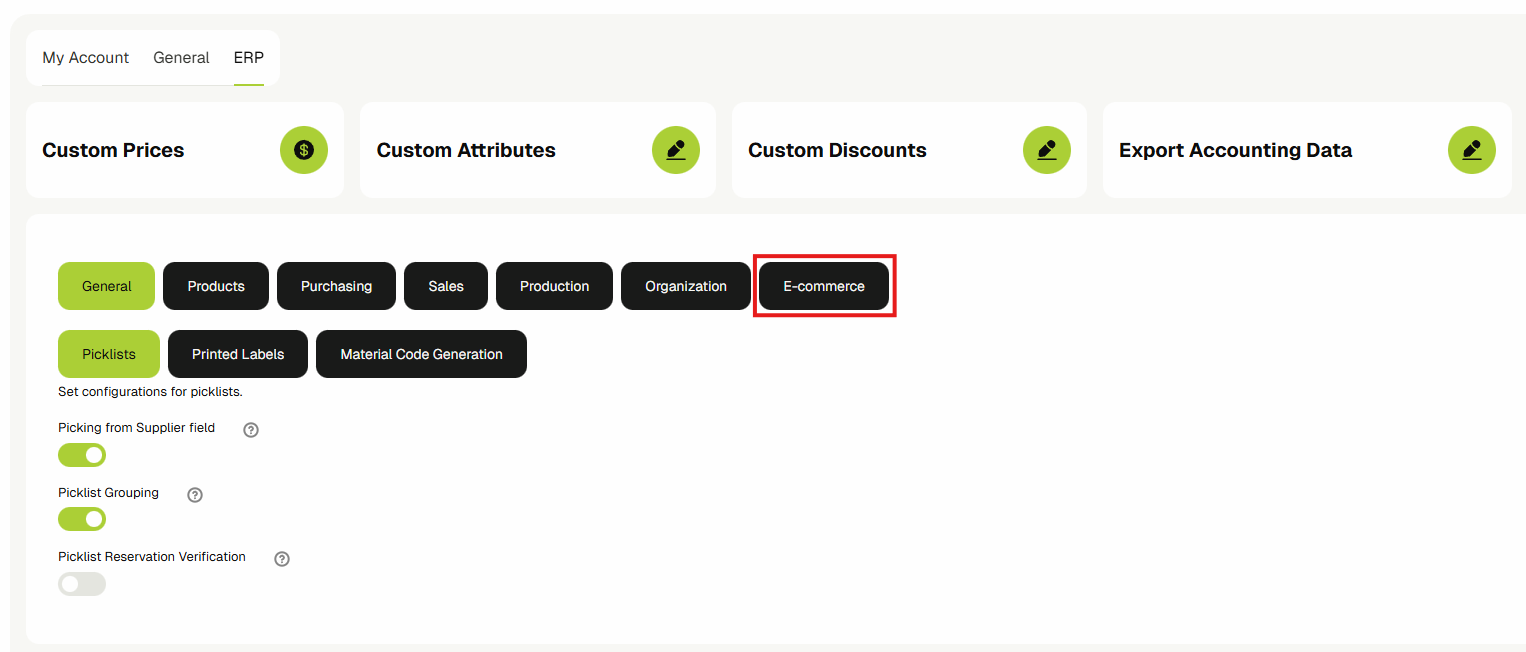
- Click on the ERP tab.

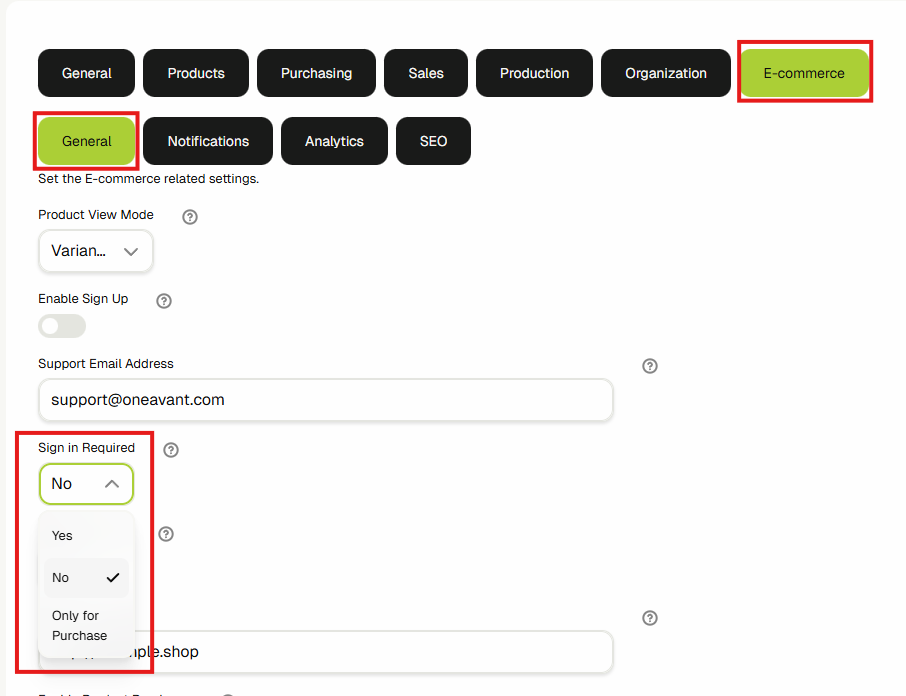
- Then click on the E-commerce chip.
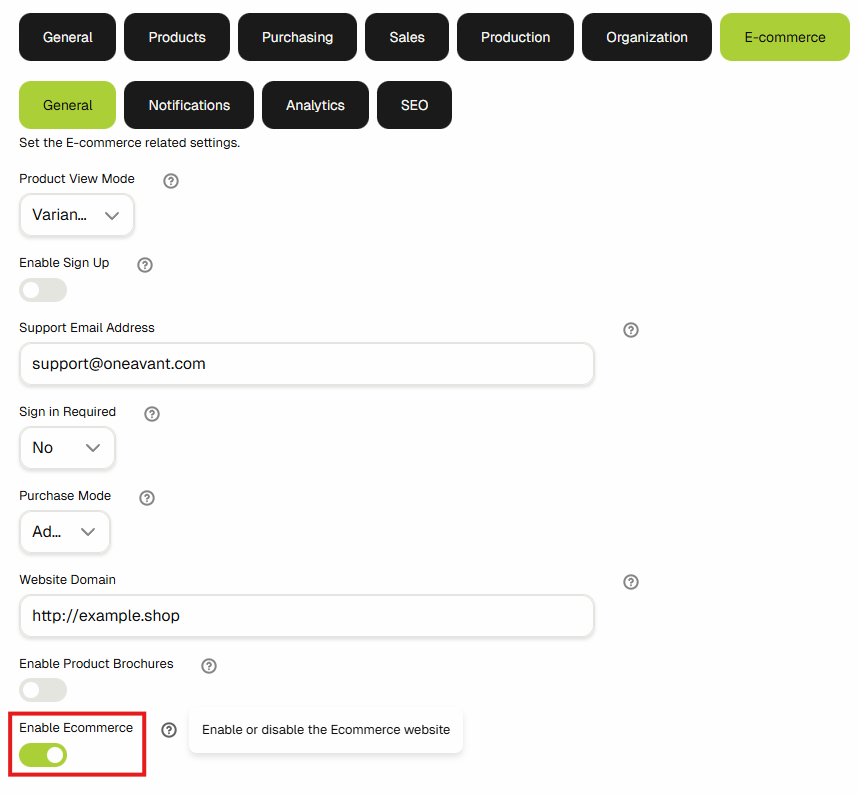
- Inside the General chip, check the Enable Ecommerce switch to activate or deactivate the Ecommerce Website.
Sign-In Requirement
Guest Sign-In Configuration Options
The application offers three options for handling guest sign-in behavior:
- No: Allows guests to place orders without signing up.
- Yes: Requires guests to sign in to access the app and browse products.
- Only for purchase: Guests are only asked to sign up/in when they are placing an order.
To configure this setting:
- Navigate to Settings.
- Navigate to the Sales tab, then select the Ecommerce section. Under the Sign-In Required setting, you’ll find the available options.
Enable Sign-Up
Configure user registration settings to allow new customers to create accounts from the storefront.
- From the dashboard sidebar, click on Settings.
- Click on the ERP tab.
- Then click on the E-commerce chip.
- In the General chip, you will find the Enable Sign up switch to allow users to create an account.

SEO Configuration
SEO (Search Engine Optimization) is the practice of improving your site's visibility in search engines by configuring meta titles, descriptions, and keywords for important pages.
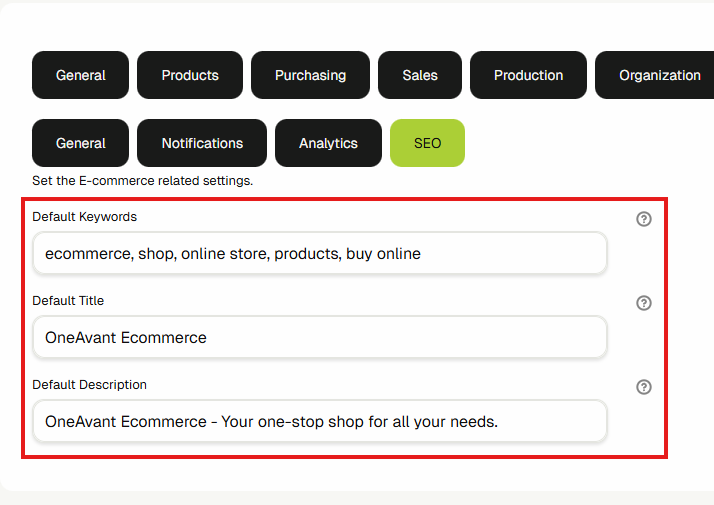
Through the Ecommerce settings, you can edit the following:
- Title of the Ecommerce website
- Description of the Ecommerce website, which will be visible to guests
- Keywords which act as tags to improve searchability
Here is the step-by-step process:
- From the dashboard sidebar, click on Settings.
- Click on the ERP tab.
- Then click on the E-commerce chip.
- Click on the SEO chip.
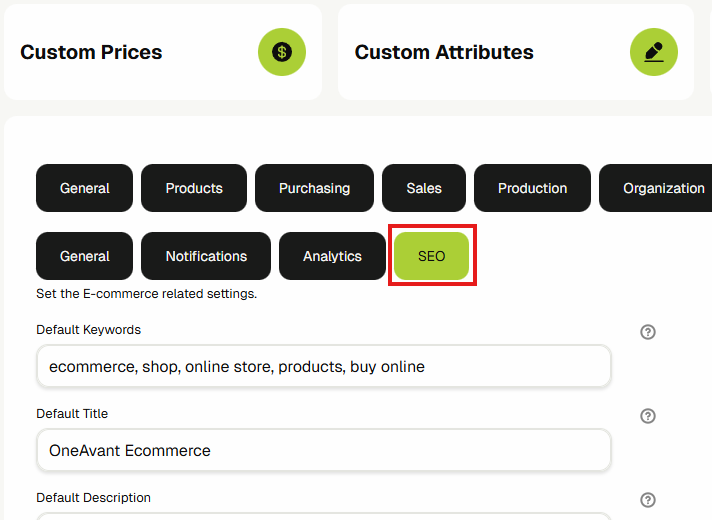
- Below the SEO chip, you'll find the default title, description, and keywords, which you can customize.
Making Prices Available
Steps to make a price available in Ecommerce:
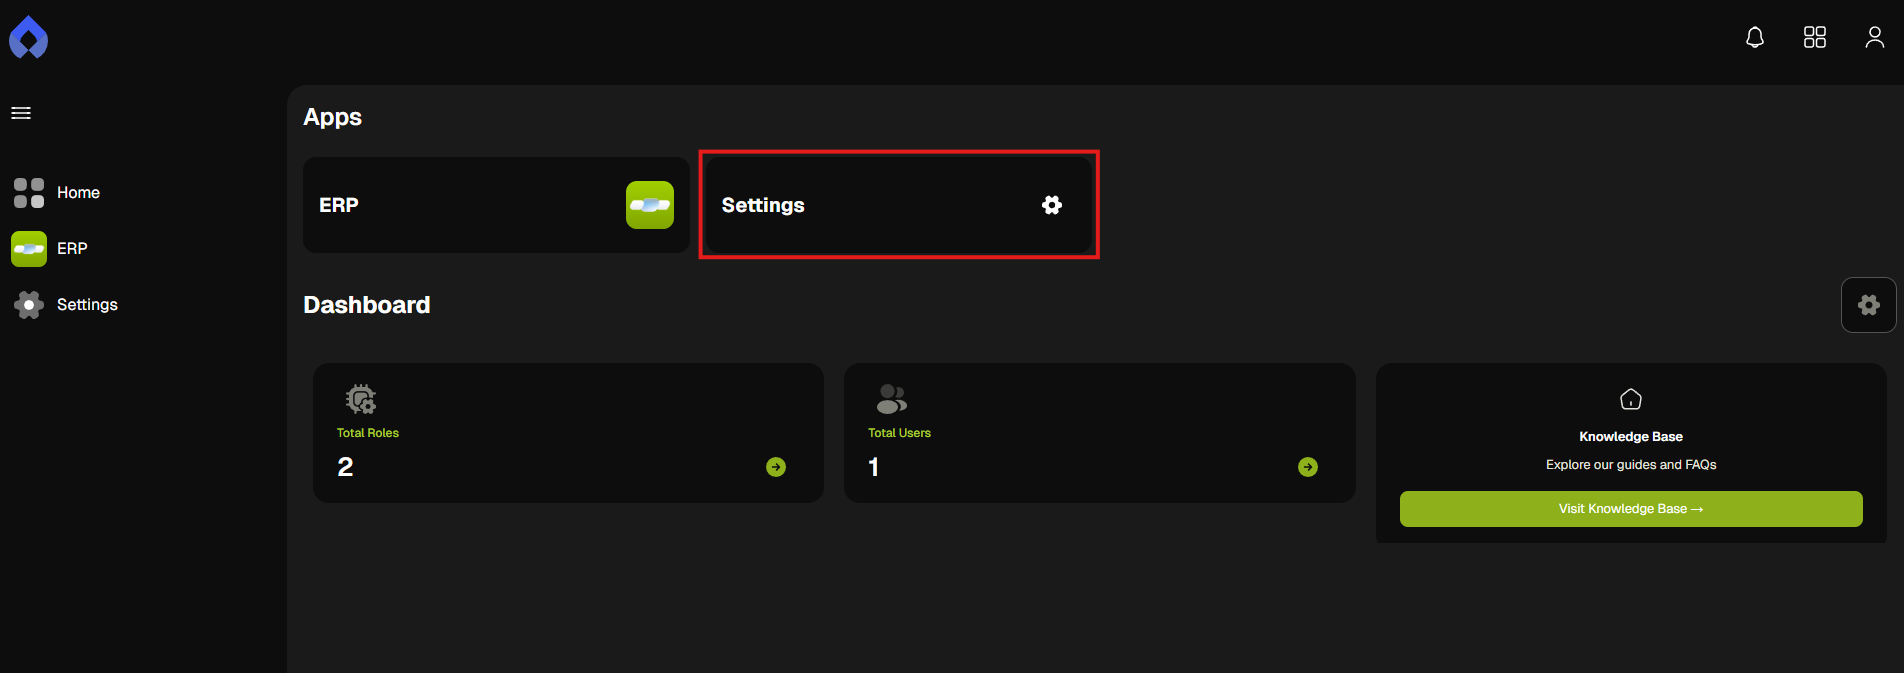
- Open the Settings menu from the sidebar.

- Select the ERP tab from the top navigation bar.

- Navigate to the Custom Prices section to view all available price entries.
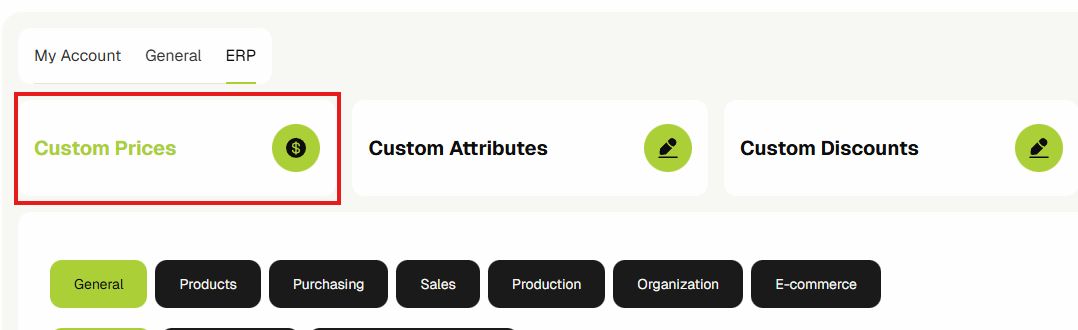
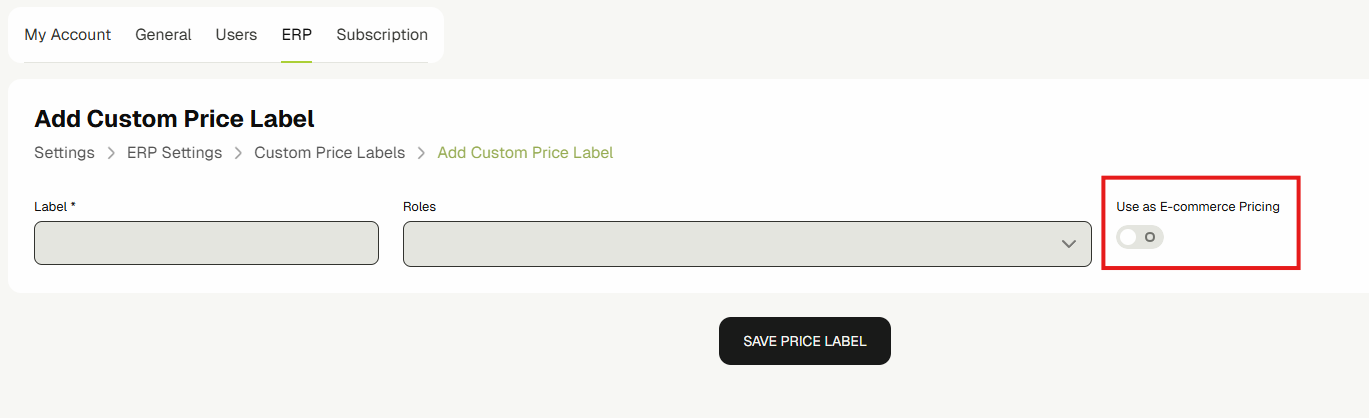
- Choose the specific price you want to enable for Ecommerce.
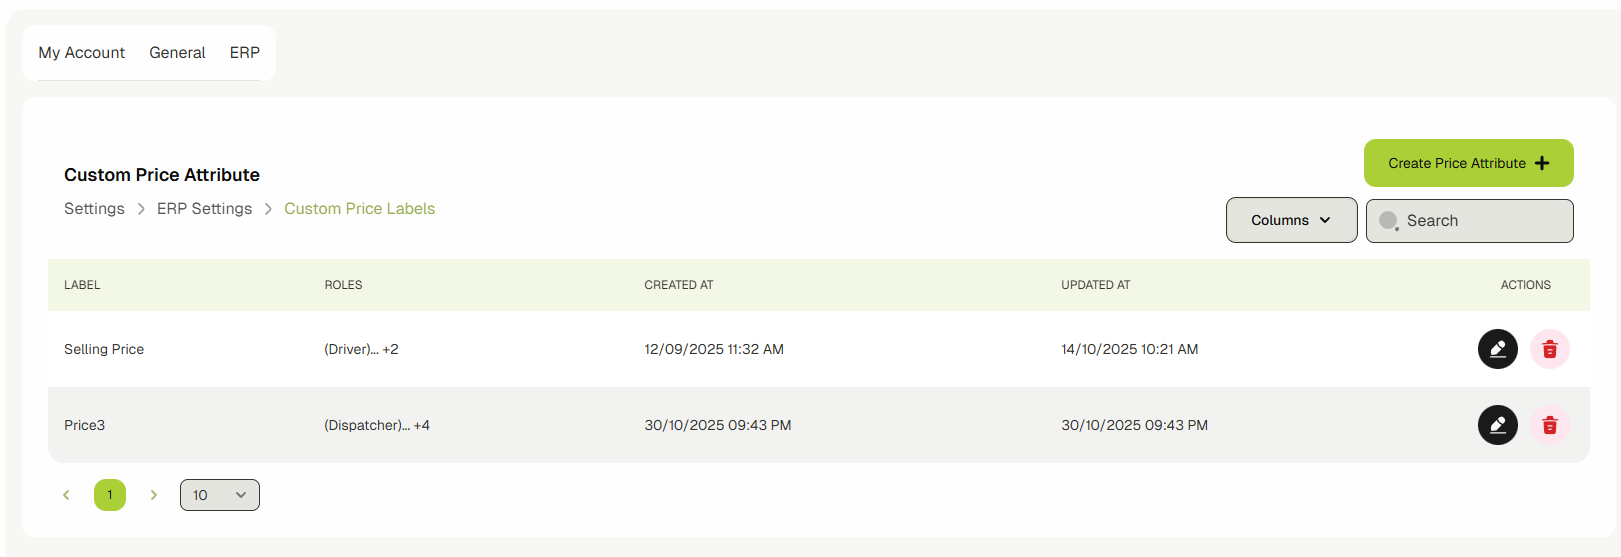
- Check the box to make the selected price available in the Ecommerce platform.
Ecommerce Guest
This is where users can browse products, apply filters, place orders, complete checkout, and view their order history.
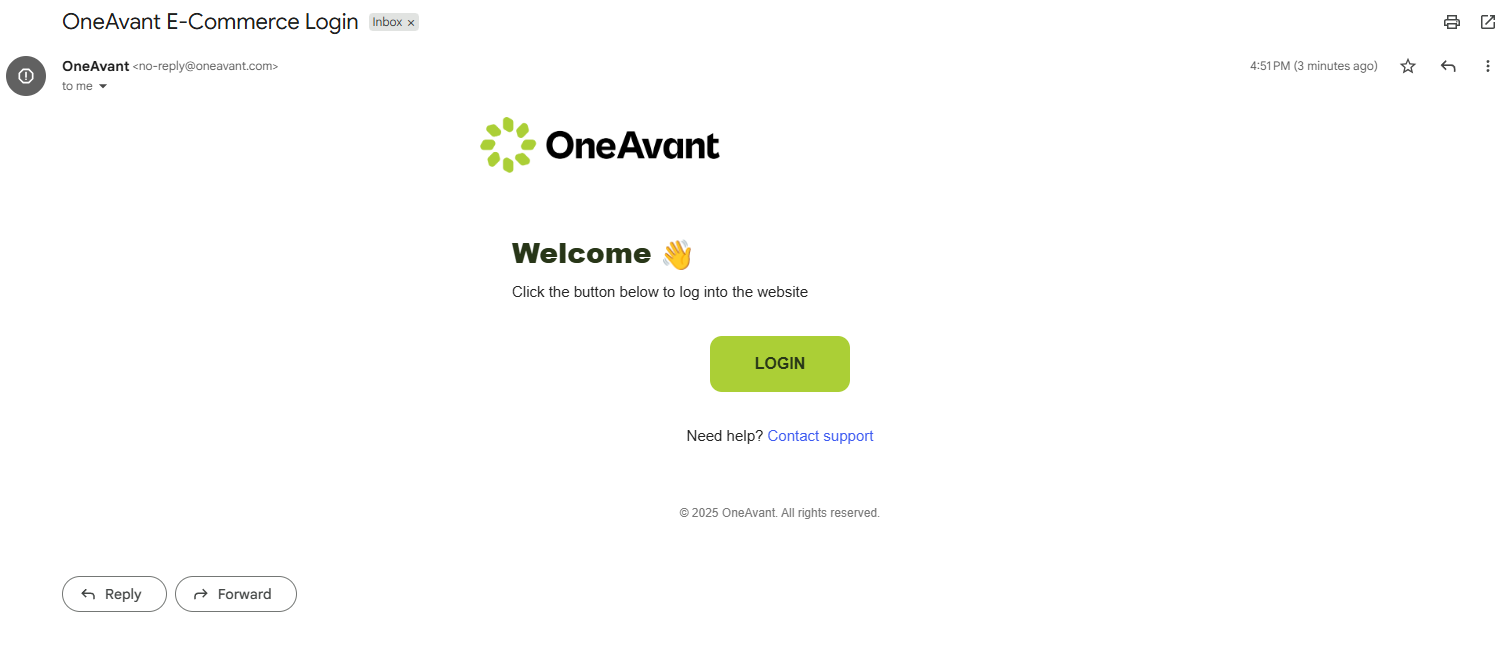
Logging In
The user is requested to log in or create an account using their email address.

The user will be notified to check their email for a login link.

The email contains a link that logs the user in automatically.
Product Browsing
Guests can browse the full catalog of available products, including pricing and category filters.

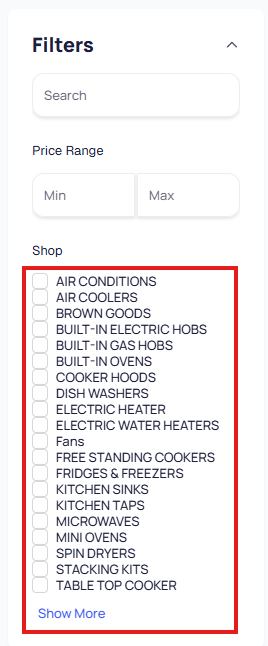
Guests can filter products by price range:
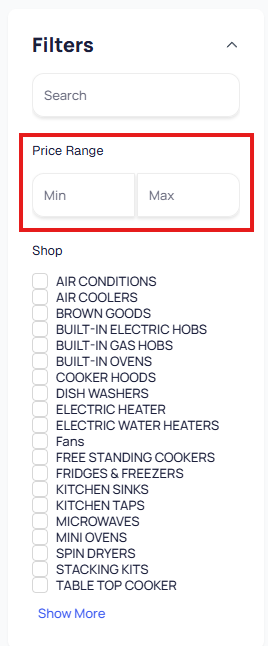
Or by category:
Products can be sorted by price (high to low or low to high) and displayed in either a grid or list view.

Ordering Flow
The ordering process involves selecting items, reviewing the cart, providing necessary details, and placing the order.
Adding product to the cart:
Guests can add products to their cart directly from the product listing or from the product's detail page.

Editing the amount of the product:
The quantity of each product can be adjusted from the main view or in the cart.

Deleting products:
Users can remove all items from the cart or remove specific products individually.

Placing an order:
- Click Proceed to Checkout.
- Enter the delivery address.
- Click Confirm and Place Order.
- Upon confirmation, the order is placed with a Pending status.
- Users can check their order history by navigating to My orders.
- Clicking on an order opens a detailed view with the order status, itemized product details, and estimated delivery timelines.


