Stock Management
Exporting your current Stock as a CSV
This guide will show you how to export all the current stock you have in the system across all your inventories. This is usually the first step if you want to either perform analysis on the data or a manual stock-take.
-
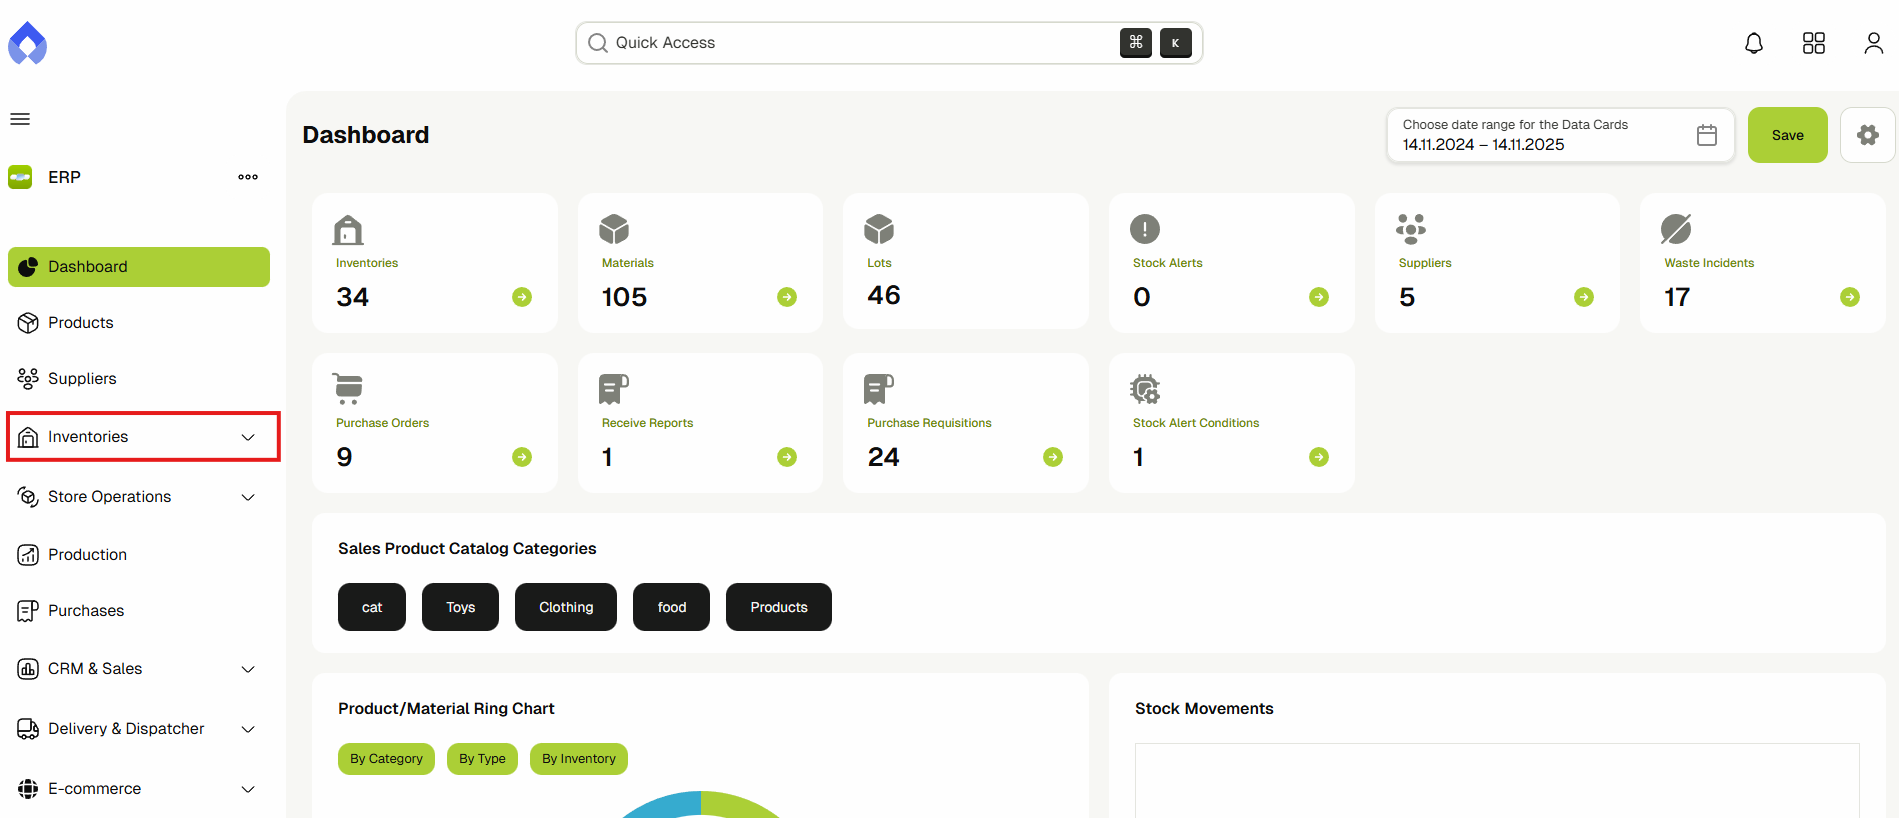
Navigate to the Inventories & Warehouses page by clicking on Inventories from the sidebar.
-
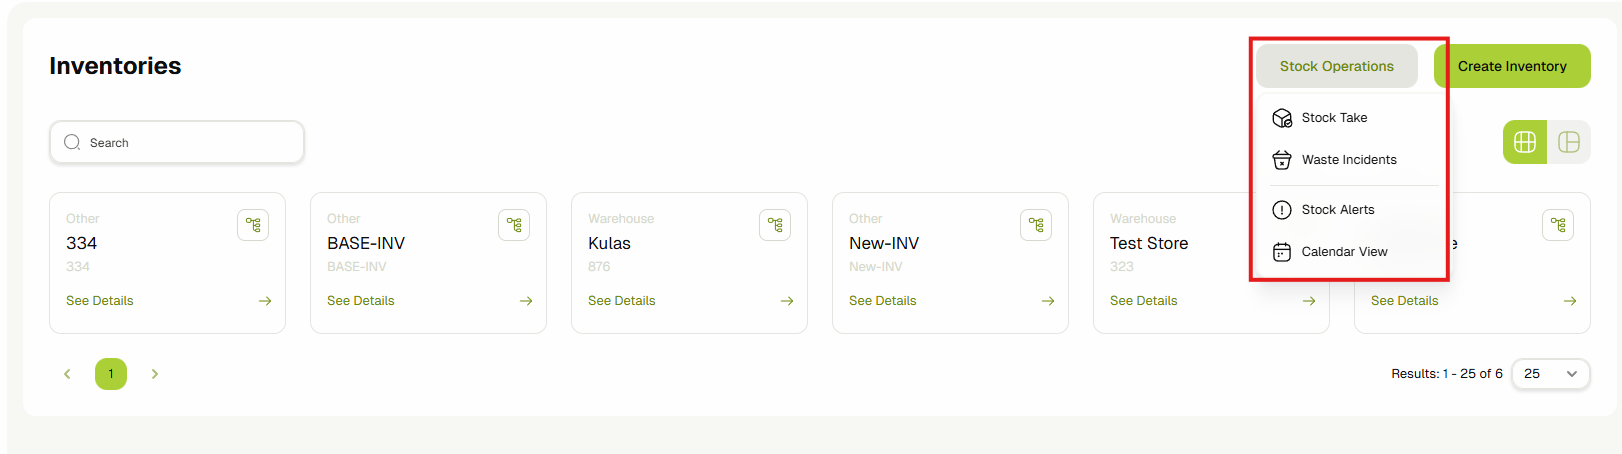
Navigate to the Stock Operations page by clicking on one of the 3 operation buttons present on top of the page.
-
Click on the Export to CSV button found on top of the page and confirm the prompt shown by clicking on Export.
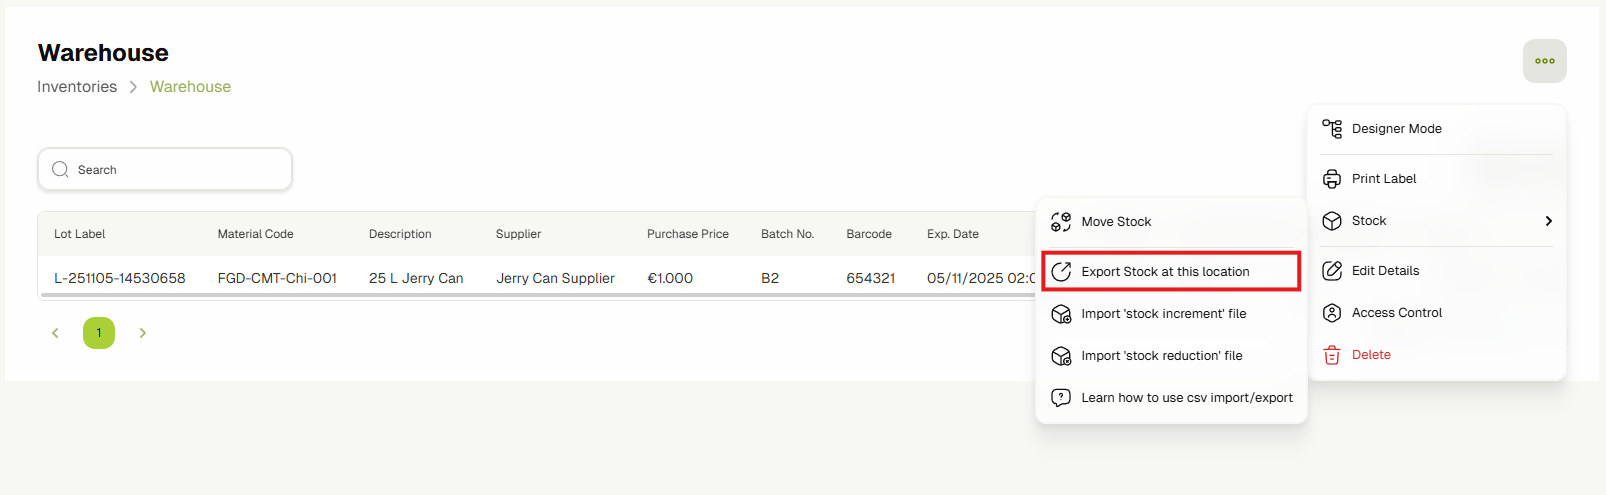

A CSV file will be downloaded with the current stock of all products and materials in the system.
Adding new Stock using CSV Import
This guide will show you how to import a CSV file into the system that will add new stock or increment existing stock. This is usually the "Add" step of a stock-take, or done to correct stock amounts.
-
Navigate to the Inventories & Warehouses page by clicking on Inventories from the sidebar.
-
Navigate to the Add Stock Operations page by clicking on the Add Stock button found on top of the page.
-
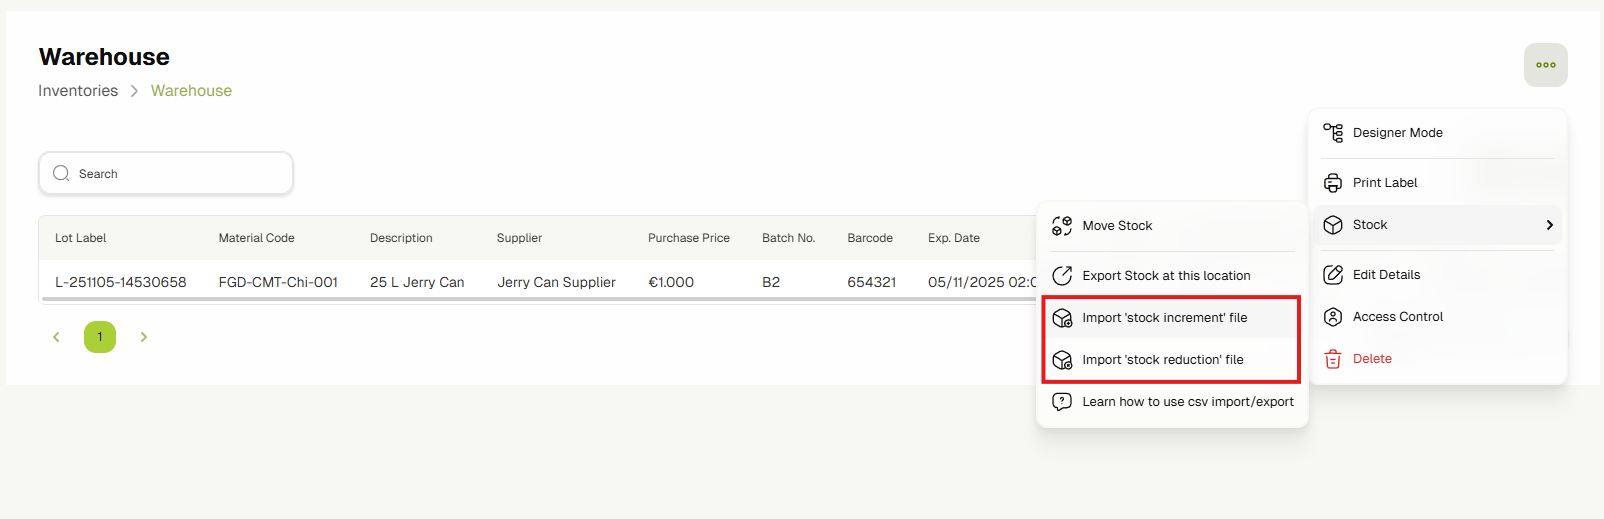
Click on Import from CSV.
-
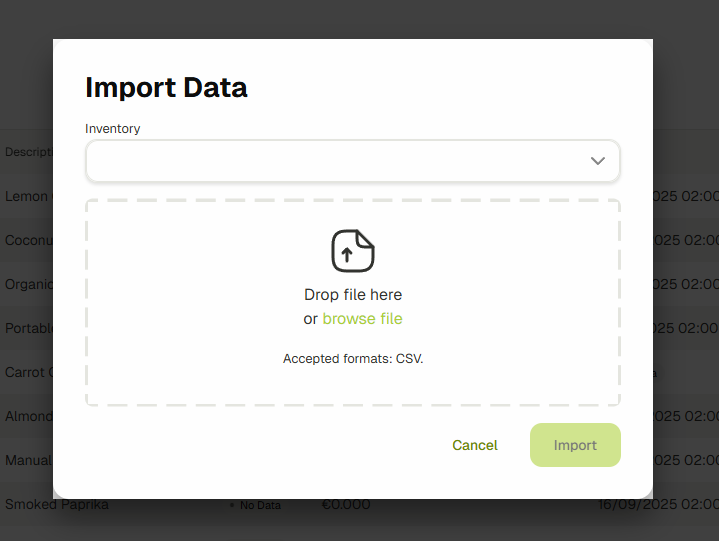
Attach the CSV file and click on Import.

The file attached must have the following columns:
| Column | Description |
|---|---|
materialCode | The product code |
quantity | The amount to add to stock |
materialLotLabel | A lot label that the stock will be assigned to |
inventoryCode | The code of the inventory that stock will be imported to |
supplier | Code of the supplier that supplied the stock |
purchasePrice | The price at which the stock was purchased |
batchNo | The batch number of the imported stock |
expirationDate | The expiration date of the imported lot |
barcode | The material or product's barcode |
The system will start the stock import in the background and notify the user once completed.
Removing existing Stock using CSV Import
-
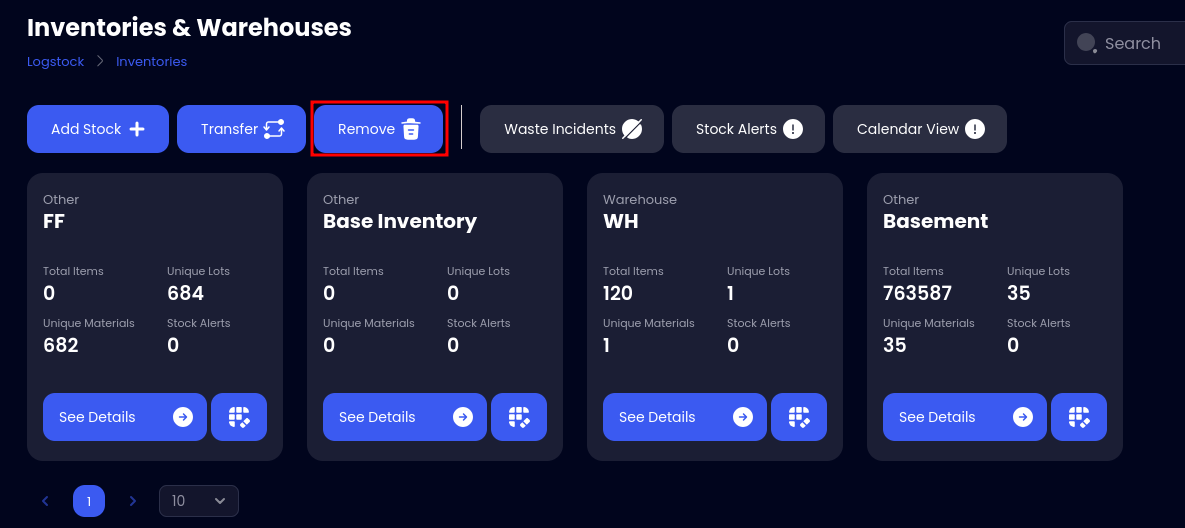
Navigate to the Inventories & Warehouses page by clicking on Inventories from the sidebar.
-
Navigate to the Remove Stock Operations page by clicking on the Remove Stock button found on top of the page.
-
Click on Import from CSV.

-
Attach the CSV file and click on Import. Optionally, the user may select an inventory from the dropdown which the system will use to take all stock from if not defined in the file itself.
The file attached must have the following columns:
| Column | Description |
|---|---|
materialCode | The product code |
quantity | The amount to remove from stock |
materialLotLabel | A lot label that the stock will be taken from |
inventoryCode | (Optional) The code of the inventory that stock will be taken from |
contact | Name of the contact or customer taking the stock |
The system will start the stock removal import in the background and notify the user once completed.
Stock Alerts
Overview
This system allows you to set up personalized alerts based on your specific needs, ensuring that you never run out of essential materials or miss an expiry date.
- Create alerts for individual items or groups of items based on their type, category, or unit of measurement.
- Set stock thresholds or expiry limits that trigger notifications when conditions are met.
- Receive grouped notifications for stock alerts, keeping your inbox organized and clutter-free.
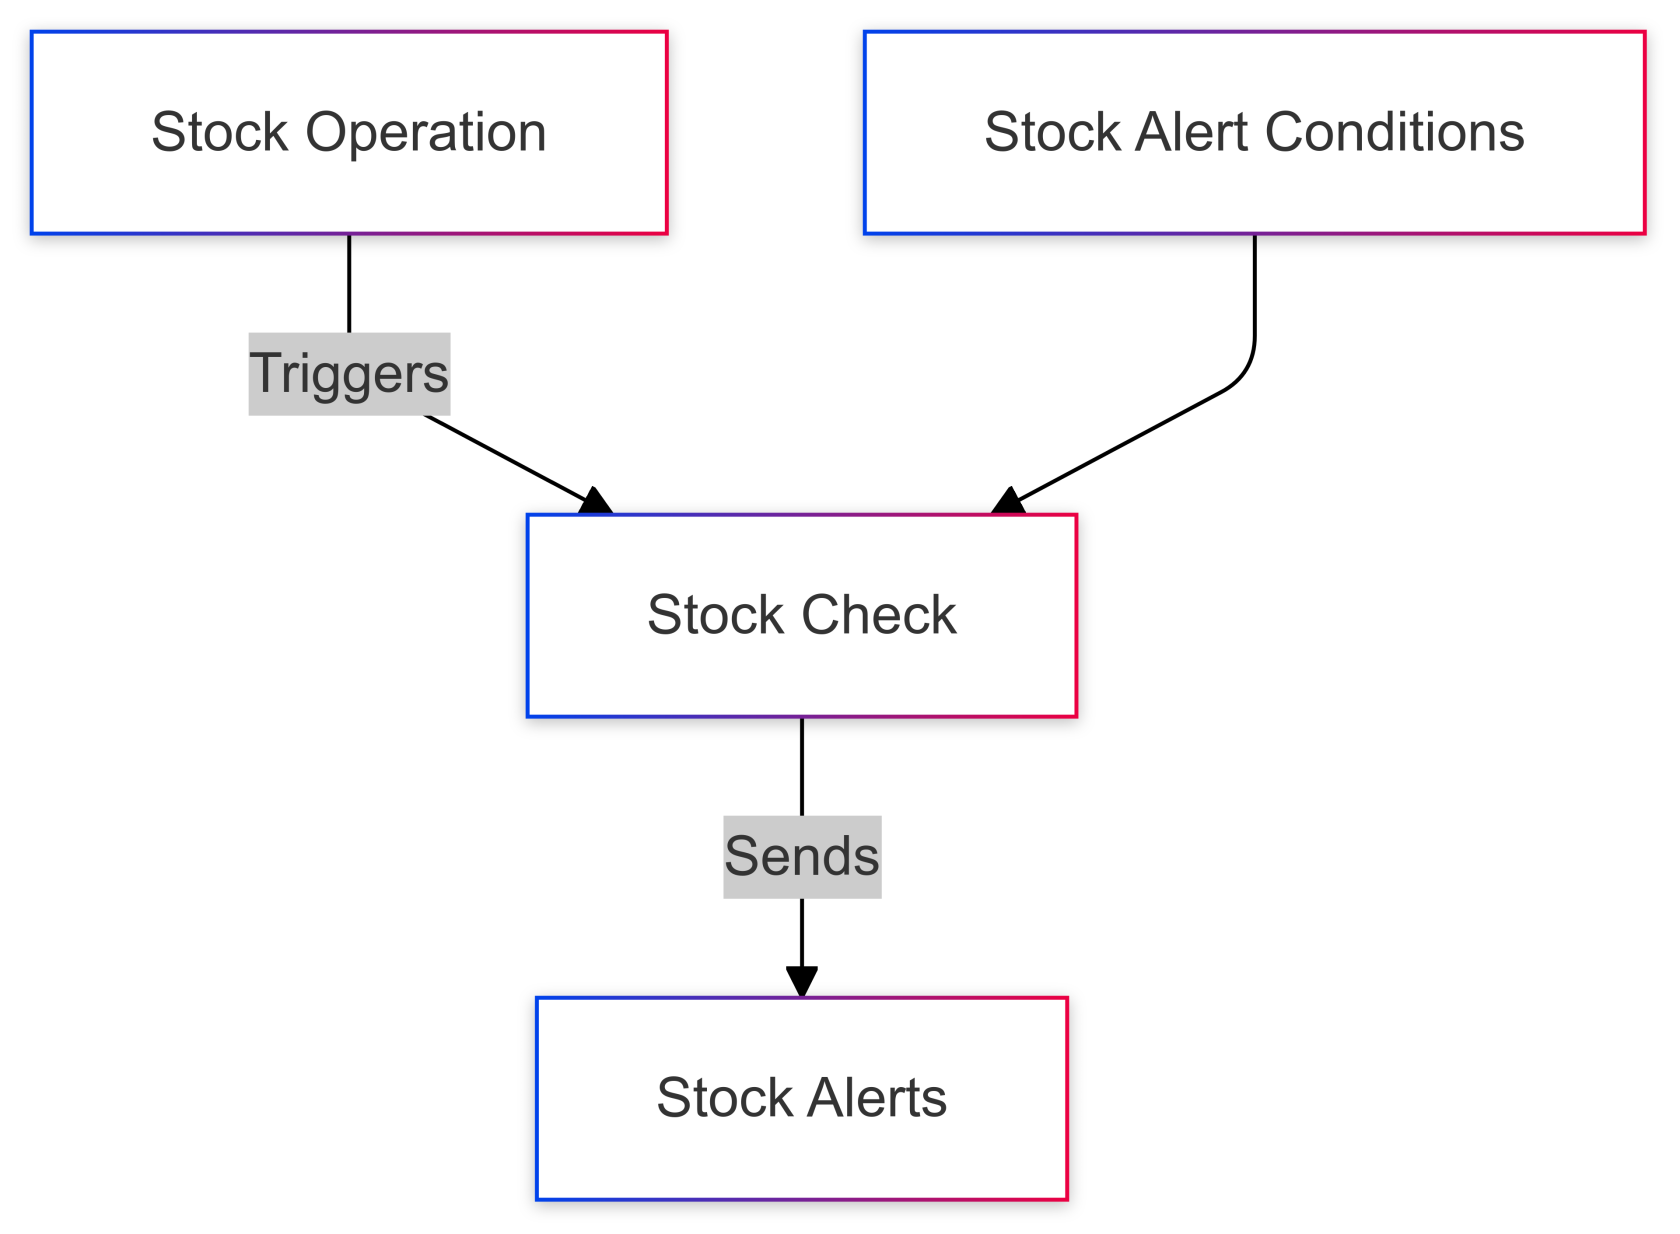
How it Works
You can define conditions for when an alert should be triggered. For example:
- "Notify me when stock for Product A falls below 10 units."
- "Alert me if all perishable items are within 3 days of expiry."
Alerts can be created for specific inventories, individual materials, or groups of materials (like a product type or category).
Creating Conditions
From ERP, navigate to the inventories page by clicking on Inventories located on the sidebar.
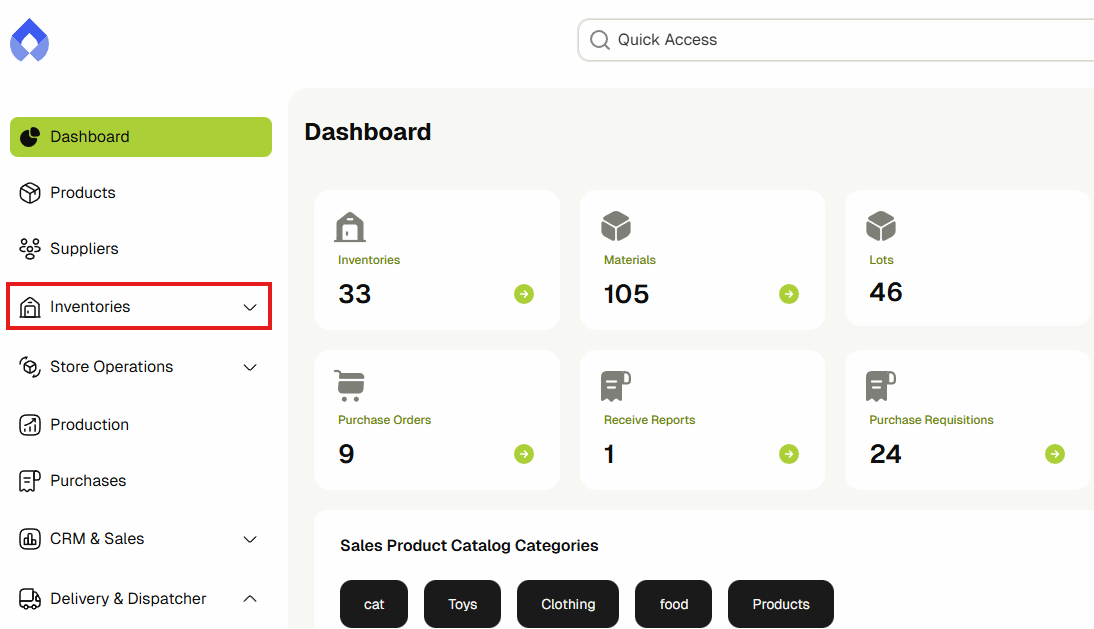
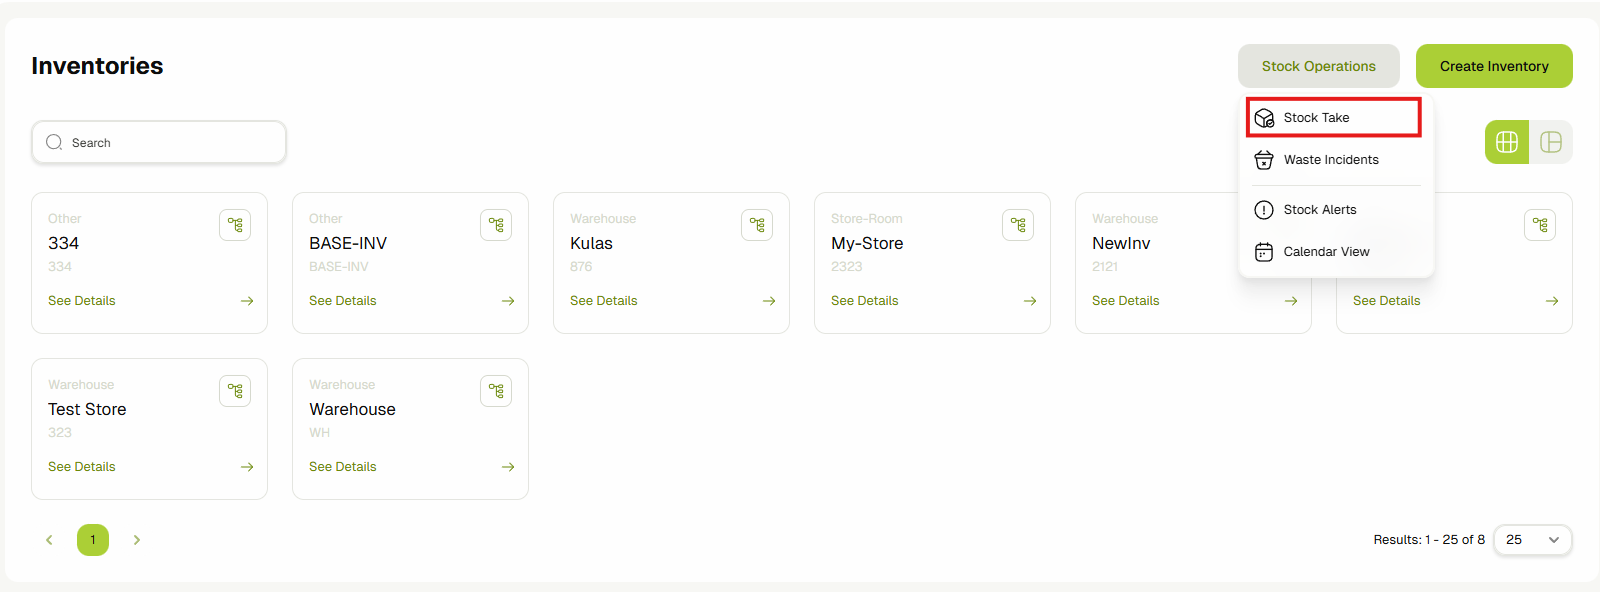
Click on Stock Alerts, and then click on Stock Alert Conditions.

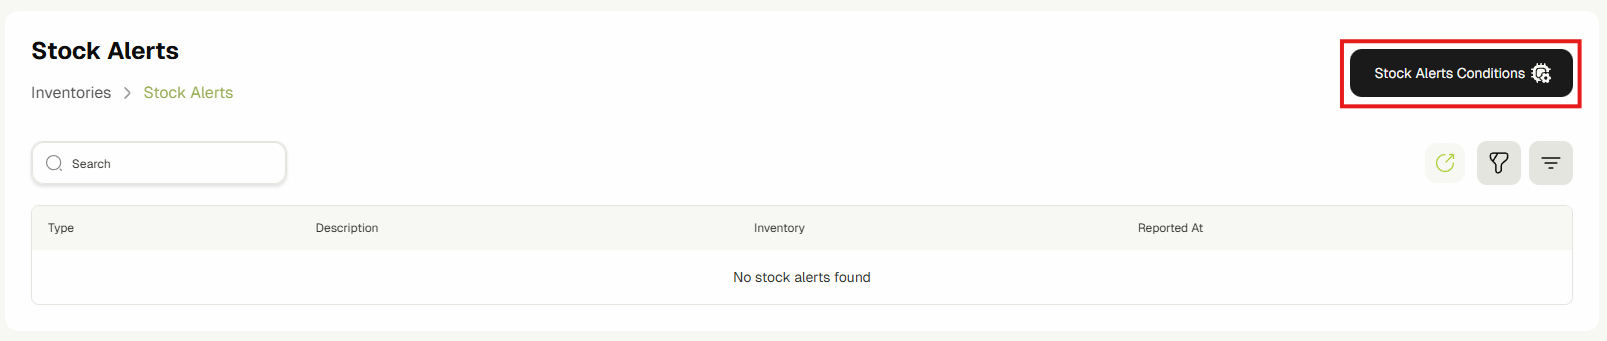
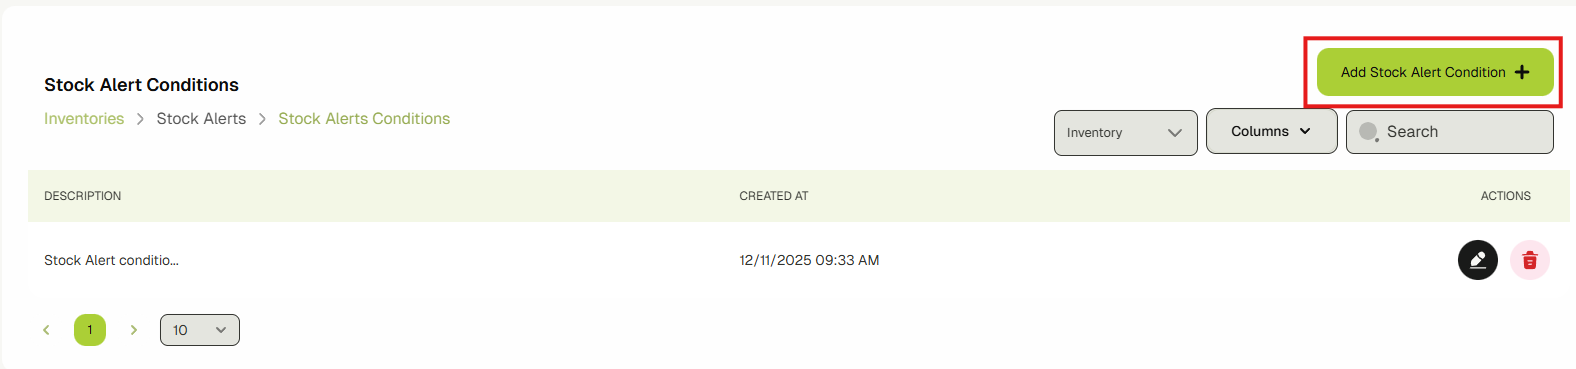
This page displays the current stock alerts in the system.
Click on Add Stock Alert Condition.
Fill in the form based on how you want your alerts to trigger.
- Type: The type of condition that triggers the alerts.
- If the type is Stock, the condition will trigger alerts if stock falls below the threshold specified.
- If the type is Expiry, the condition will trigger if stock is within X days of expiry, X being the threshold specified.
- Inventories: Specify at least one inventory for the system to look for stock in.
- Condition Filtering: Conditions can use filters for specific categories.
- Any: Condition triggers for any material.
- Materials: Condition triggers only for the specified materials.
- Material Types: Condition triggers only for the specified material types.
- Material Categories: Condition triggers only for the specified material categories.
Once done, click on Save to save the condition in the system.