Sales & CRM
Guides for the sales catalog, quotes, customer orders, and CRM features.
First time using the CRM?
In this guide, we will be covering the CRM or "Contact Management" system in OneAvant's ERP. This system will allow you to define contacts as part of your sales process so you can use them in your quotes, sales, and even deliveries!
-
Navigate to Contact Management in the sidebar.

-
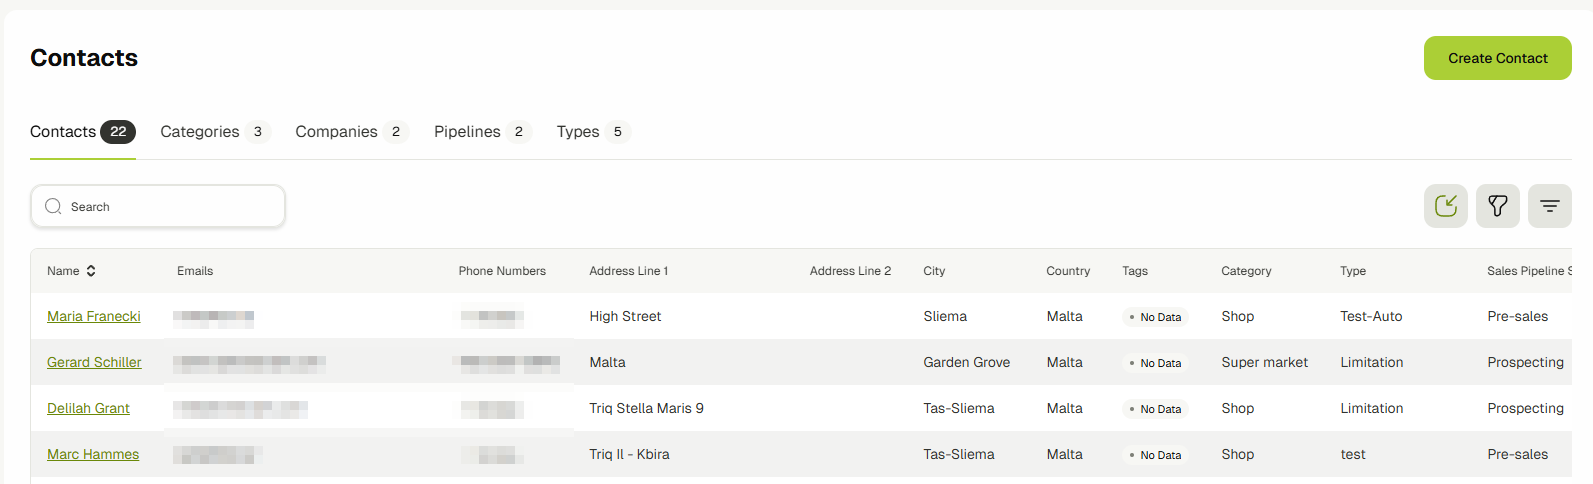
You will now be on the main contacts list page. This page will have a list of all the contacts that you’ve defined.
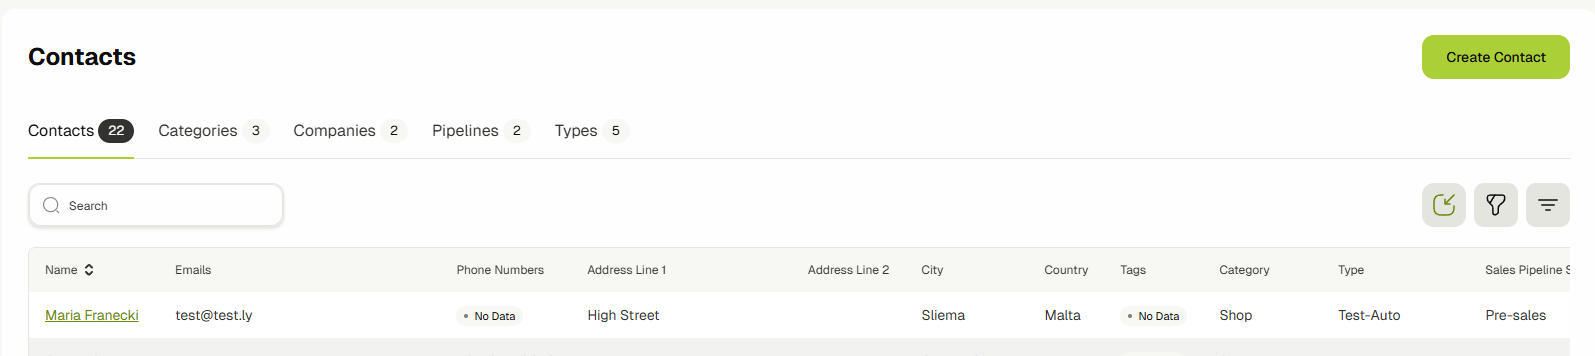 info
infoThe columns of any table can be customized using the “Columns” dropdown to tune it to your needs.
-
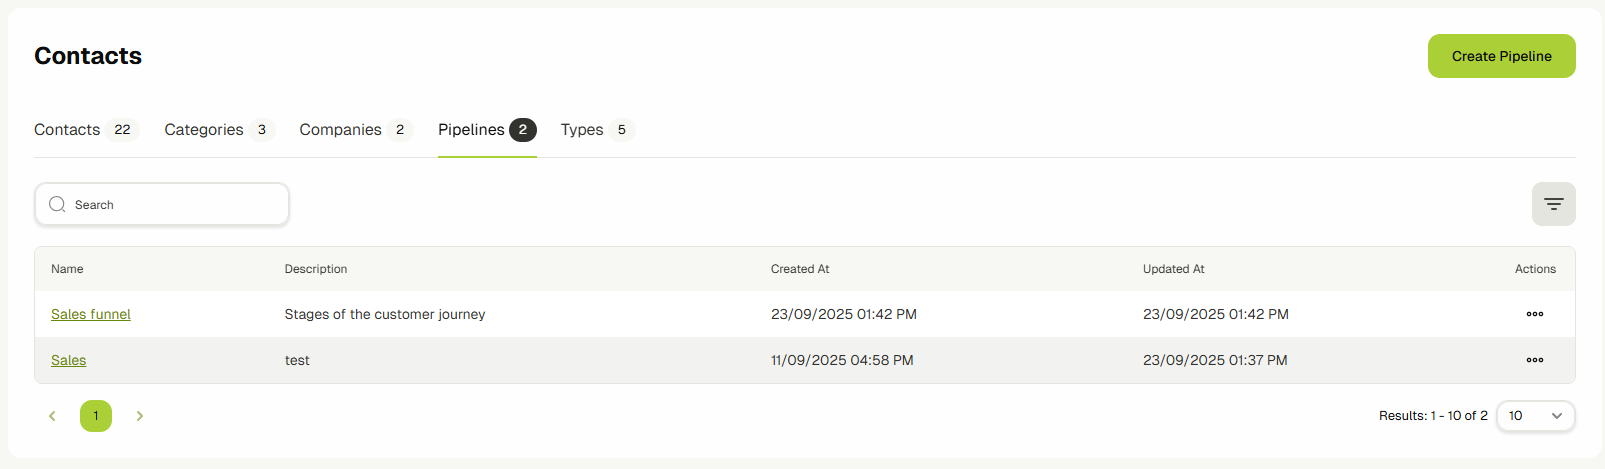
Click the Sales Pipeline page to create a new pipeline. A pipeline allows you to define the stage that the contacts are in in terms of their relationship to you, color-coded and sortable for ease of filtering.
-
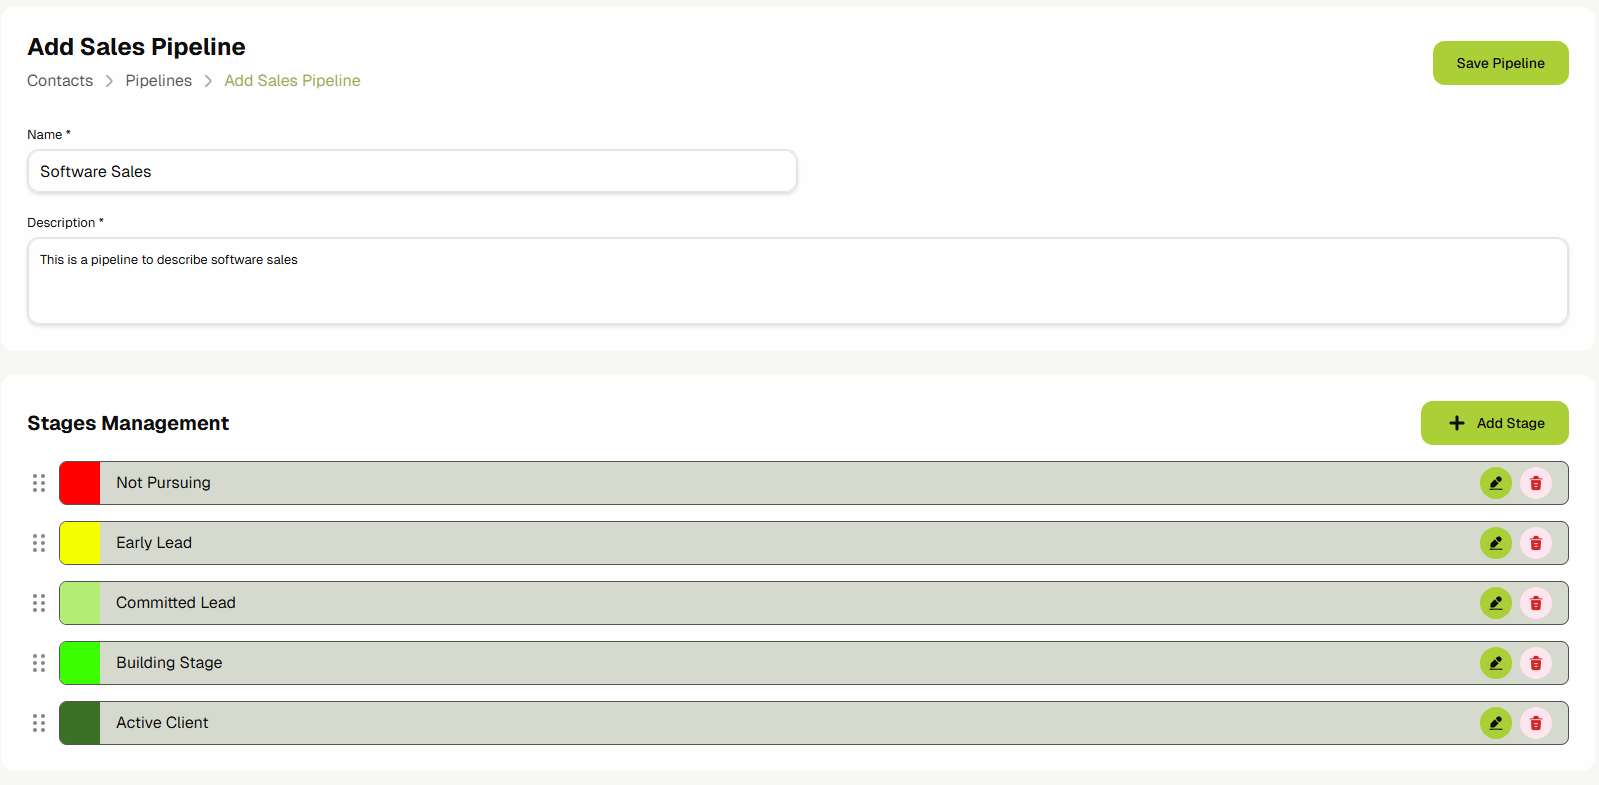
Click the “Add Pipeline” button to add a new pipeline. Add the title, description, and the stages.
-
Go back to the main contacts page using the sidebar. This time click the “Categories” button next to the “Sales Pipelines” button you already clicked.

-
The Categories are used to separate contacts into groups, with each group capable of having its own unique sales pipeline.
 info
infoThe columns of any table can be customized using the “Columns” dropdown to tune it to your needs.
-
Click the “Add Contact Category +” to define a new category. Add a title, a description, and select a pipeline for these contacts to follow.

-
After your category is created, you can go back to the Contacts page using the sidebar. This time click on the “Add Contact +” button to create a new contact.

-
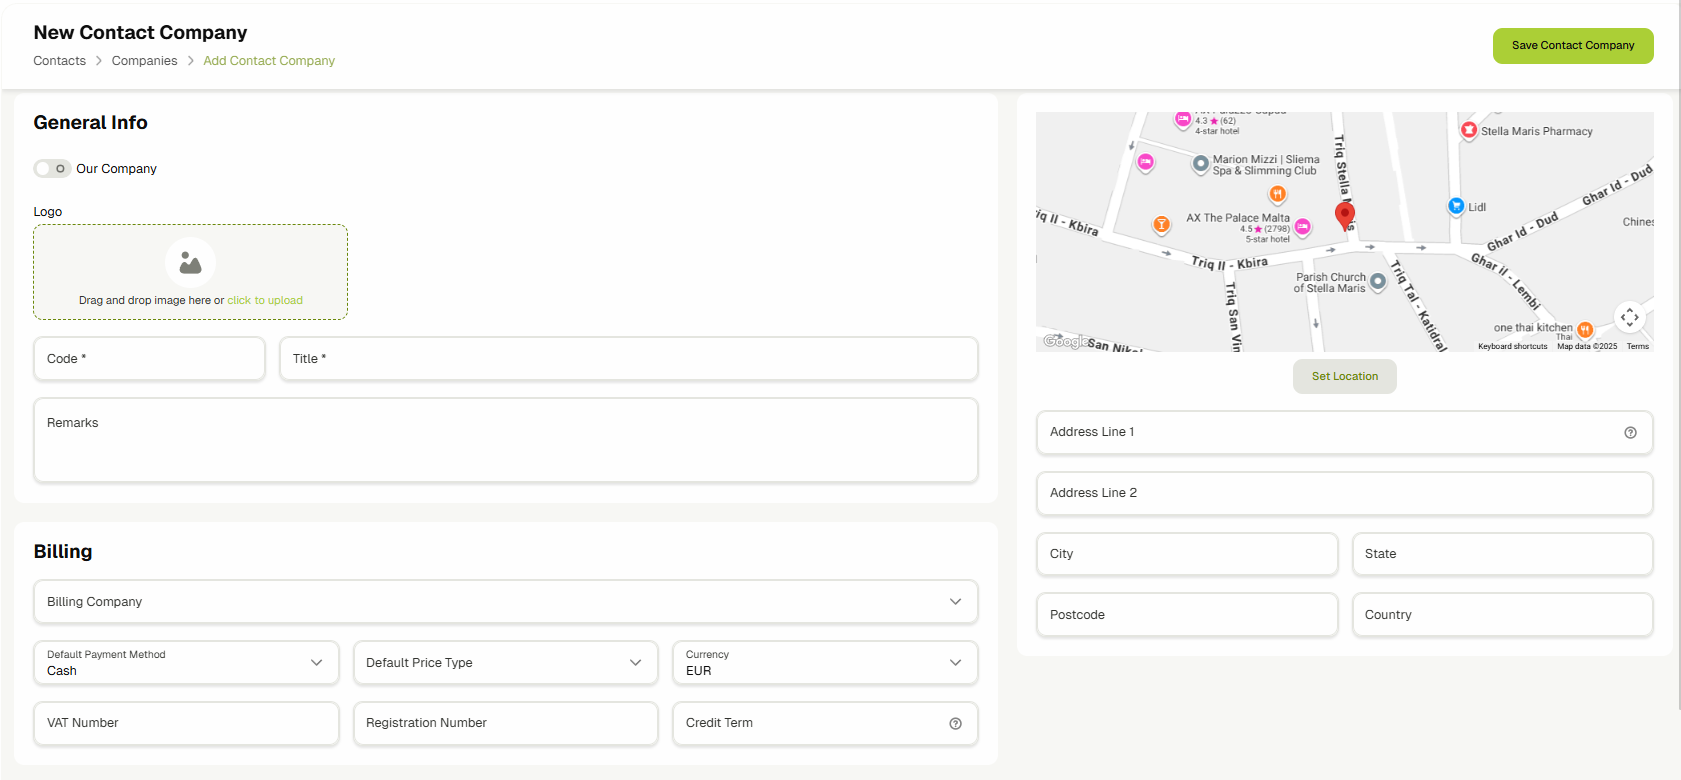
On this page, you can define the contact’s info and create them.

-
Based on the above image, you can see that you can fill out:
- Personal information such as their name and the organization they work for.
- Address information, including their map location which integrates with the Delivery & Dispatch system to allow for direct deliveries.
- Contact information such as multiple emails and phone numbers.
- Their category and the pipeline stage that they are in. The stage is filled in automatically the moment you select a category.
- Tags that can help narrow down exactly what the contact is interested in. Just enter some text and hit the “,” comma button to create a new tag.
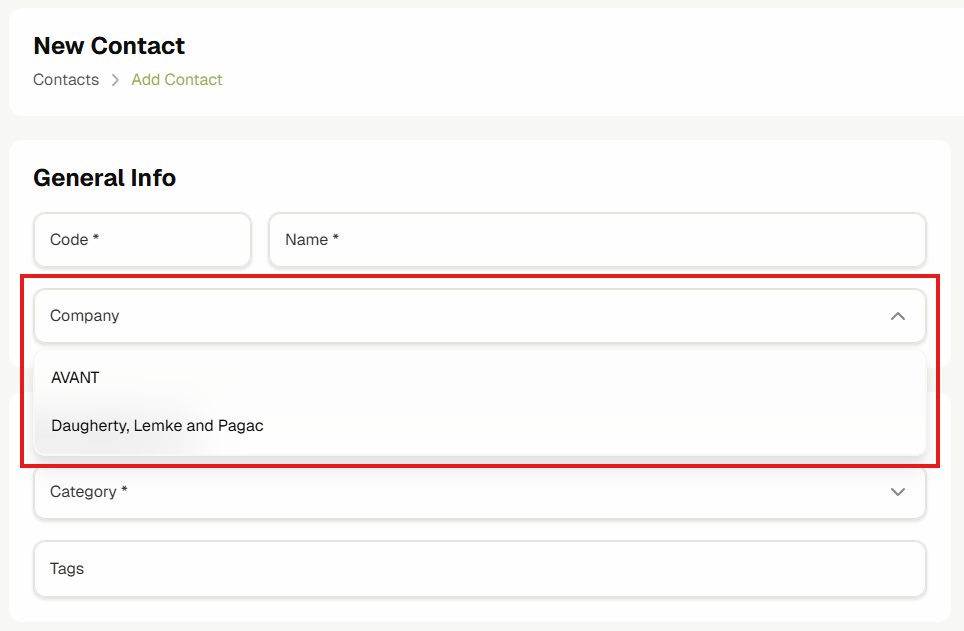
infoIf you already have a company with all the information filled out and you want this contact to have the same information (contact information, address, etc.), you can select that company in the above form.
The system will ask you if you want to Auto-fill the information based on the company. Click "Yes" and this form will be populated with the same values that are in the company form.
Click here to learn about contact companies.
-
Click the Save Contact button after you’ve filled in the data to create the contact. After that, you will be navigated back to the main view.
Create a CRM Contact's Company/Organization
Contacts can optionally have a Company specified. This is a short guide to help you set a company for a specific contact that you've created.
-
On the main contacts page, click on the “Companies” tab to go to the Companies list page.

-
Here you can see a list of the companies that your contacts may or may not represent. You can edit existing companies by clicking the pen icon, or delete them using the trash Icon. Click “Add Contact Company +” to create a new company.
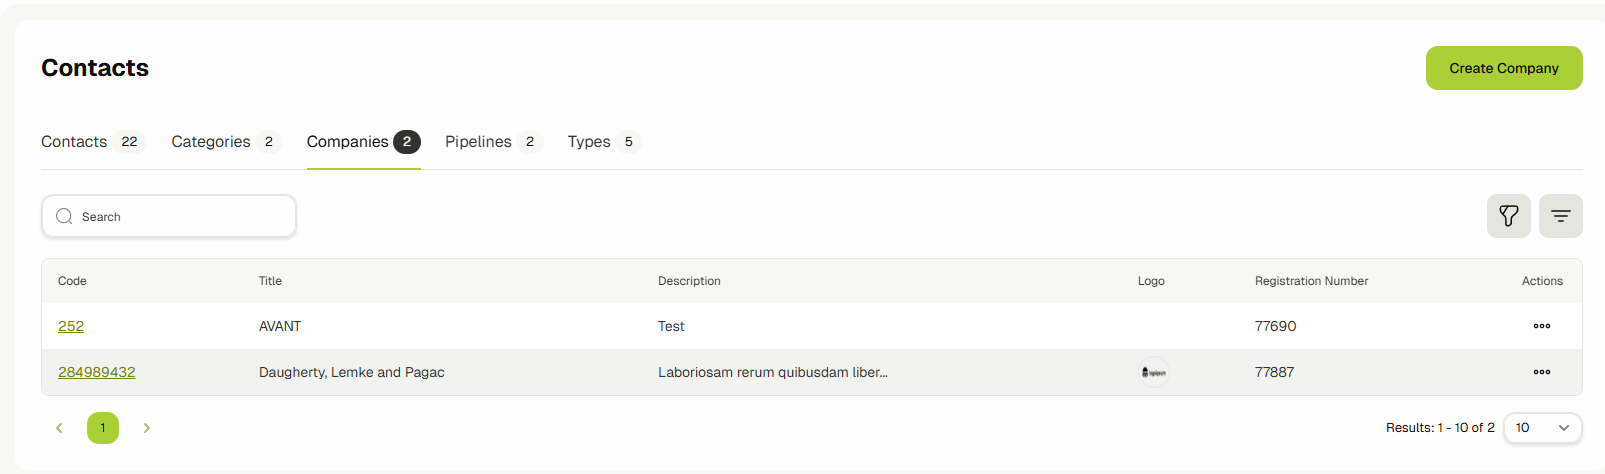 info
infoThe columns of any table can be customized using the “Columns” dropdown to tune it to your needs.
-
Now you can see the form view that lets you define/edit a company. Here you can add the logo, the name, address, and payment information for the company.
-
Now you can navigate back to the contacts list view, and assign the company to any new contacts or edit an existing contact and assign the company to them using the “Company” dropdown in the contacts form page.
Linking Products with a company
If the Company-to-Product relationship setting is turned on for your tenant, you can also link sellable products to a company.
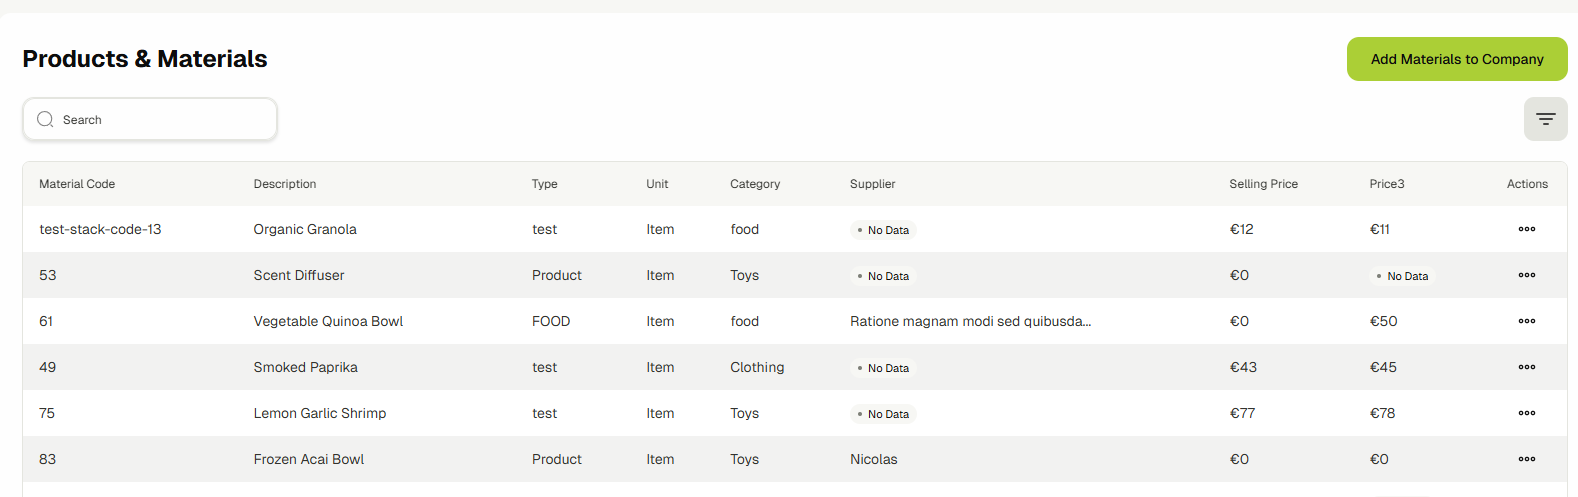
Open the company edit page and go to the Products & Materials tab.
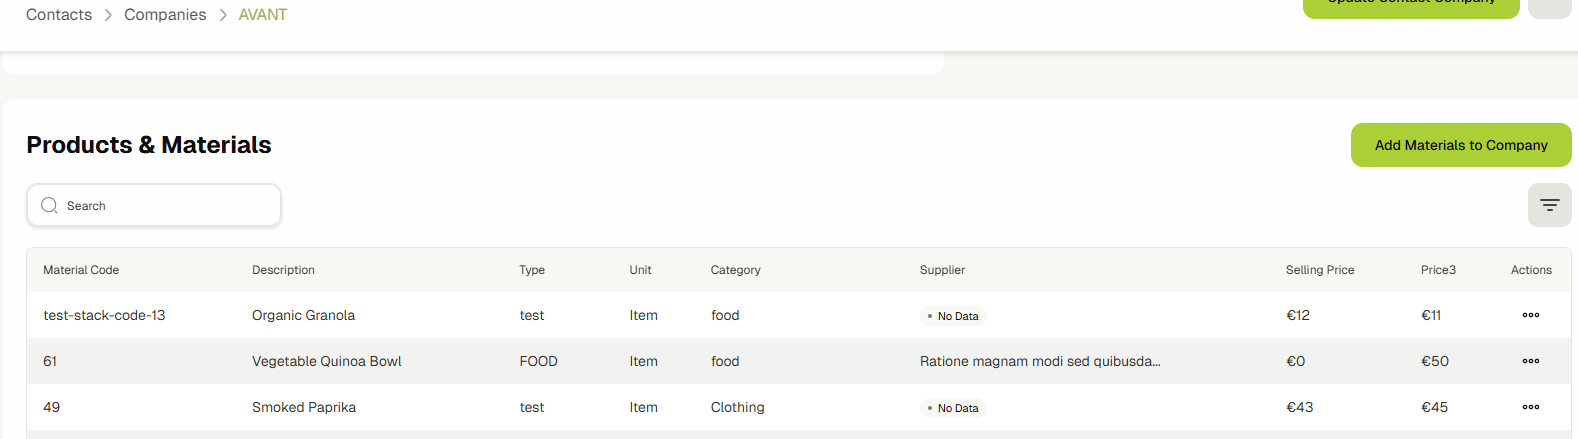
Then click Add Materials to Company.
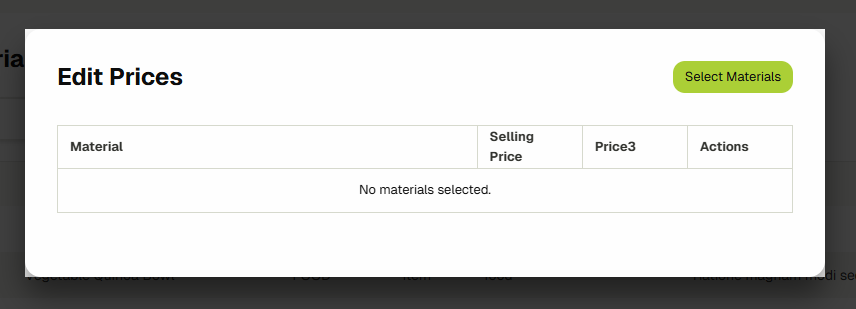
Click on Select Materials, search for a product and add it.

Once added, you can update its sale price and click on Update.
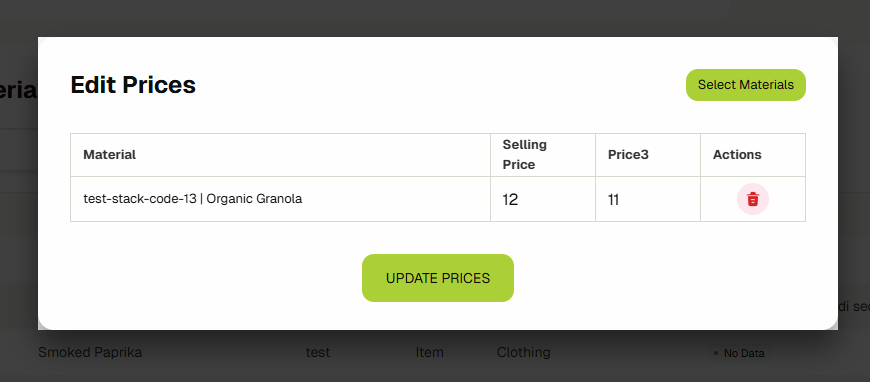
The product with the custom sales price is now linked with this company. This way, you can link multiple different products with different prices to a company.
Using the Sales Product Catalog
This system is designed to allow salespeople to quickly create quotes for their customers for any products that the organization is selling. It also allows some salespeople to be able to update product details, including prices, and to see changes in prices.
Navigating to the Sales Catalog
-
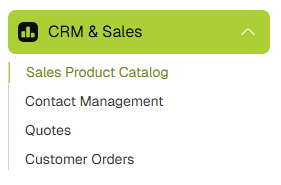
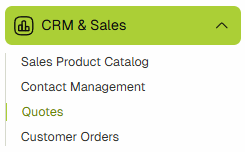
Use the sidebar to navigate to the sales product catalog by clicking on “Sales Product Catalog”. The sales section also includes the option to view your CRM, Quotes, or Customer Orders.
-
Below you can see the catalog.
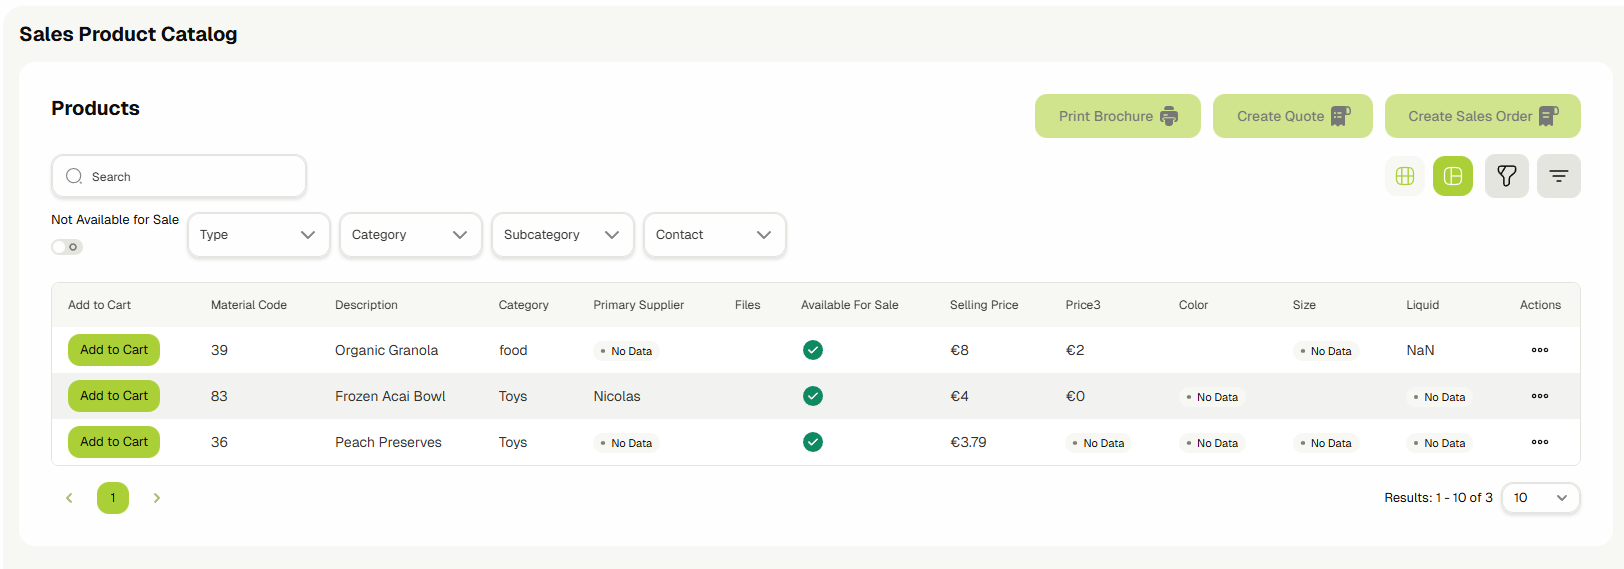
You can also switch between table view or grid view by clicking on the Grid Layout or List Layout buttons.

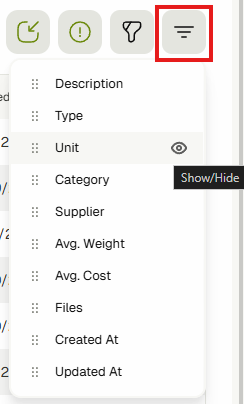
Customizing the columns in the view
- Each product has multiple prices. If your user account has permission to see this price, you should see it as a column in this table.
- If you can’t see it, it may be hidden, in which case you can enable it from the columns dropdown. You can also drag and drop columns in this view to reorder them.
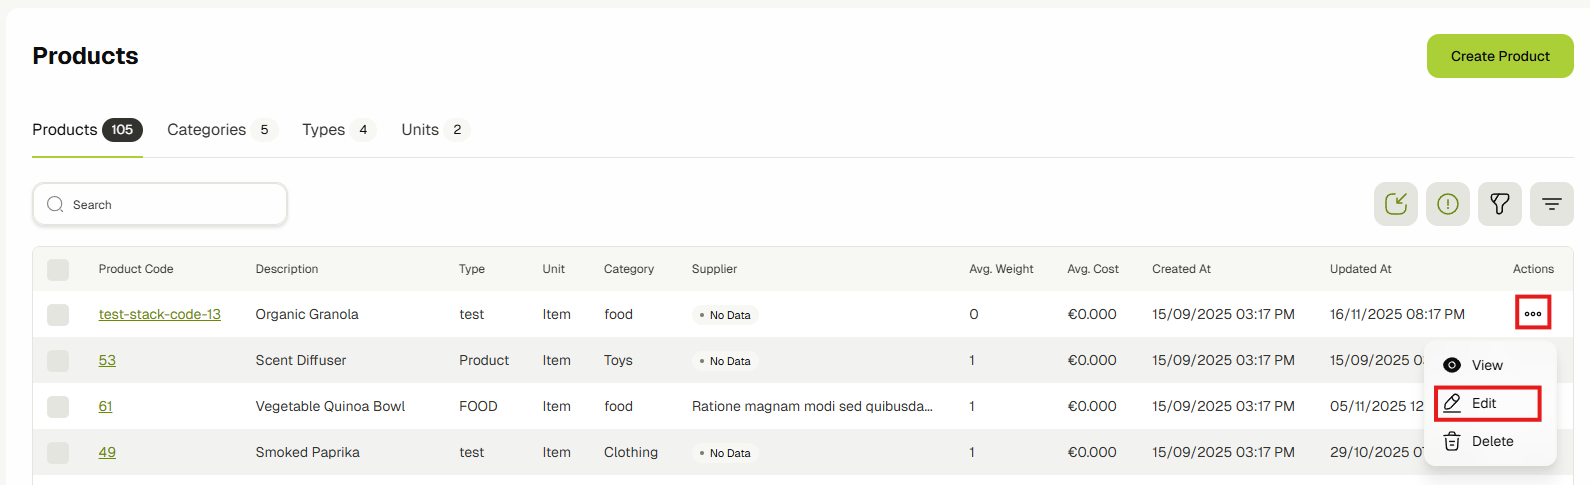
Editing Product Information & Prices
- As a salesperson, you might want to update the details of a product. If you have the right permission, all you need to do is click the menu icon at the end and choose "Edit".
- This will open up a dialog which lets you edit any of the product's details. For example, in the image below you can edit the custom prices set for this product.
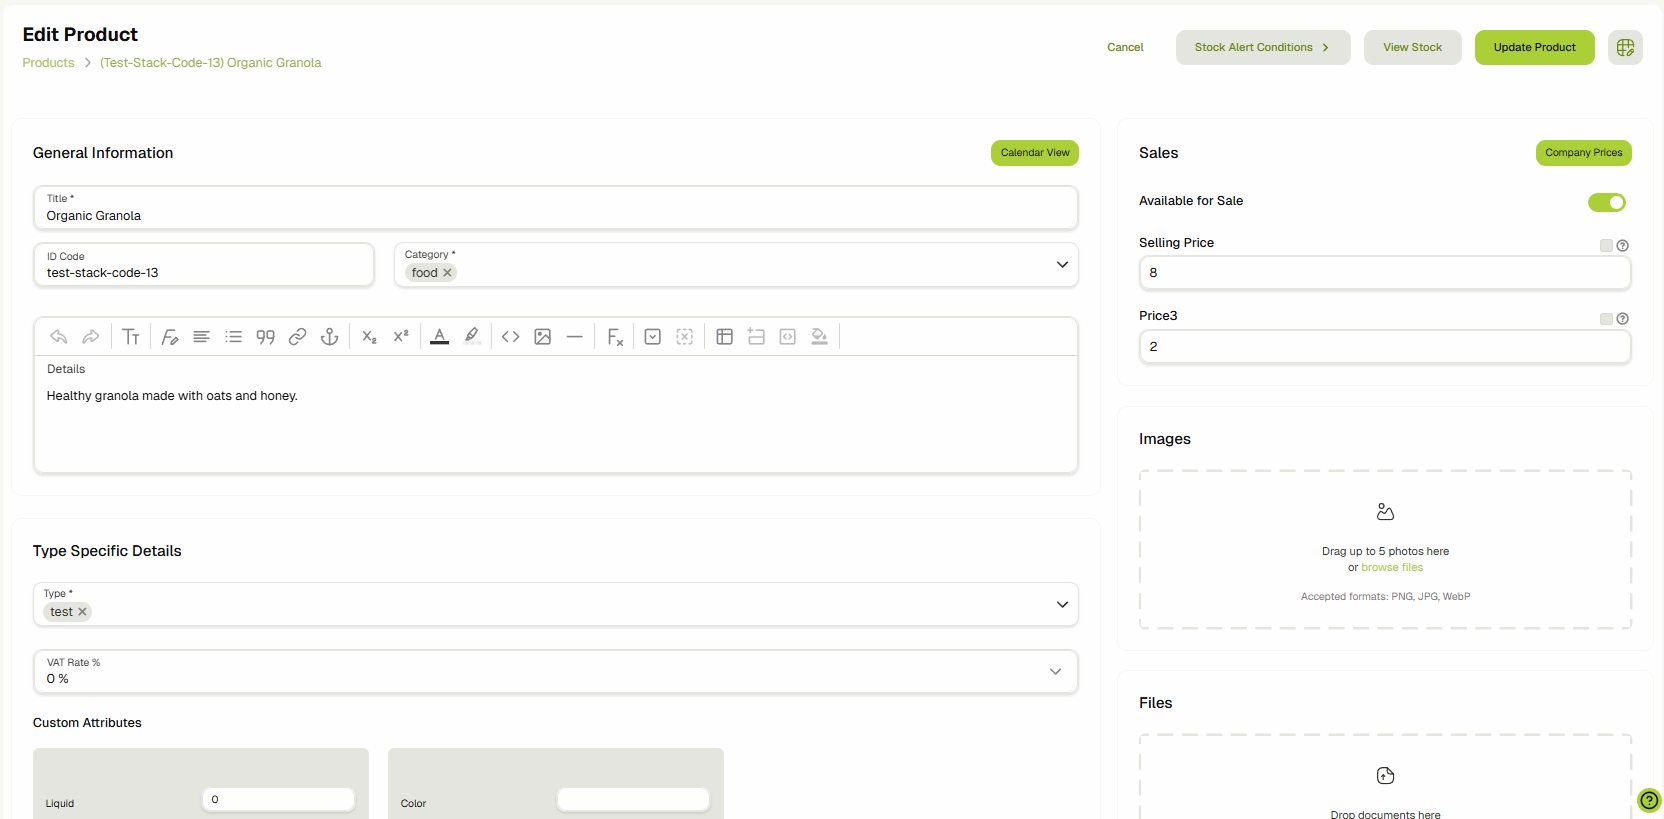
- After that, you can click the “Update Material” button to update the product.
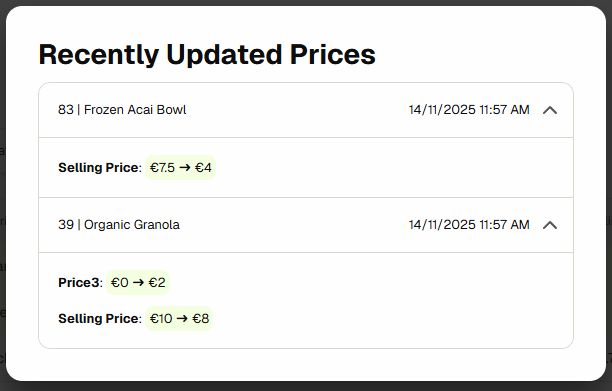
- If you update the price, the system will track the old price and the new price as price updates. You will see products in the Catalog with a different colored row if the price has been updated.
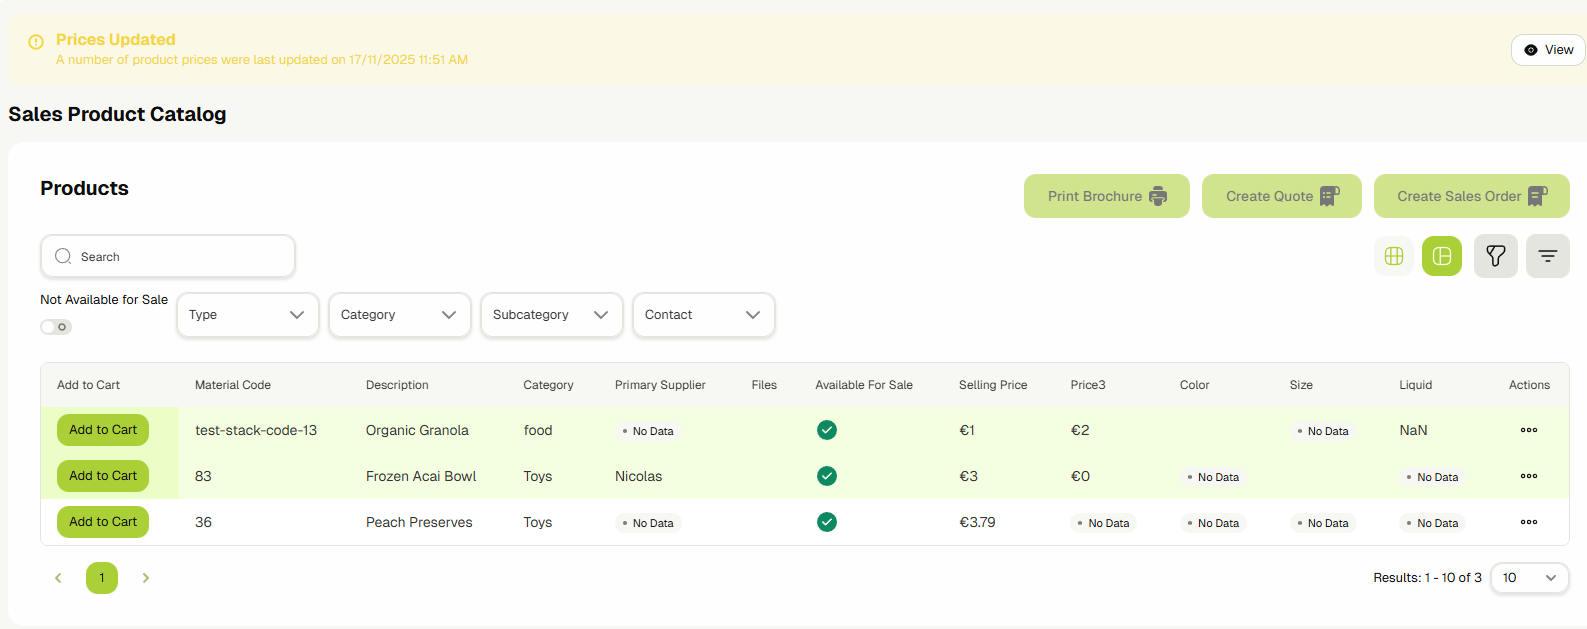
- You will also see an alert at the top with the title “Prices Updated”. If you click the “View” button, you will see the prices that were updated.
Creating a Quote for a Customer
Since you know how to navigate to create contacts and then navigate to the the Sales Catalog, now's the time to learn how to create a new quote for one of your contacts!
-
First, you must select the Products that you want to add. You may use the filters at the top of the Catalog of the table to find the exact products.

-
Use the checkboxes on the left of the products table to select the products that you want to quote to the customer.
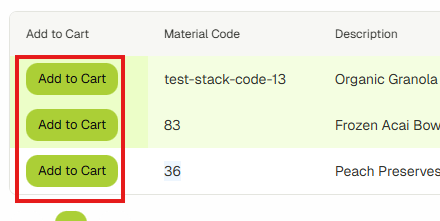
-
After selecting each product, you can see the products incrementing the “Shopping Cart” button at the top of the screen.
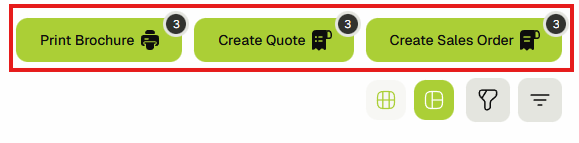
-
Clicking the “Shopping Cart“ button shows you the Quote view with the selected products. Here the materials are listed, and you can change the quantities, add discounts, and save the quote.
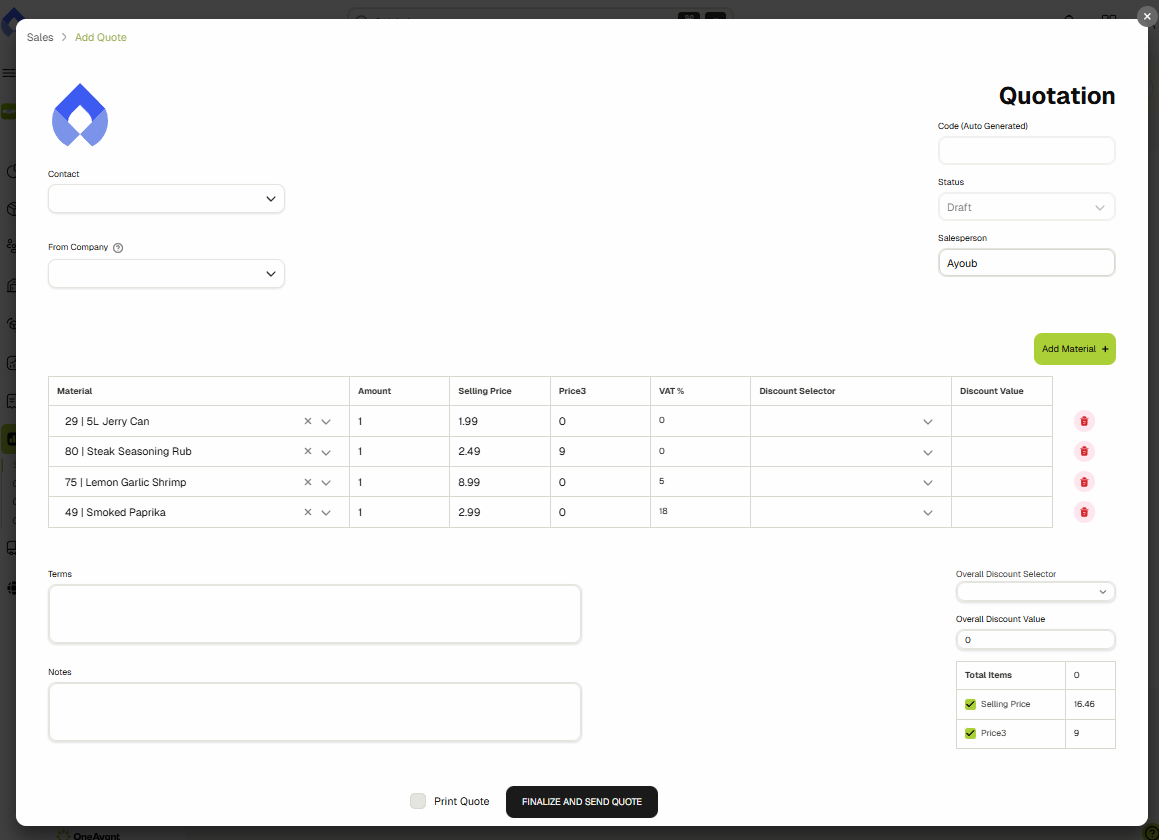
-
Start by setting the Contact from the Contacts dropdown as seen in the figures below.
Select a contact from the dropdown.

After selecting, the contact details for this person are automatically populated.

-
You can also set the visible price columns by clicking the checkboxes in the bottom right of the screen.

-
Once you’re done configuring the Quote, simply click the “Save Quotation” button at the bottom of the screen. The dialog will then close and you will see a green popup come up in the top right corner.

-
To see the created quote, simply navigate to the Quote page using the sidebar. You will see the quote as the most recent quote at the top of the table.
 You can see the quote at the top of the screen.
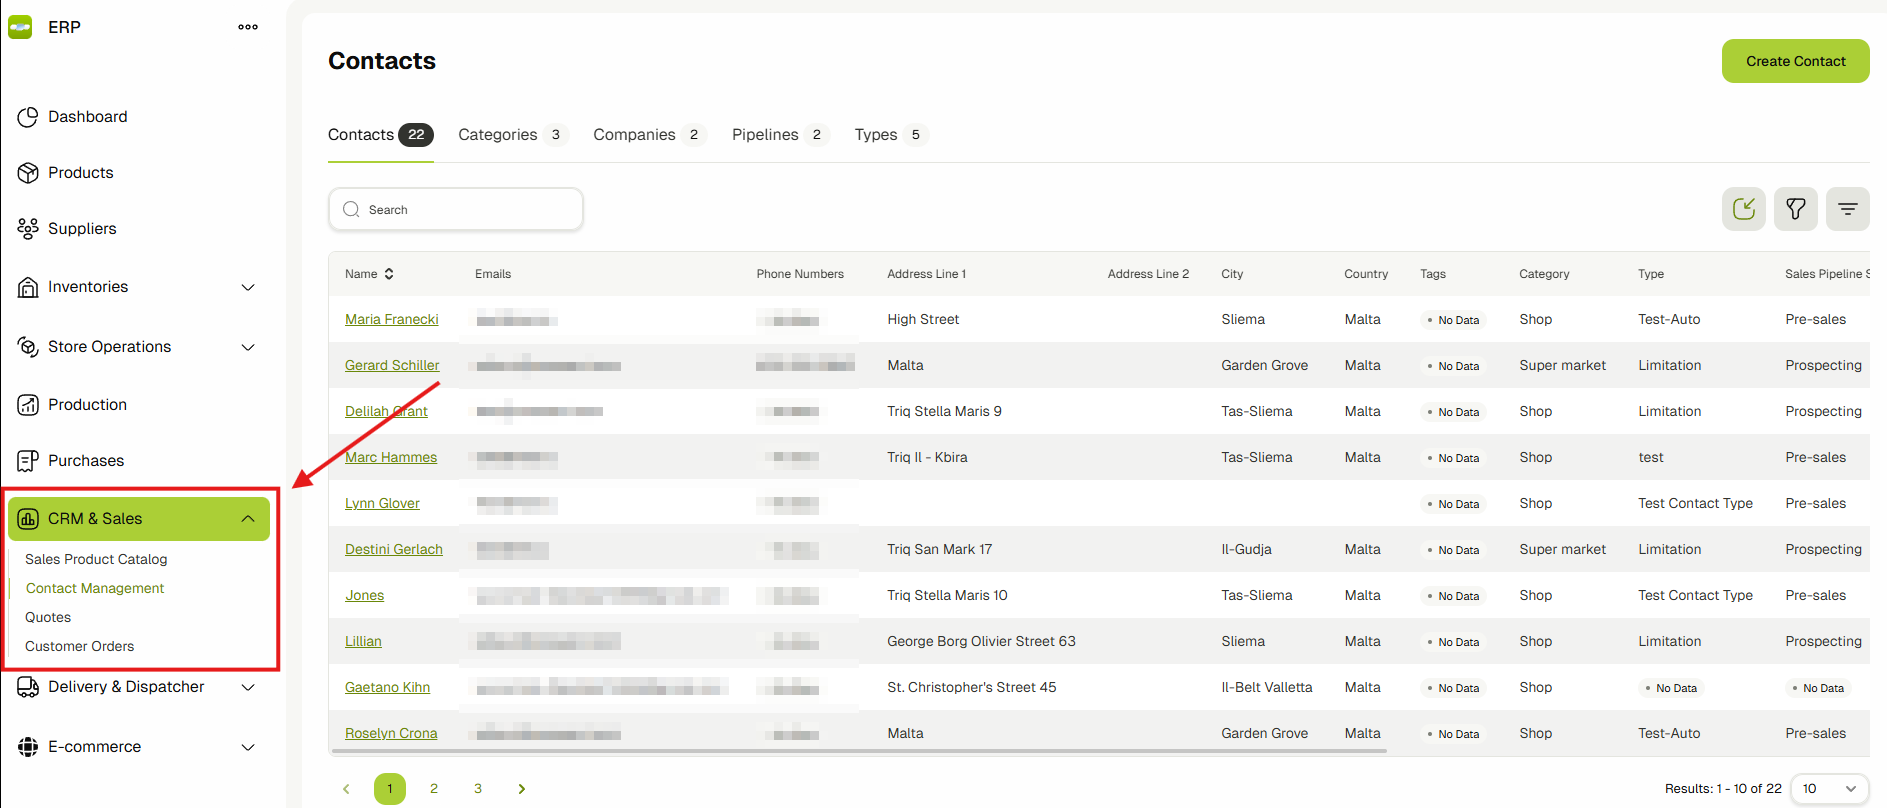
Importing Contacts
Importing customer contacts into OneAvant is a simple and streamlined process. To begin, navigate to the CRM & Sales section from the left-hand sidebar and select Contact Management. This will take you to the main contacts table where you can view, manage, and import contacts.
At the top of this table, you'll find an import icon button. Click this icon to open the import dialog.

From there, you can upload your contact list in the form of a CSV file. The system expects the file to follow a specific format, which is outlined below.
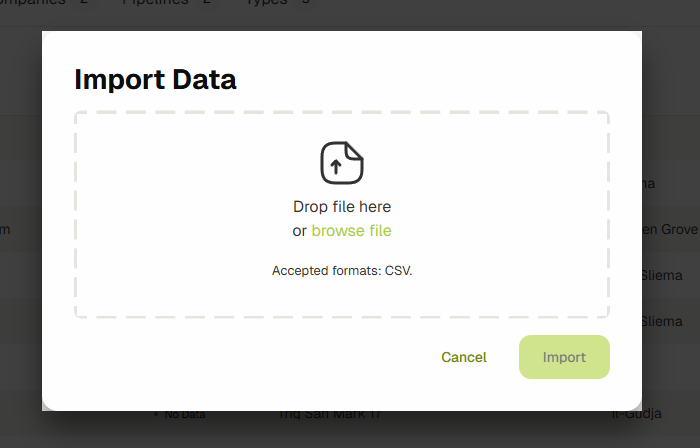
Once you've selected your CSV file, simply click the Import button within the dialog. The system will process the file and add all valid contacts to your account automatically.
CSV File Format
Your CSV file should contain the following columns:
| Column Name | Required | Description |
|---|---|---|
code | Yes | Unique identifier for the contact |
name | Yes | Full name of the contact |
companyName | Yes | Associated company name |
categoryName | Yes | Contact category (e.g., Client, Vendor) |
emails | No | One or more email addresses (comma-separated) |
phoneNumbers | No | One or more phone numbers (comma-separated) |
tags | No | Tags to help categorize the contact (comma-separated) |
addressCountry | No | Country |
addressState | No | State or province |
addressCity | No | City |
addressLine1 | No | Primary street address |
addressLine2 | No | Secondary street address |
addressPostcode | No | Postal or ZIP code |
addressCoordinates | No | Formatted as "latitude,longitude" |
Access Controls in Contacts & Companies
In this guide, we will be covering the Access Controls feature in both contacts and contact companies. This feature allows you to manage visibility and access by assigning specific users or roles to individual contacts or companies. It ensures that only authorized team members can view or interact with sensitive data.
We'll walk through the steps to access this feature and demonstrate how to assign users or roles to contacts. The process works the same way for contact companies as well.
-
From the sidebar, click on Contact Management to access the contacts section.
-
You will now be on the main Contacts List page. This page displays all the contacts that you’ve defined.
Please Note:
- The table list will only show contacts you have permission to view.
- If your user role includes the "Unrestricted by CRM assignment" permission, you will be able to see all contacts regardless of individual access controls. You can learn more about Role management here.
-
Open the contact whose access settings you want to change, click on the menu icon next to the update button, and select "Access Controls" from the dropdown.
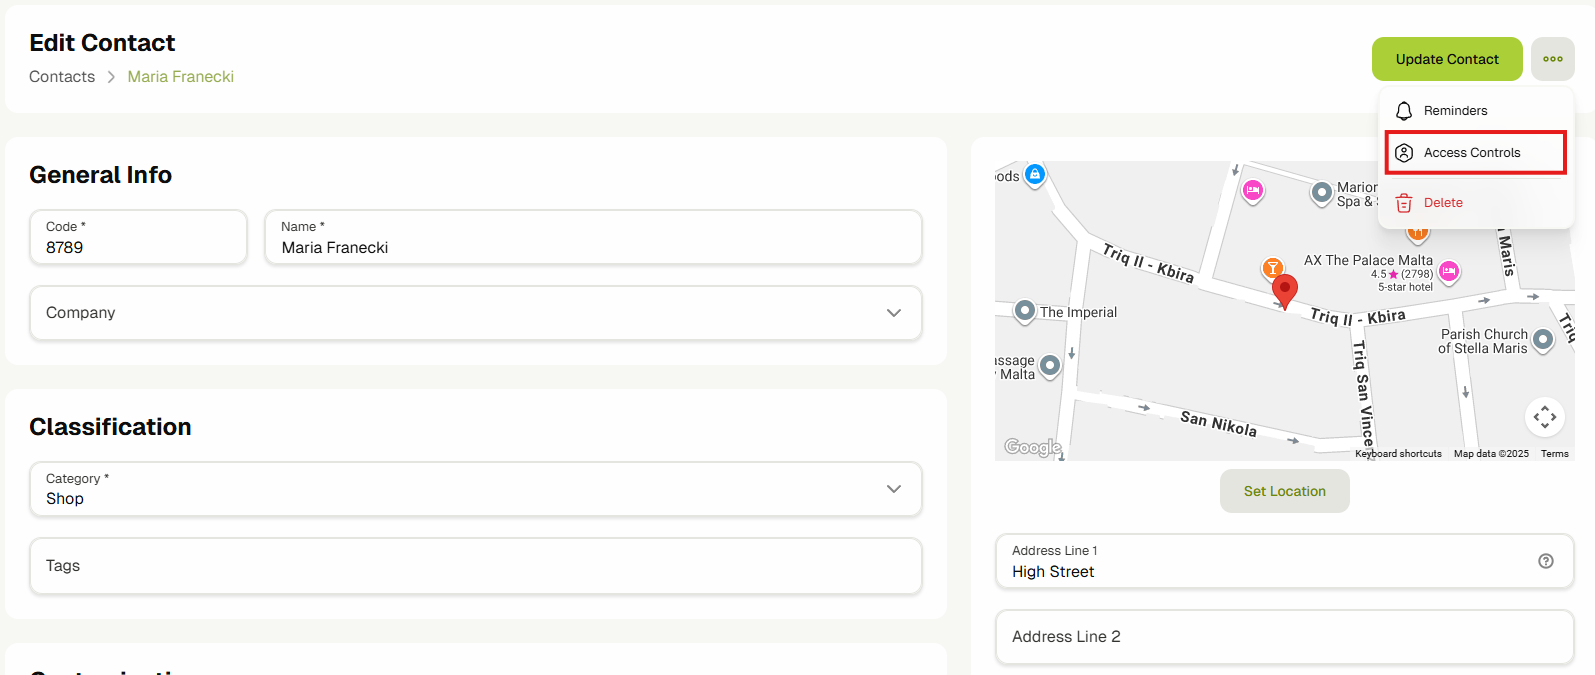
-
This will open the Access Controls dialog.
-
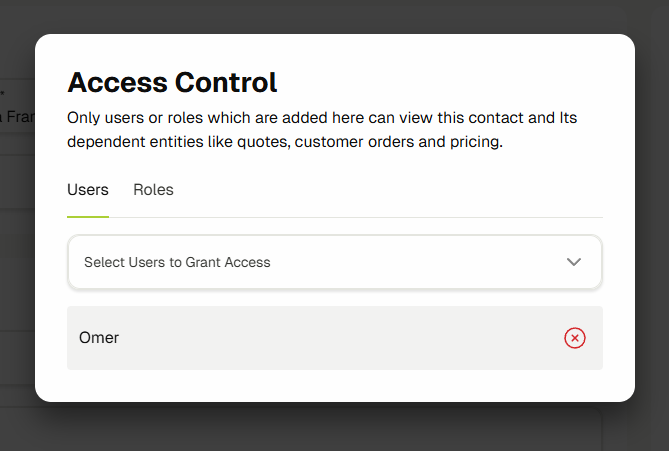
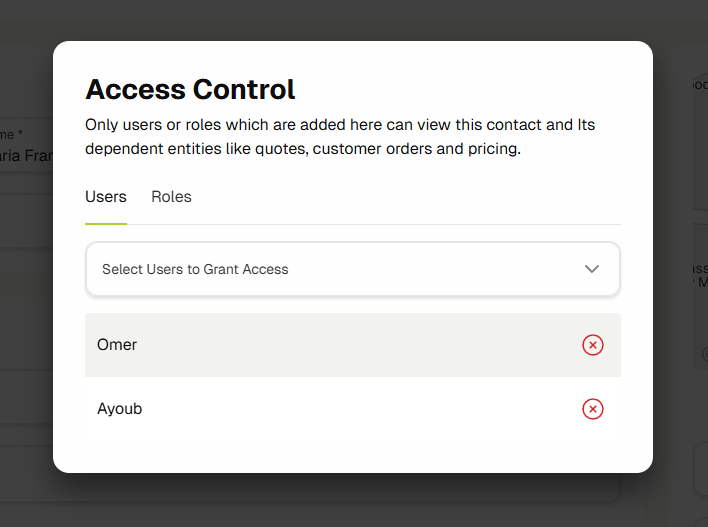
In the Access Controls dialog, you’ll see two tabs: Users and Roles. Simply switch between the tabs and Add or Remove users or roles as needed. Once you make a change, a success message will confirm that the update has been applied. Changes take effect immediately.
Note: By default, the user who created the contact or contact company is automatically assigned access. This ensures the creator always retains visibility and control over the entity, preventing accidental loss of access.
Once access controls are applied, contacts and contact companies will only appear in dropdowns where the current user has access. For example, in places like Quotes, CPOs, Sales Catalog, Delivery, and others, the contact dropdowns will be filtered based on access. This ensures users only interact with entities relevant to them.
By using Access Controls, you can effectively manage who gets access to contacts and contact companies, adding a layer of security and flexibility to your workflow.
Send Announcements to Contacts
Use the Send Announcement action on the CRM main page to broadcast messages to selected contacts via Email, SMS, or both.
Send an Announcement
- Navigate to CRM from the sidebar.
- On the CRM main page, click Send Announcement in the top action bar.

- In the dialog, interact with the form inputs:
- Channel: open the dropdown and choose email, sms, or both.
- Message: type your announcement text (required).
- Subject: type a subject line (optional, used for email only).
- Contacts: open the selector, search by name or email, and add one or more contacts.
- Click Send to dispatch the announcement.
- SMS is sent only to contacts with a phone number.
- Email is sent only to contacts with an email address.
- If a contact lacks the required channel info, that contact is skipped.
- Make sure SMS is configured in Settings for SMS delivery to work.
Tips
- Use filters on the contacts list before sending to target specific segments.
- Keep SMS messages short; long messages may be split by carriers.
View Contact Emails and SMS
Review email and SMS history sent to a contact directly from the contact view.
View Sent Emails for a Contact
- Navigate to CRM from the sidebar.
- Open a contact (use the contacts list to find and select one).
- In the contact header actions, click Emails.
- The dialog shows all emails sent to that contact, sorted by newest first.
info
- Each entry shows the status, recipient address, subject, and body.
- If no emails were sent yet, the dialog will show an empty state message.
View Sent SMS for a Contact
- Navigate to CRM from the sidebar.
- Open a contact (use the contacts list to find and select one).
- In the contact header actions, click SMS.
- The dialog shows all SMS sent to that contact, sorted by newest first.
info
- Each entry shows the status, recipient number(s), and message body.
- If no SMS were sent yet, the dialog will show an empty state message.